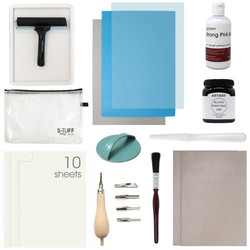
Lino and relief printing. A small, complete range: sheets, cutting tools, barens, rollers, inks and the paper to print onto. Everything you need in one place.
The four things every lino print takes, whether you're starting out or restocking.
The surface you cut
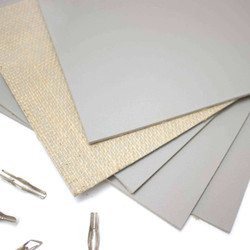
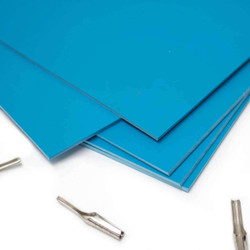
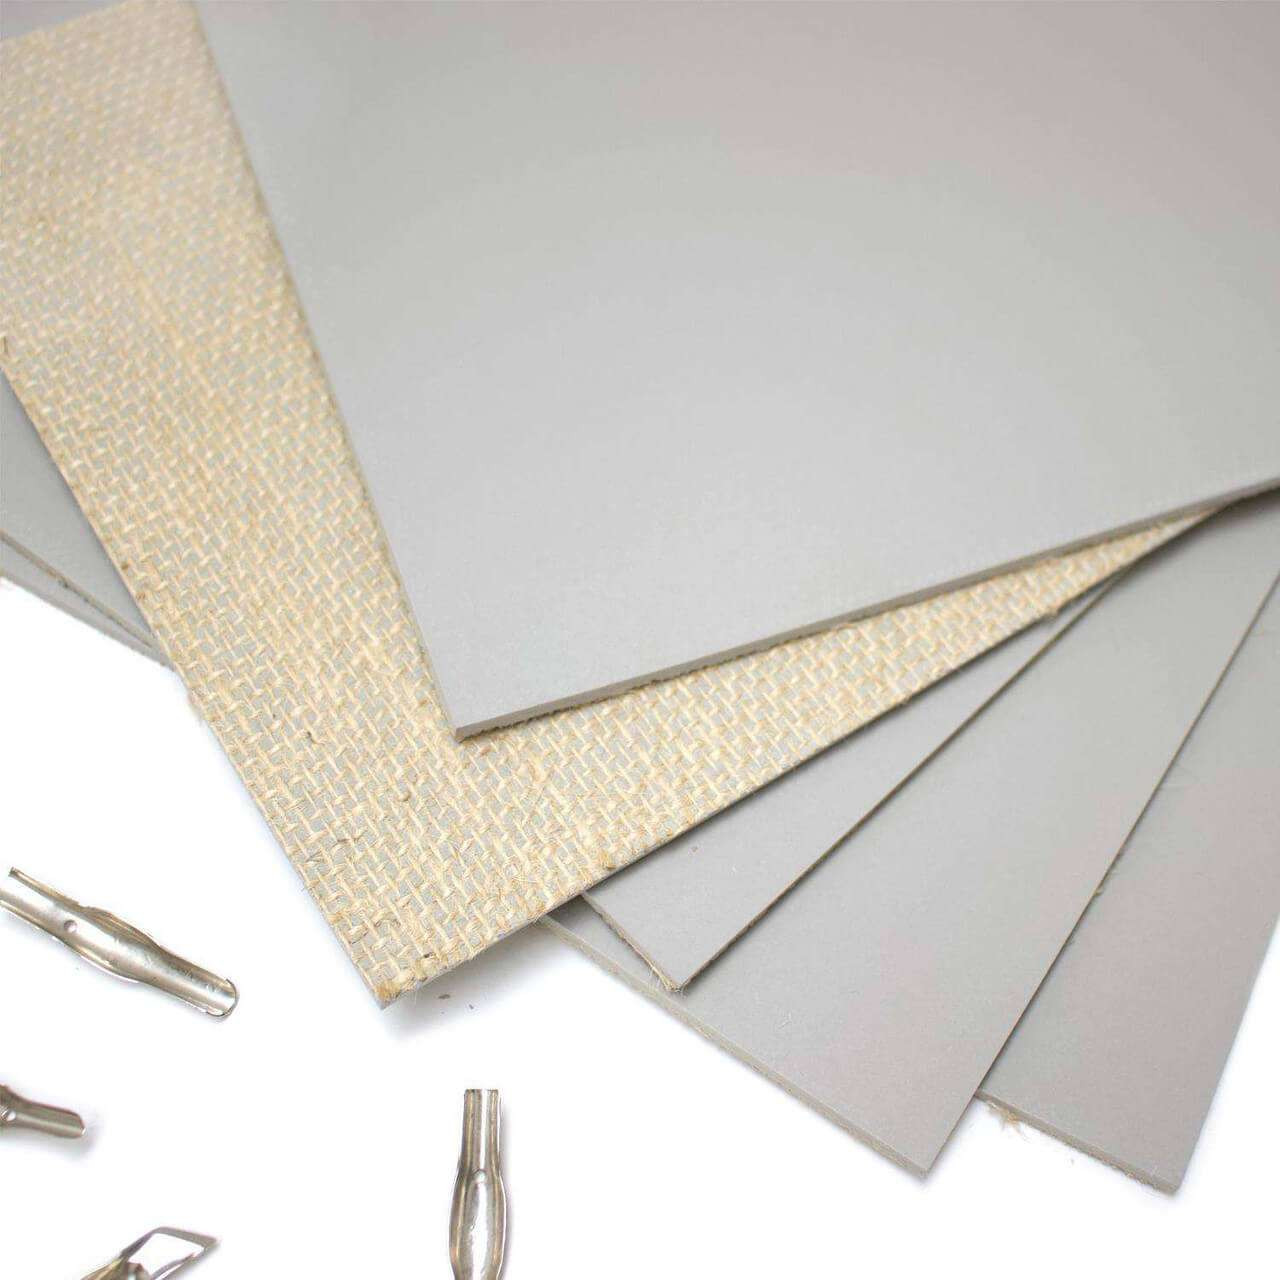
Traditional linseed lino in A2, A3 and A4: firm, holds fine detail and warms up in the hand. Soft-cut polymer cuts like butter, which suits beginners and classrooms.
Cutting, inking, burnishing
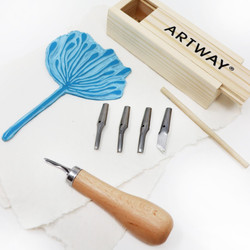
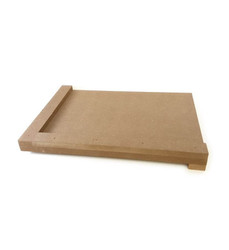
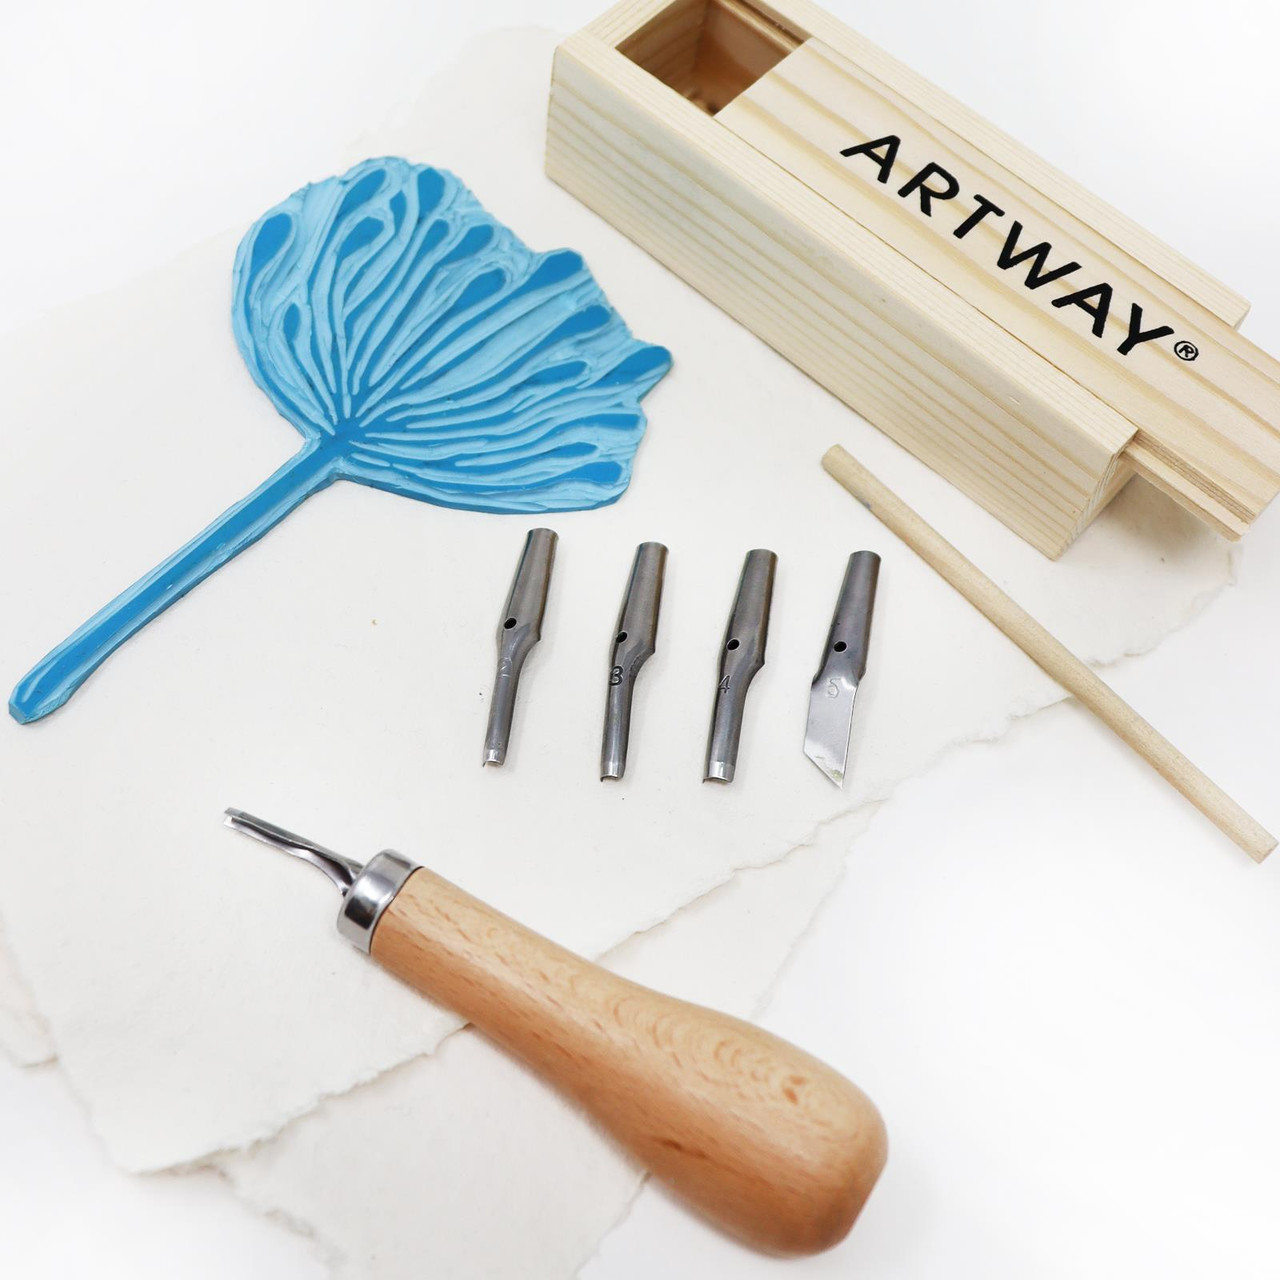
Cutting tools with beechwood or plastic handles and interchangeable blades: V-tools for fine lines, U-gouges for clearing the bigger areas. Plus rubber brayers, wooden and plastic barens, inking trays and a bench hook to stop the block sliding.

Block and relief ink
Water-based block printing ink in 250ml pots that washes up with water, dries matte and prints on paper and fabric. Plus the block and screen printing mediums, now filed where printmakers look.
What to print onto
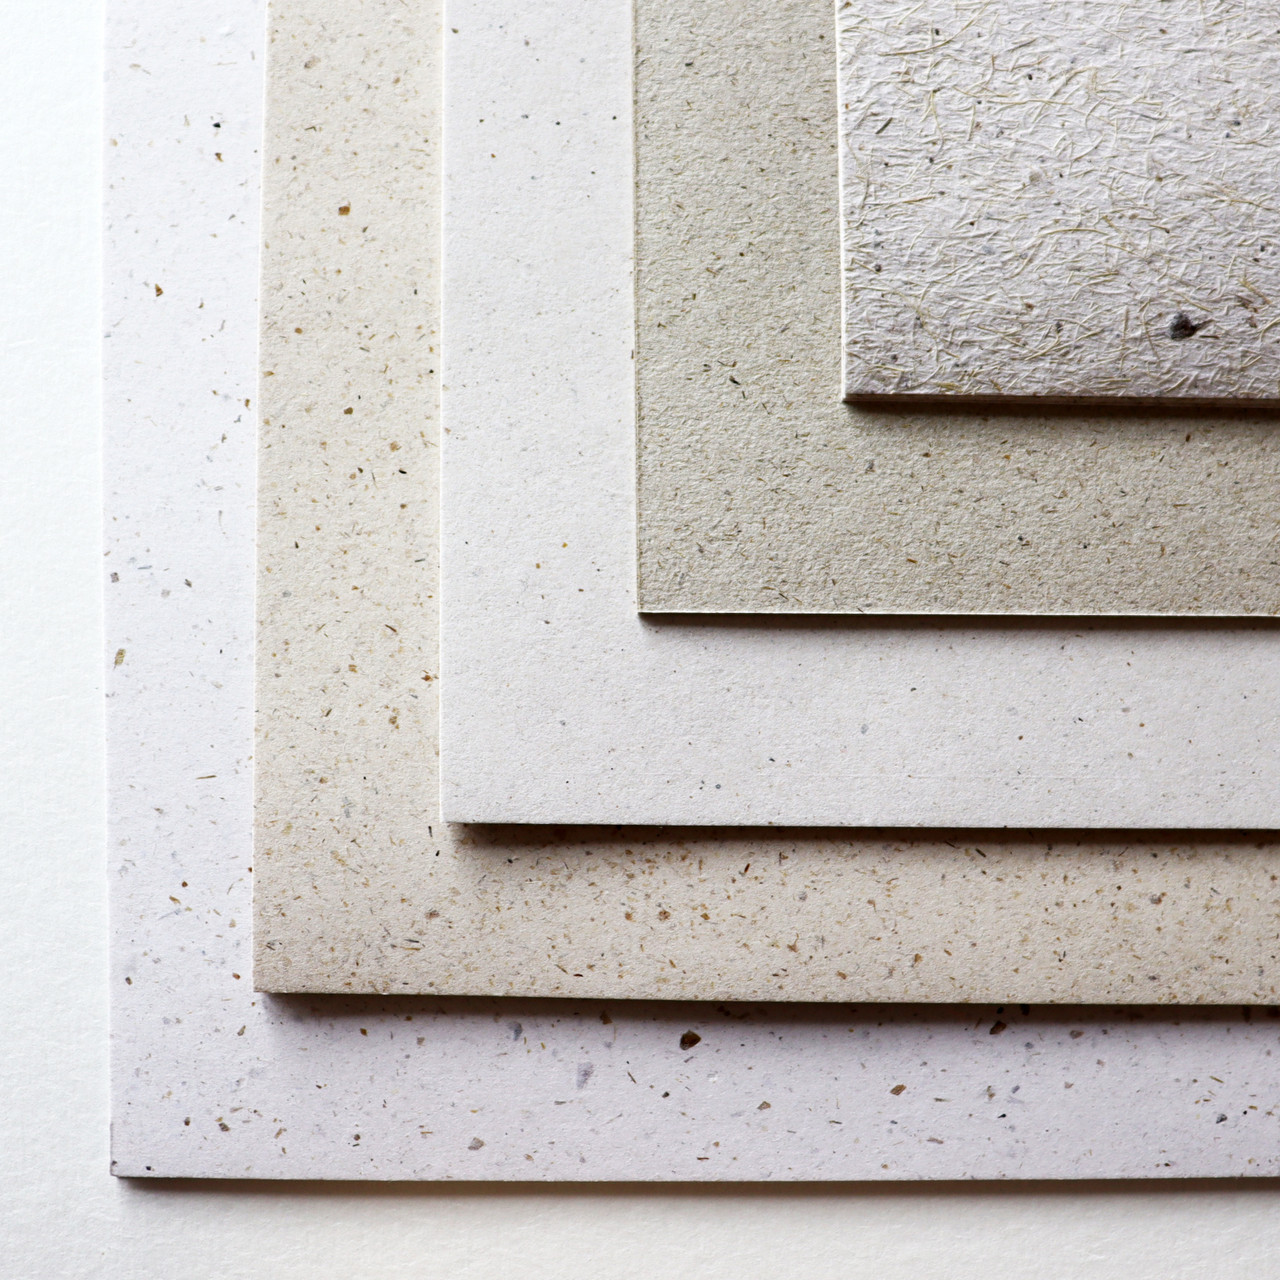
A view across the paper range picked for relief printing: smooth cartridge, cotton rag and tree free. Thin and smooth takes the ink best; heavy watercolour paper doesn't.
Four stages, an afternoon, and no press needed.
Draw your image, remembering it prints in reverse. Transfer it onto the lino with graphite paper, or draw straight onto the block.
Everything you cut away stays the colour of the paper. Start with a V-tool for outlines, then clear the bigger areas with a U-gouge.
Cutting tools and barensSqueeze a line of ink onto a tray and roll the brayer until it hisses, then roll a thin even film across the block. Too much ink fills the detail.
Printing inks and mediumsLay paper on the block and rub the back with a baren or the back of a spoon. Peel from one corner. Then do it again, since the second print is nearly always better.
Printmaking paperThe same range, sorted how you prefer.
Relief printing is the oldest way of making a repeatable image. You cut away everything you don't want to print, ink what's left, and press paper against it. The parts you cut stay the colour of the paper. That's the whole idea, and you can do it on a kitchen table.
Traditional lino or soft-cut. Traditional linseed lino is firm. It resists the tool, which is why it holds fine detail and gives crisp edges, but it wants sharp blades and it helps to warm it on a radiator first. Soft-cut polymer cuts with almost no resistance, which makes it much easier for beginners and much safer in a classroom, though it won't hold the very finest lines.
You don't need a press. A baren is a smooth disc you rub across the back of the paper. A wooden spoon does the same job. Hand-burnishing gives a slightly softer, more variable print than a press, and most people prefer it anyway.
Use less ink than you think. The most common beginner mistake is using too much: it fills the cut lines and the print goes muddy. Roll the brayer out on the tray until it makes a soft hiss, then apply a thin film. If the first print comes out patchy, take a second, since the block needs charging.
The paper matters more than people expect. Thin, smooth and slightly absorbent takes a relief print best. Heavy cold-pressed watercolour paper fights you, since the texture breaks up the ink. Cartridge works well, and cotton rag works beautifully.
Monoprinting and collagraph. If you'd rather print without cutting, there are guides to both on the blog. Monoprinting works straight off an inked plate; collagraph builds a printing surface out of glued textures. Neither needs anything that isn't on this page.