Lino Printing: A Guide for Beginners
Posted by Tilly T on 19th May 2022
What is Lino Printing?
Lino printing is a form of relief print that has been in use since the early 20th century. It traditionally involves carving a pattern or design into hard linoleum(hence the name Lino printing), but now you can find a few different types of soft cut alternatives like rubber or our blue soft cut polymer
It's super easy to try this printmaking technique out at home, just follow our step by step guide below to make your first linoleum cut print.
Equipment
- Paper - We highly recommend our 240gsm Mixed Media paper or alternatively for a completely different look check out our Tree Free range of papers.
- Lino Sheet - You can use either our Traditional Linseed Lino * or our Blue Soft-Cut Polymer **
- Printing Ink - we recommend our Artway 250ml Block Printing Ink
- Artway Inking Tray - to contain the ink for rolling out
- Artway Brayer Roller - for applying ink to surfaces
- Artway Printing Baren - for applying an even pressure to the back of the print
- Lino Cutter
- Pencil, Pen something to mark the Lino with
Alternatively check out our Artway Lino Printing kit a comprehensive kit that allows you to get printmaking straight away. (Contains the equipment for this kit plus more)
* A grey sheet with hessian backing. A firmer surface which enables more controlled cutting to product finer detail. PLEASE NOTE - Soften before cutting - place on a radiator (or other suitable heat source) for a couple of minutes. Apply further heat as necessary
** Soft Cut polymer for easy carving and application. An ideal entry level relief printing surface - no heat required
How to Lino Print -
TIP - cut down the lino/polymer sheets into smaller sizes so you can produce more than one design - you could even use a piece to try out the cutters to see what type of marks they make.
- Decide on a design - the first rule is to remember that your lino print will be the reverse image of what you draw, so beginners start with something simple and bold - nothing too detailed - this can come later
- Transfer to your printing sheet - apply your design directly to the lino/polymer surface using a soft pencil 2B/4B is a good softness(greater clarity is achieved using a marker pen to strengthen lines) or, if accuracy is needed, then use tracing paper to transfer the image
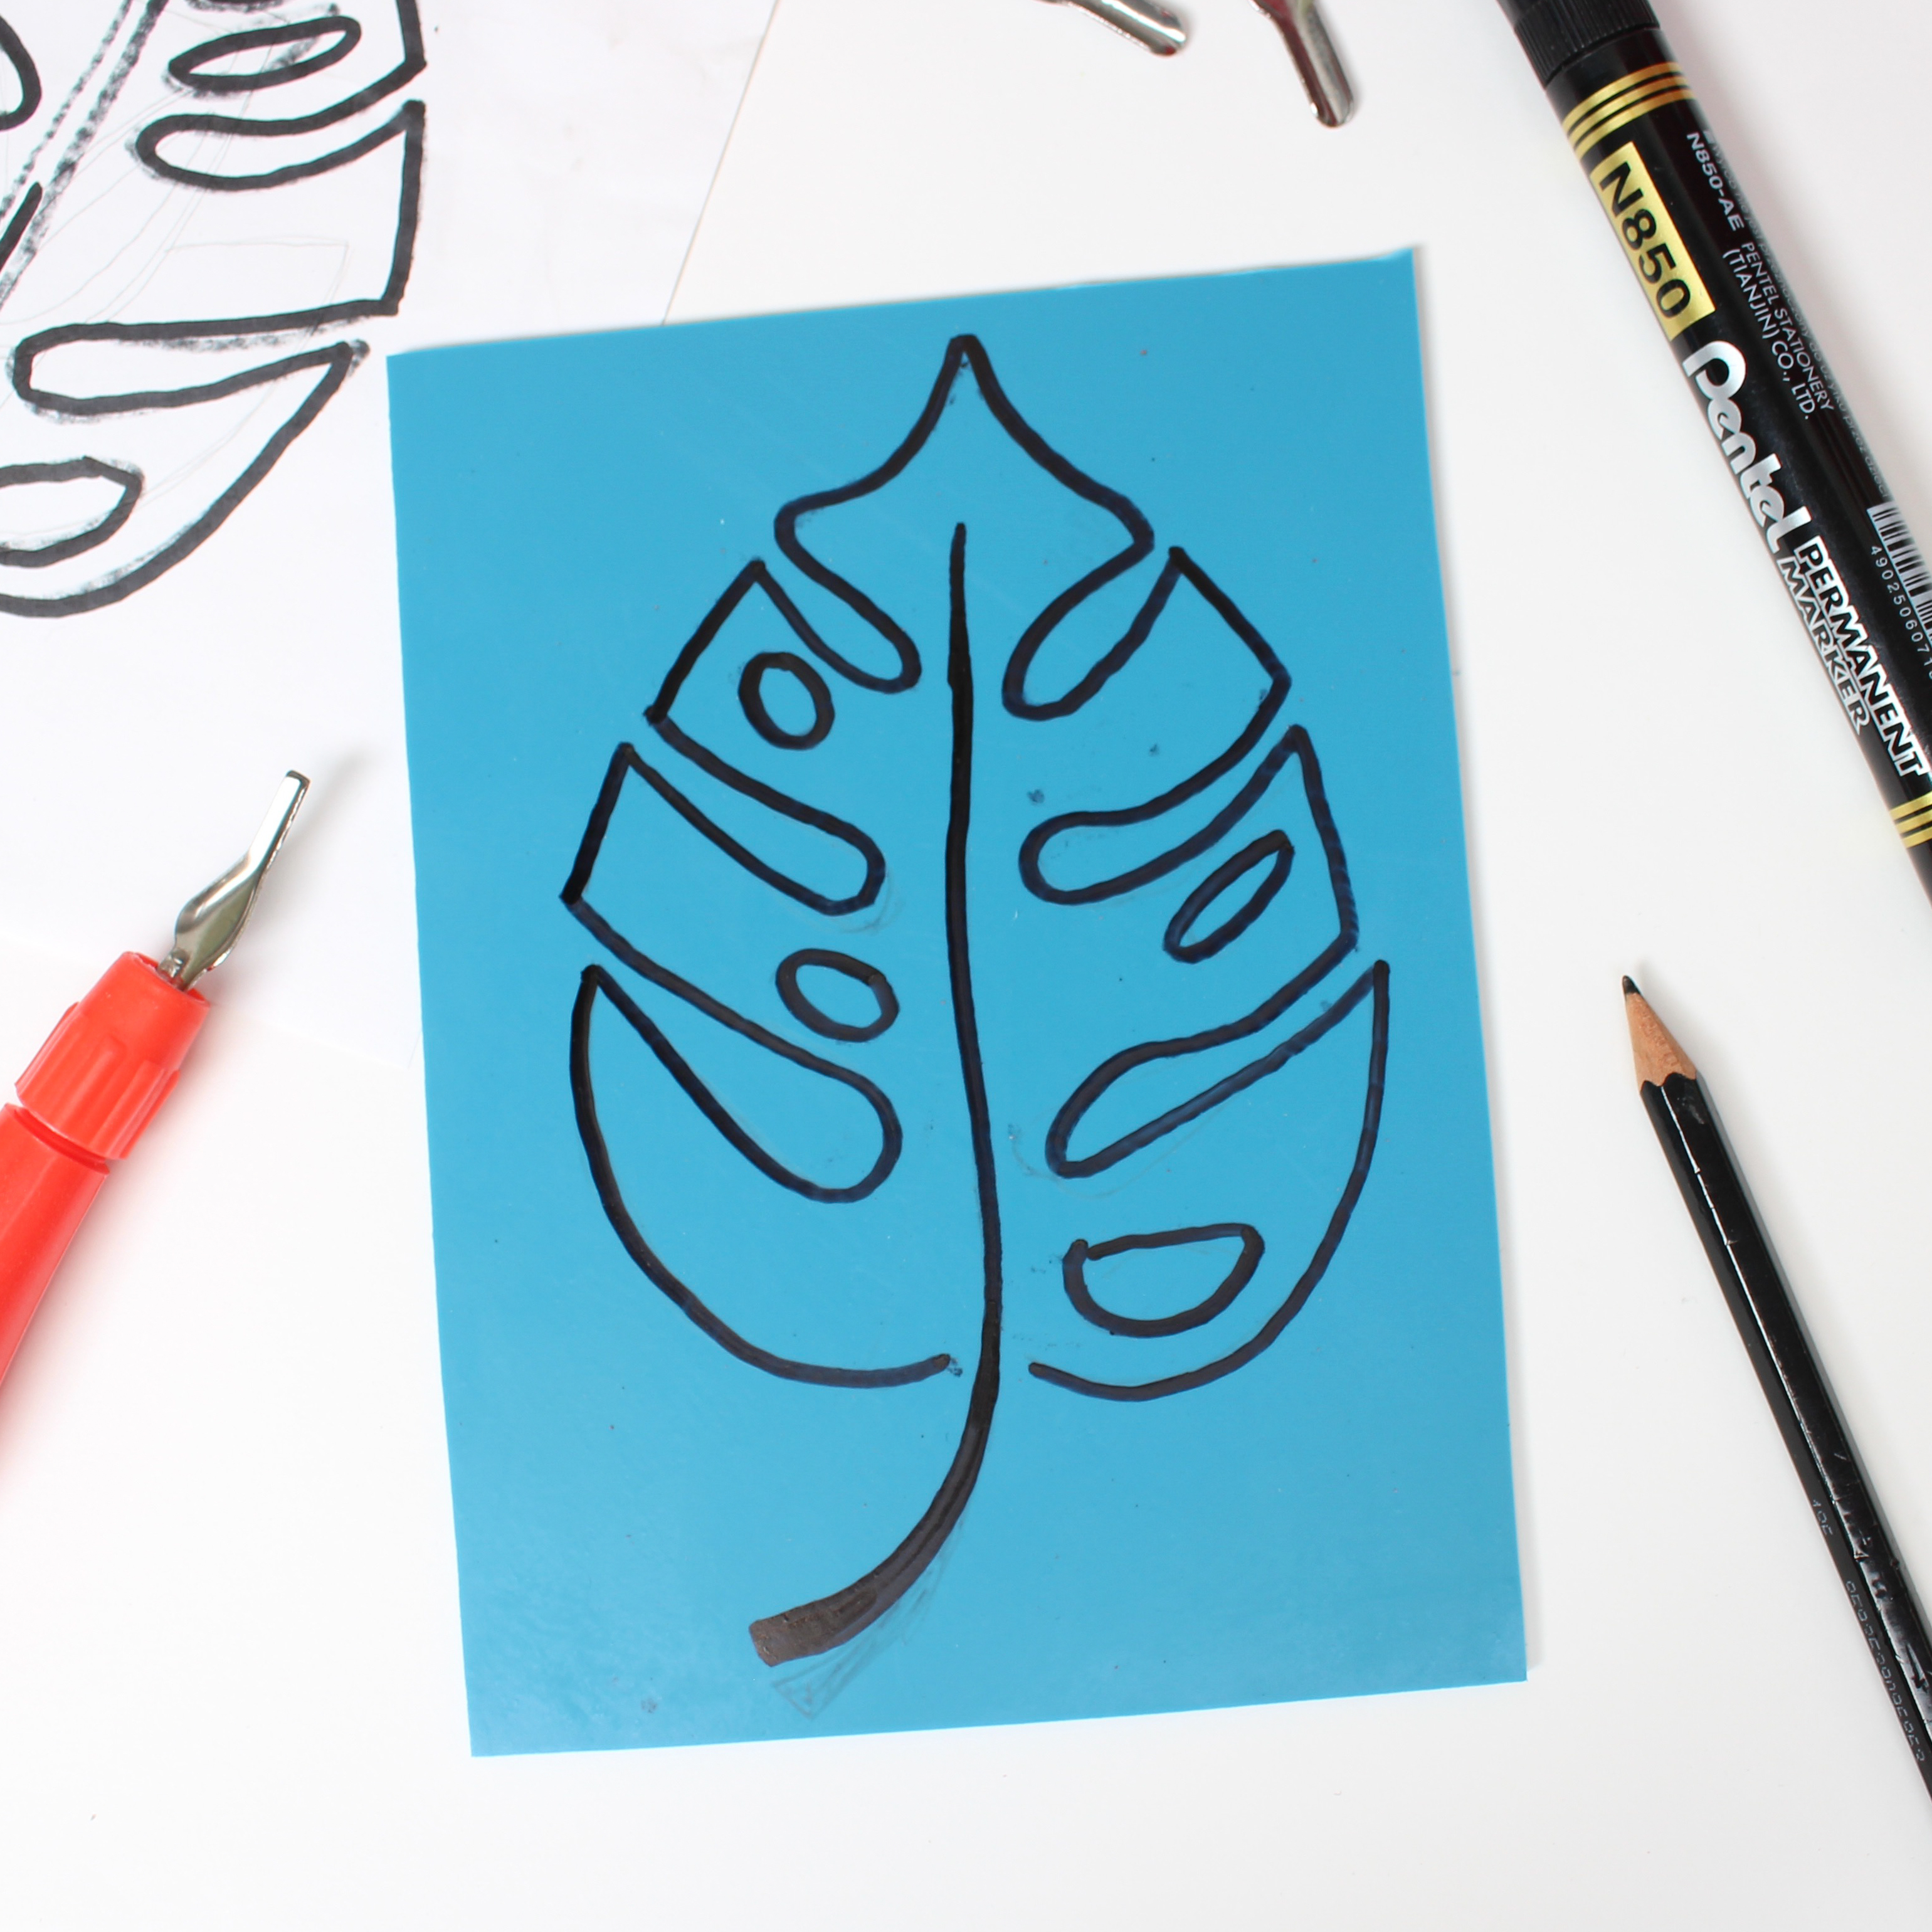
TIP - shade or block out those areas of your image which you wish to keep - this helps to see the negative/positive areas of your work and how they will appear once printed
REMEMBER - Your design will show up mirrored once printed.
- Start carving! - cut away the negative space of your drawing (the bits you don’t want to print) by making shallow cuts. Lino cutter tools are very sharp, so always cut away FROM YOU taking it slow and steady. There’s no rush!
- Know where your fingers are - there’s a natural tendency to support the lino/polymer at the furthest edge in the direction you are cutting. For safety purposes always hold and secure the surface at the point closest to you and direct cuts in an outward direction. If your budget allows using a ‘bench hook’ makes this operation much easier and safer
Working with traditional lino - Traditional Lino is a hard surface which needs heating up, it is important to remember this as when it gets tough to carve DO NOT FORCE IT instead just reheat it by placing it on a radiator (or any other suitable heat source)
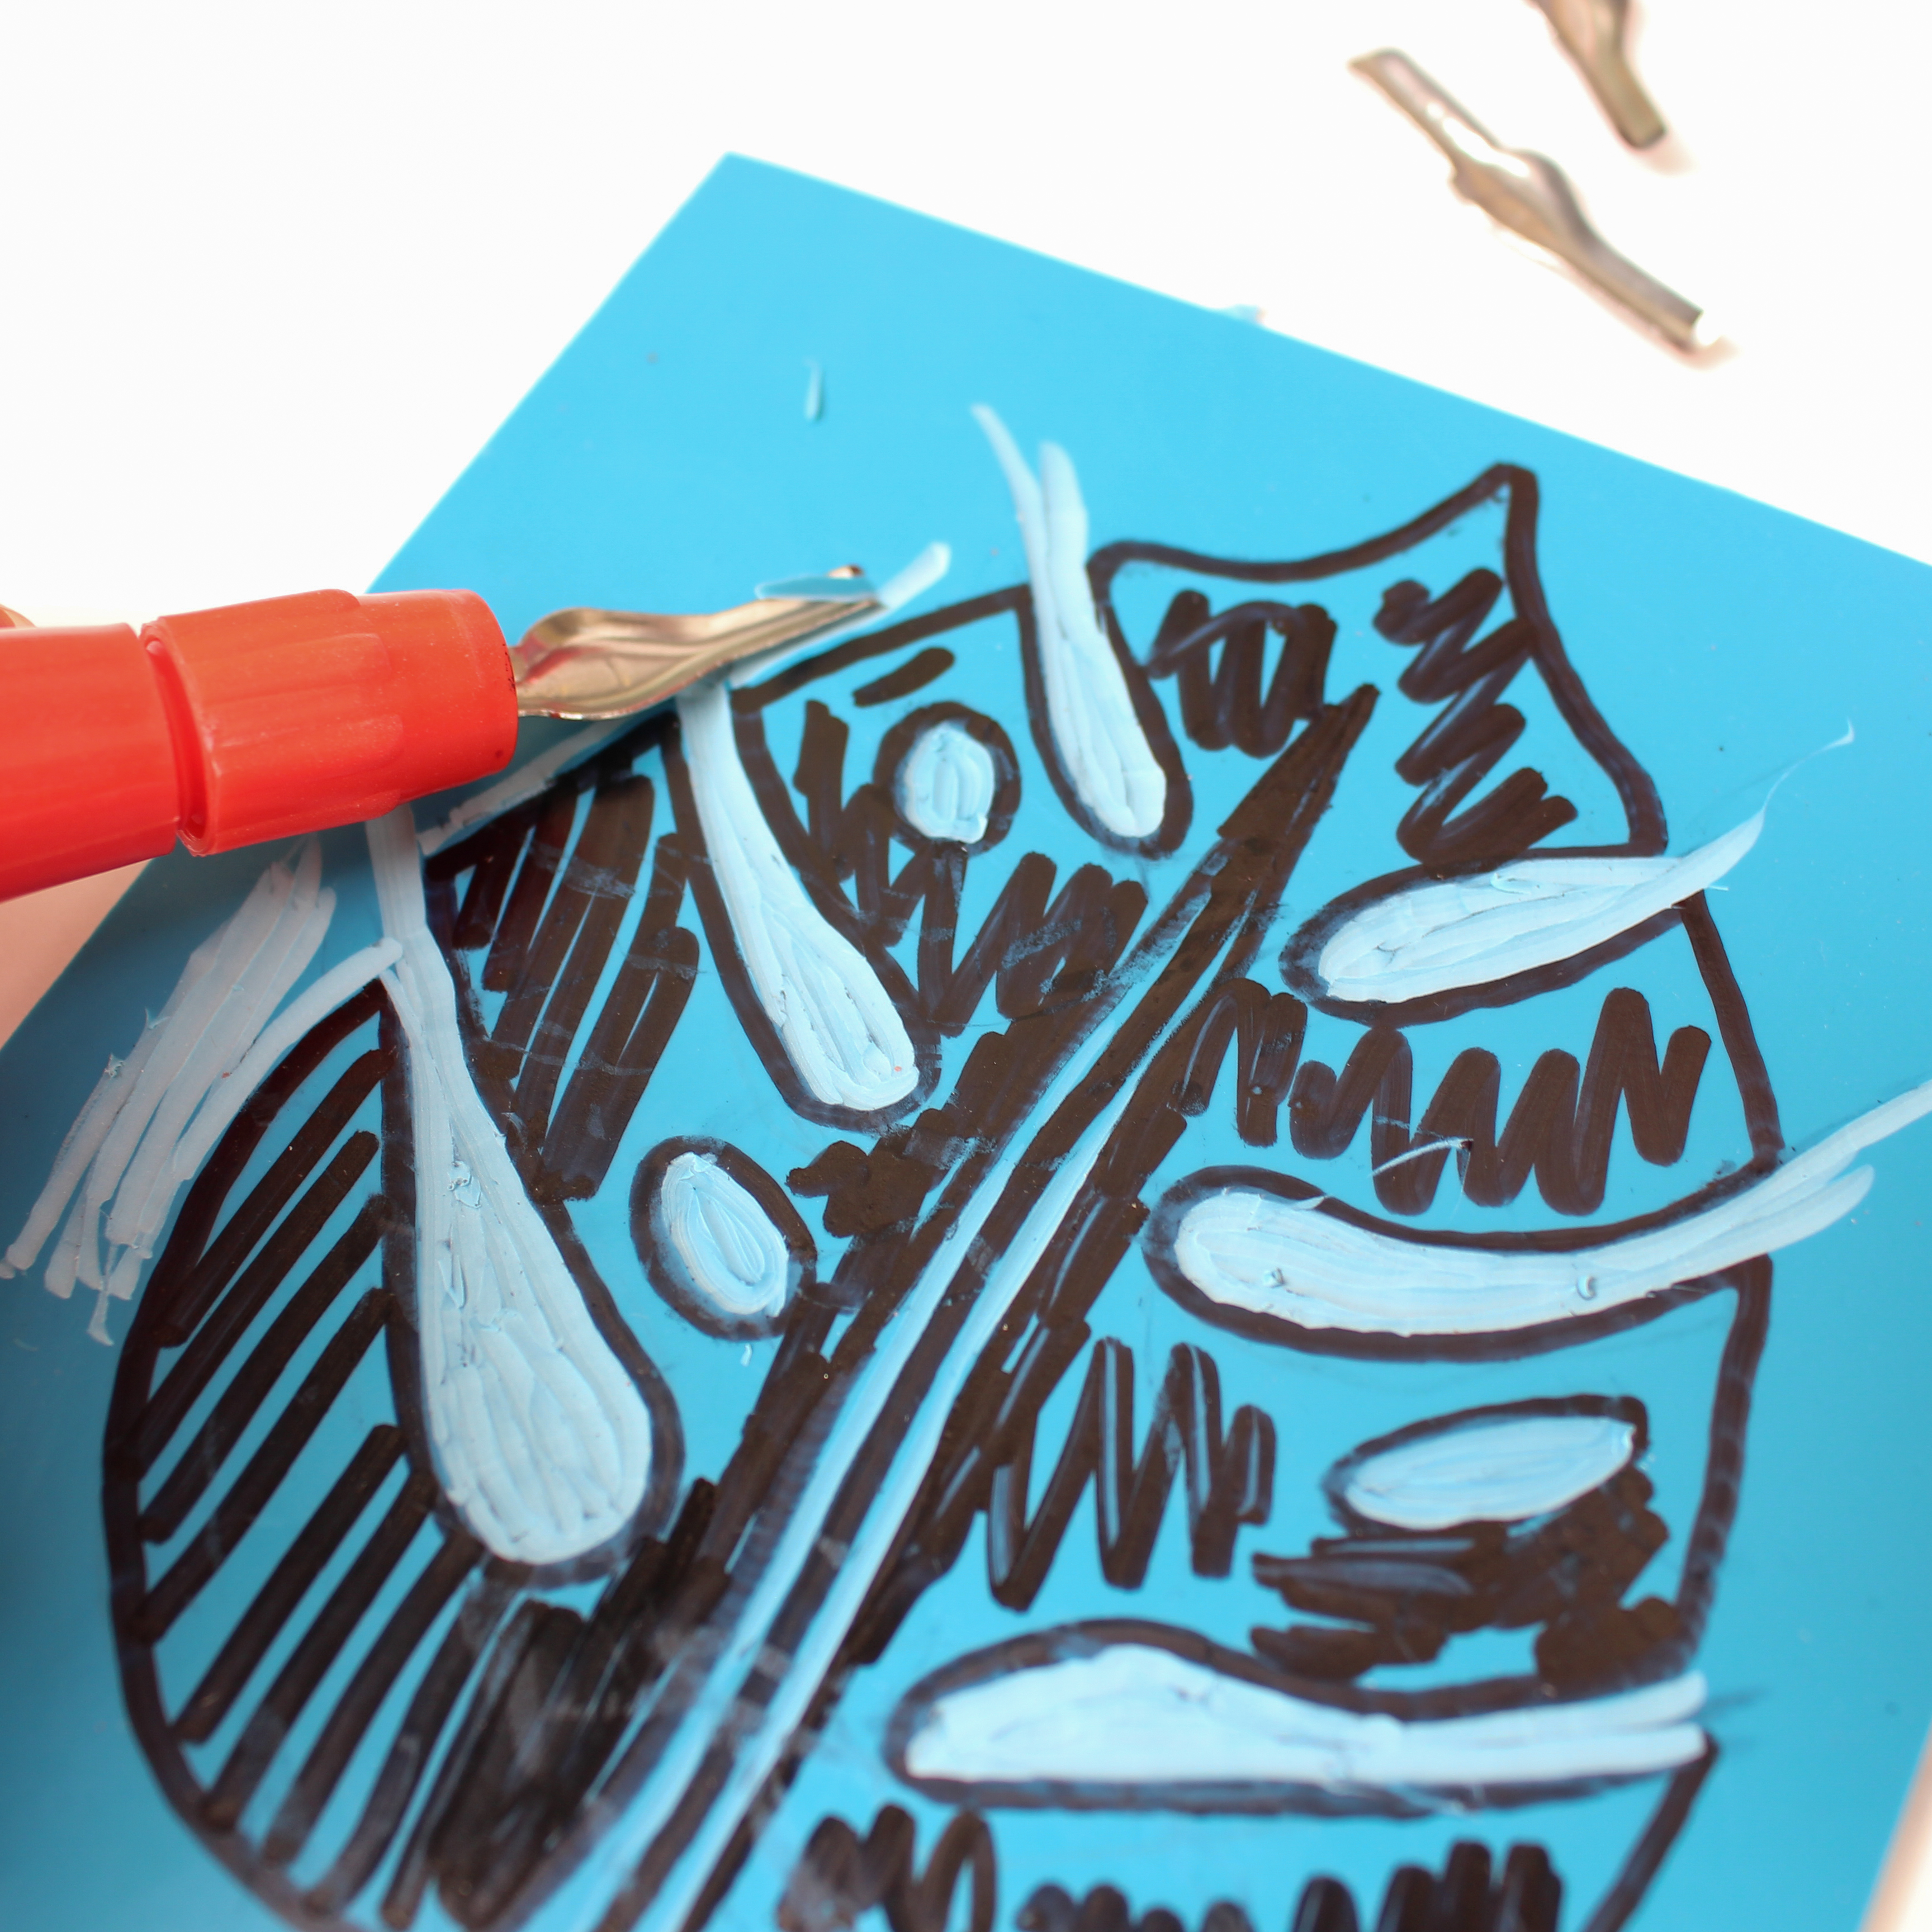
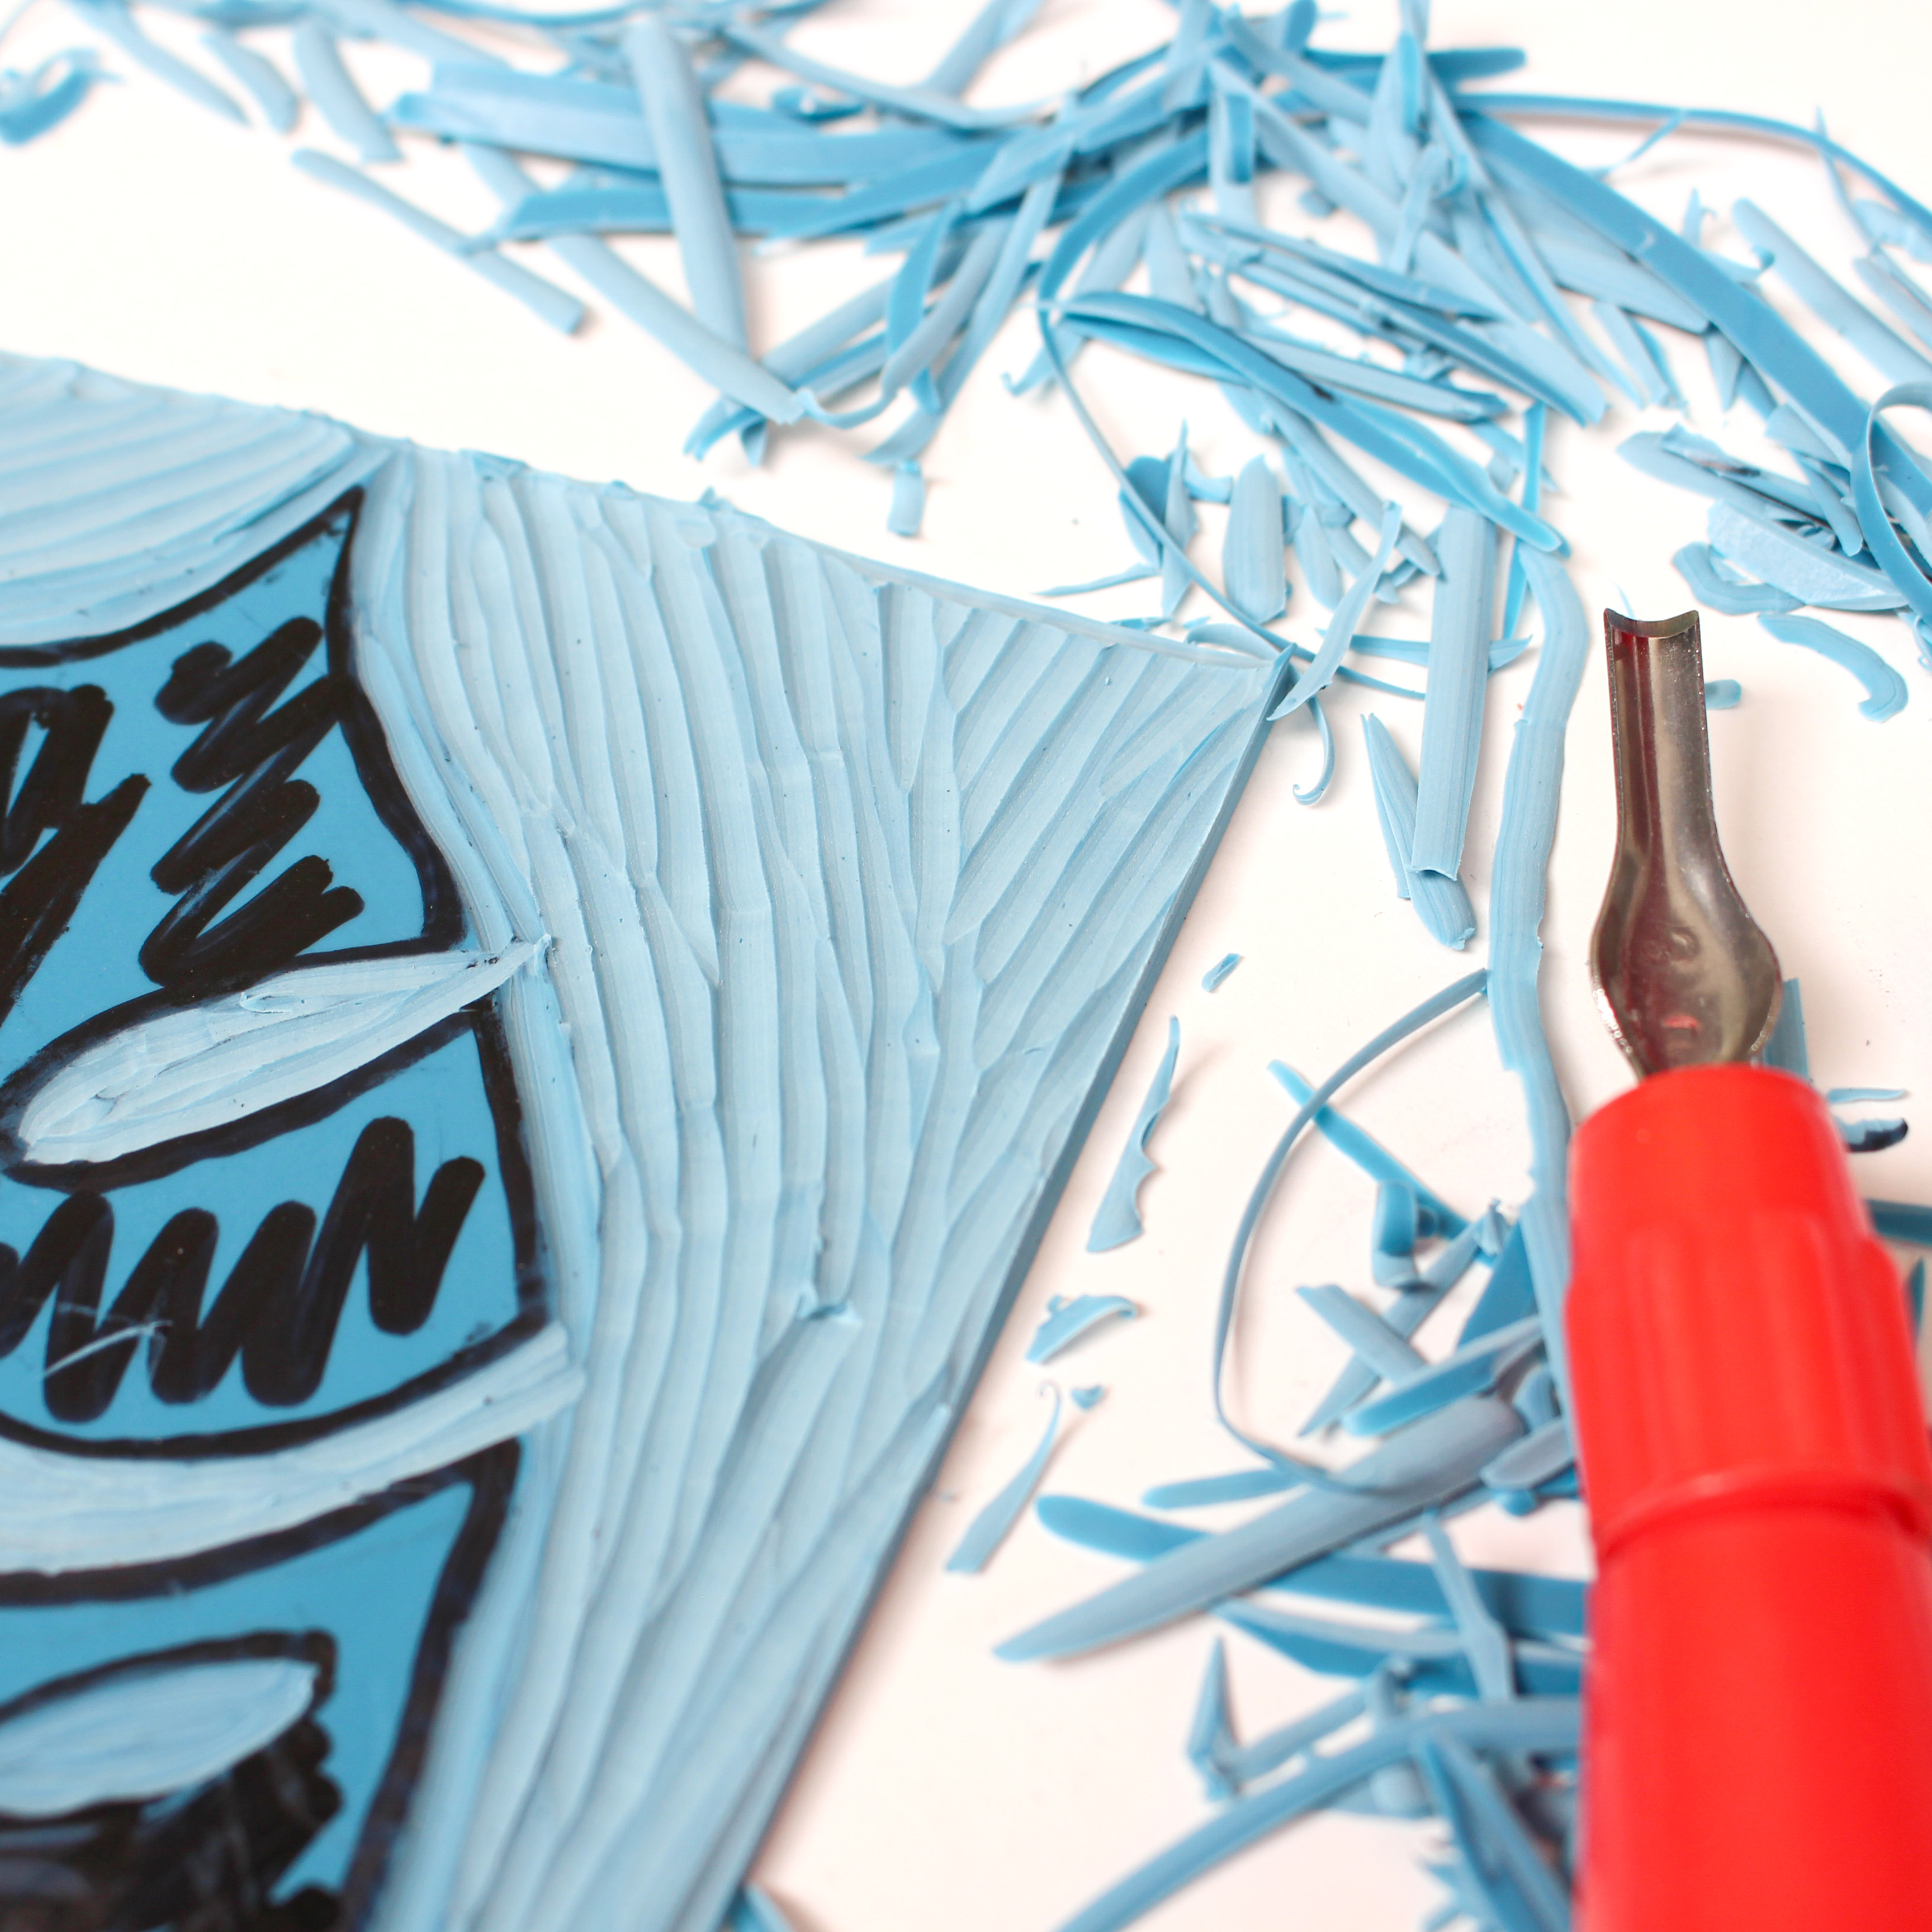
Get ready to ink! - once you’ve finished carving your design clear away any debris and begin inking
TIP - in preparation for making prints always work on a flat surface that has been suitably prepared and protected - likewise wear old clothing or an apron as printing can be a messy business
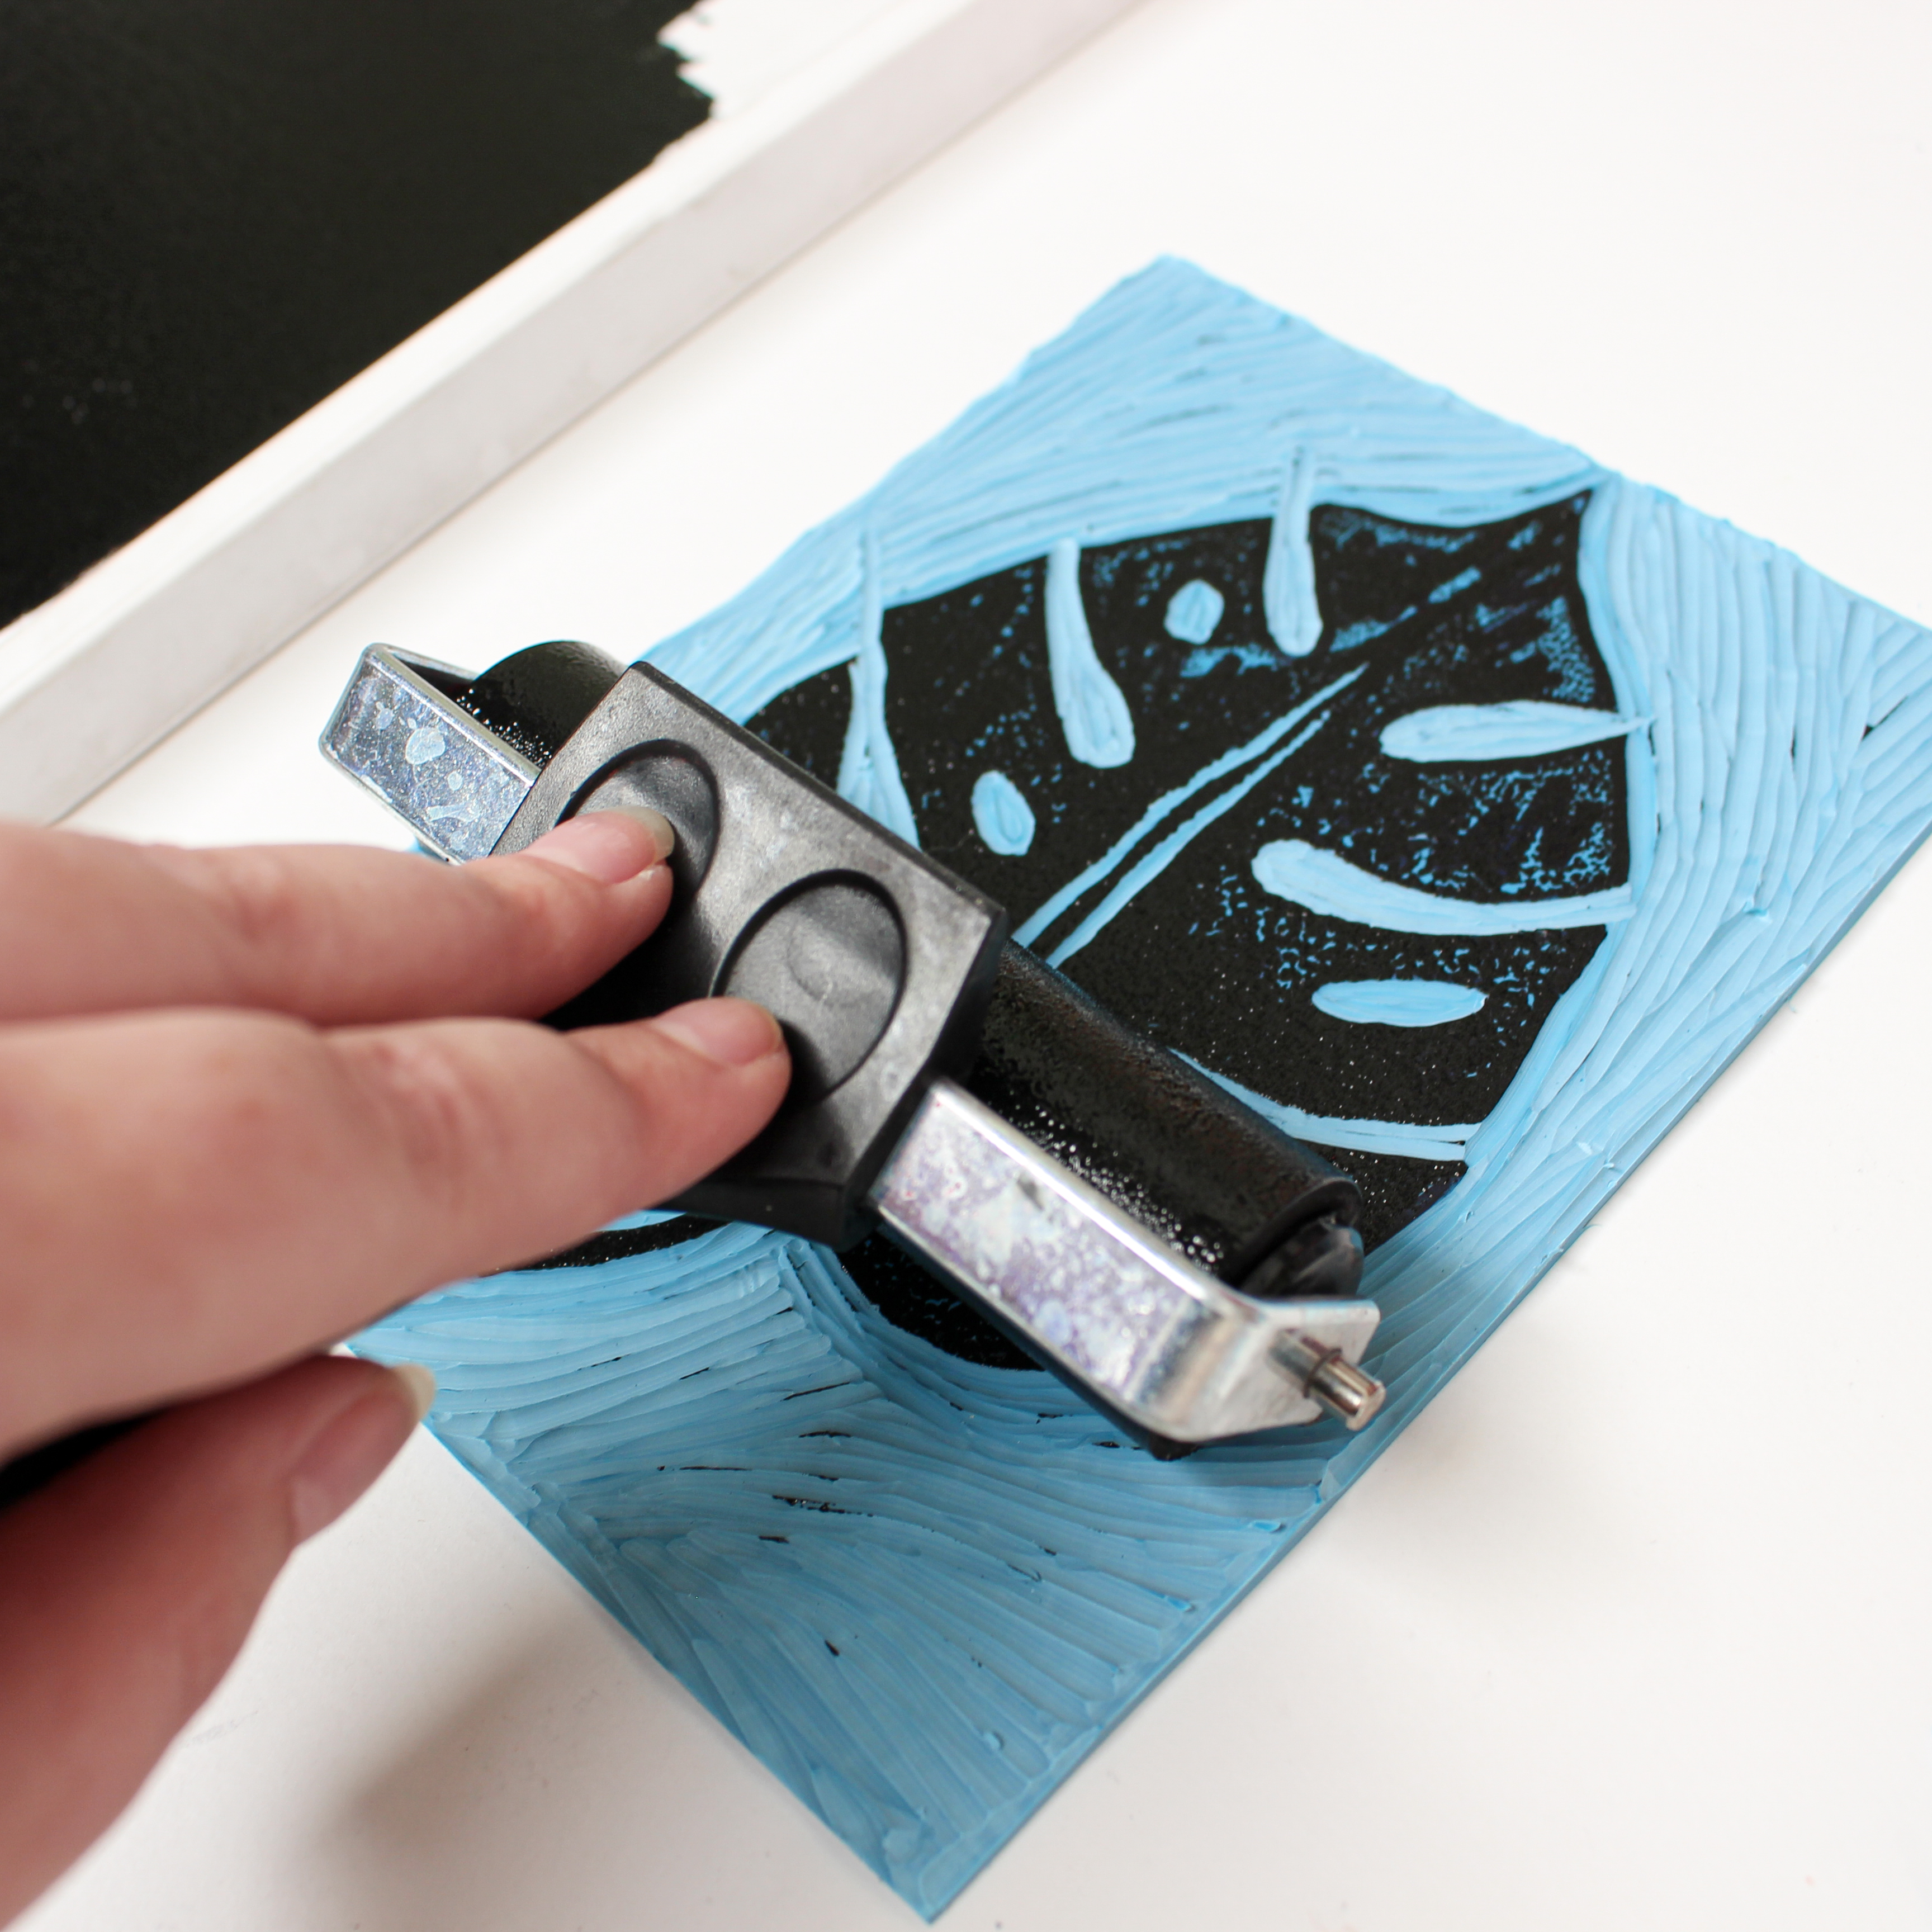
- Add a small amount of printing ink to your inking tray - don’t use too much ink as you’ll over saturate your sheet and the print may smudge. Roll out the ink with the brayer roller making sure that the cylinder on the brayer roller is evenly coated
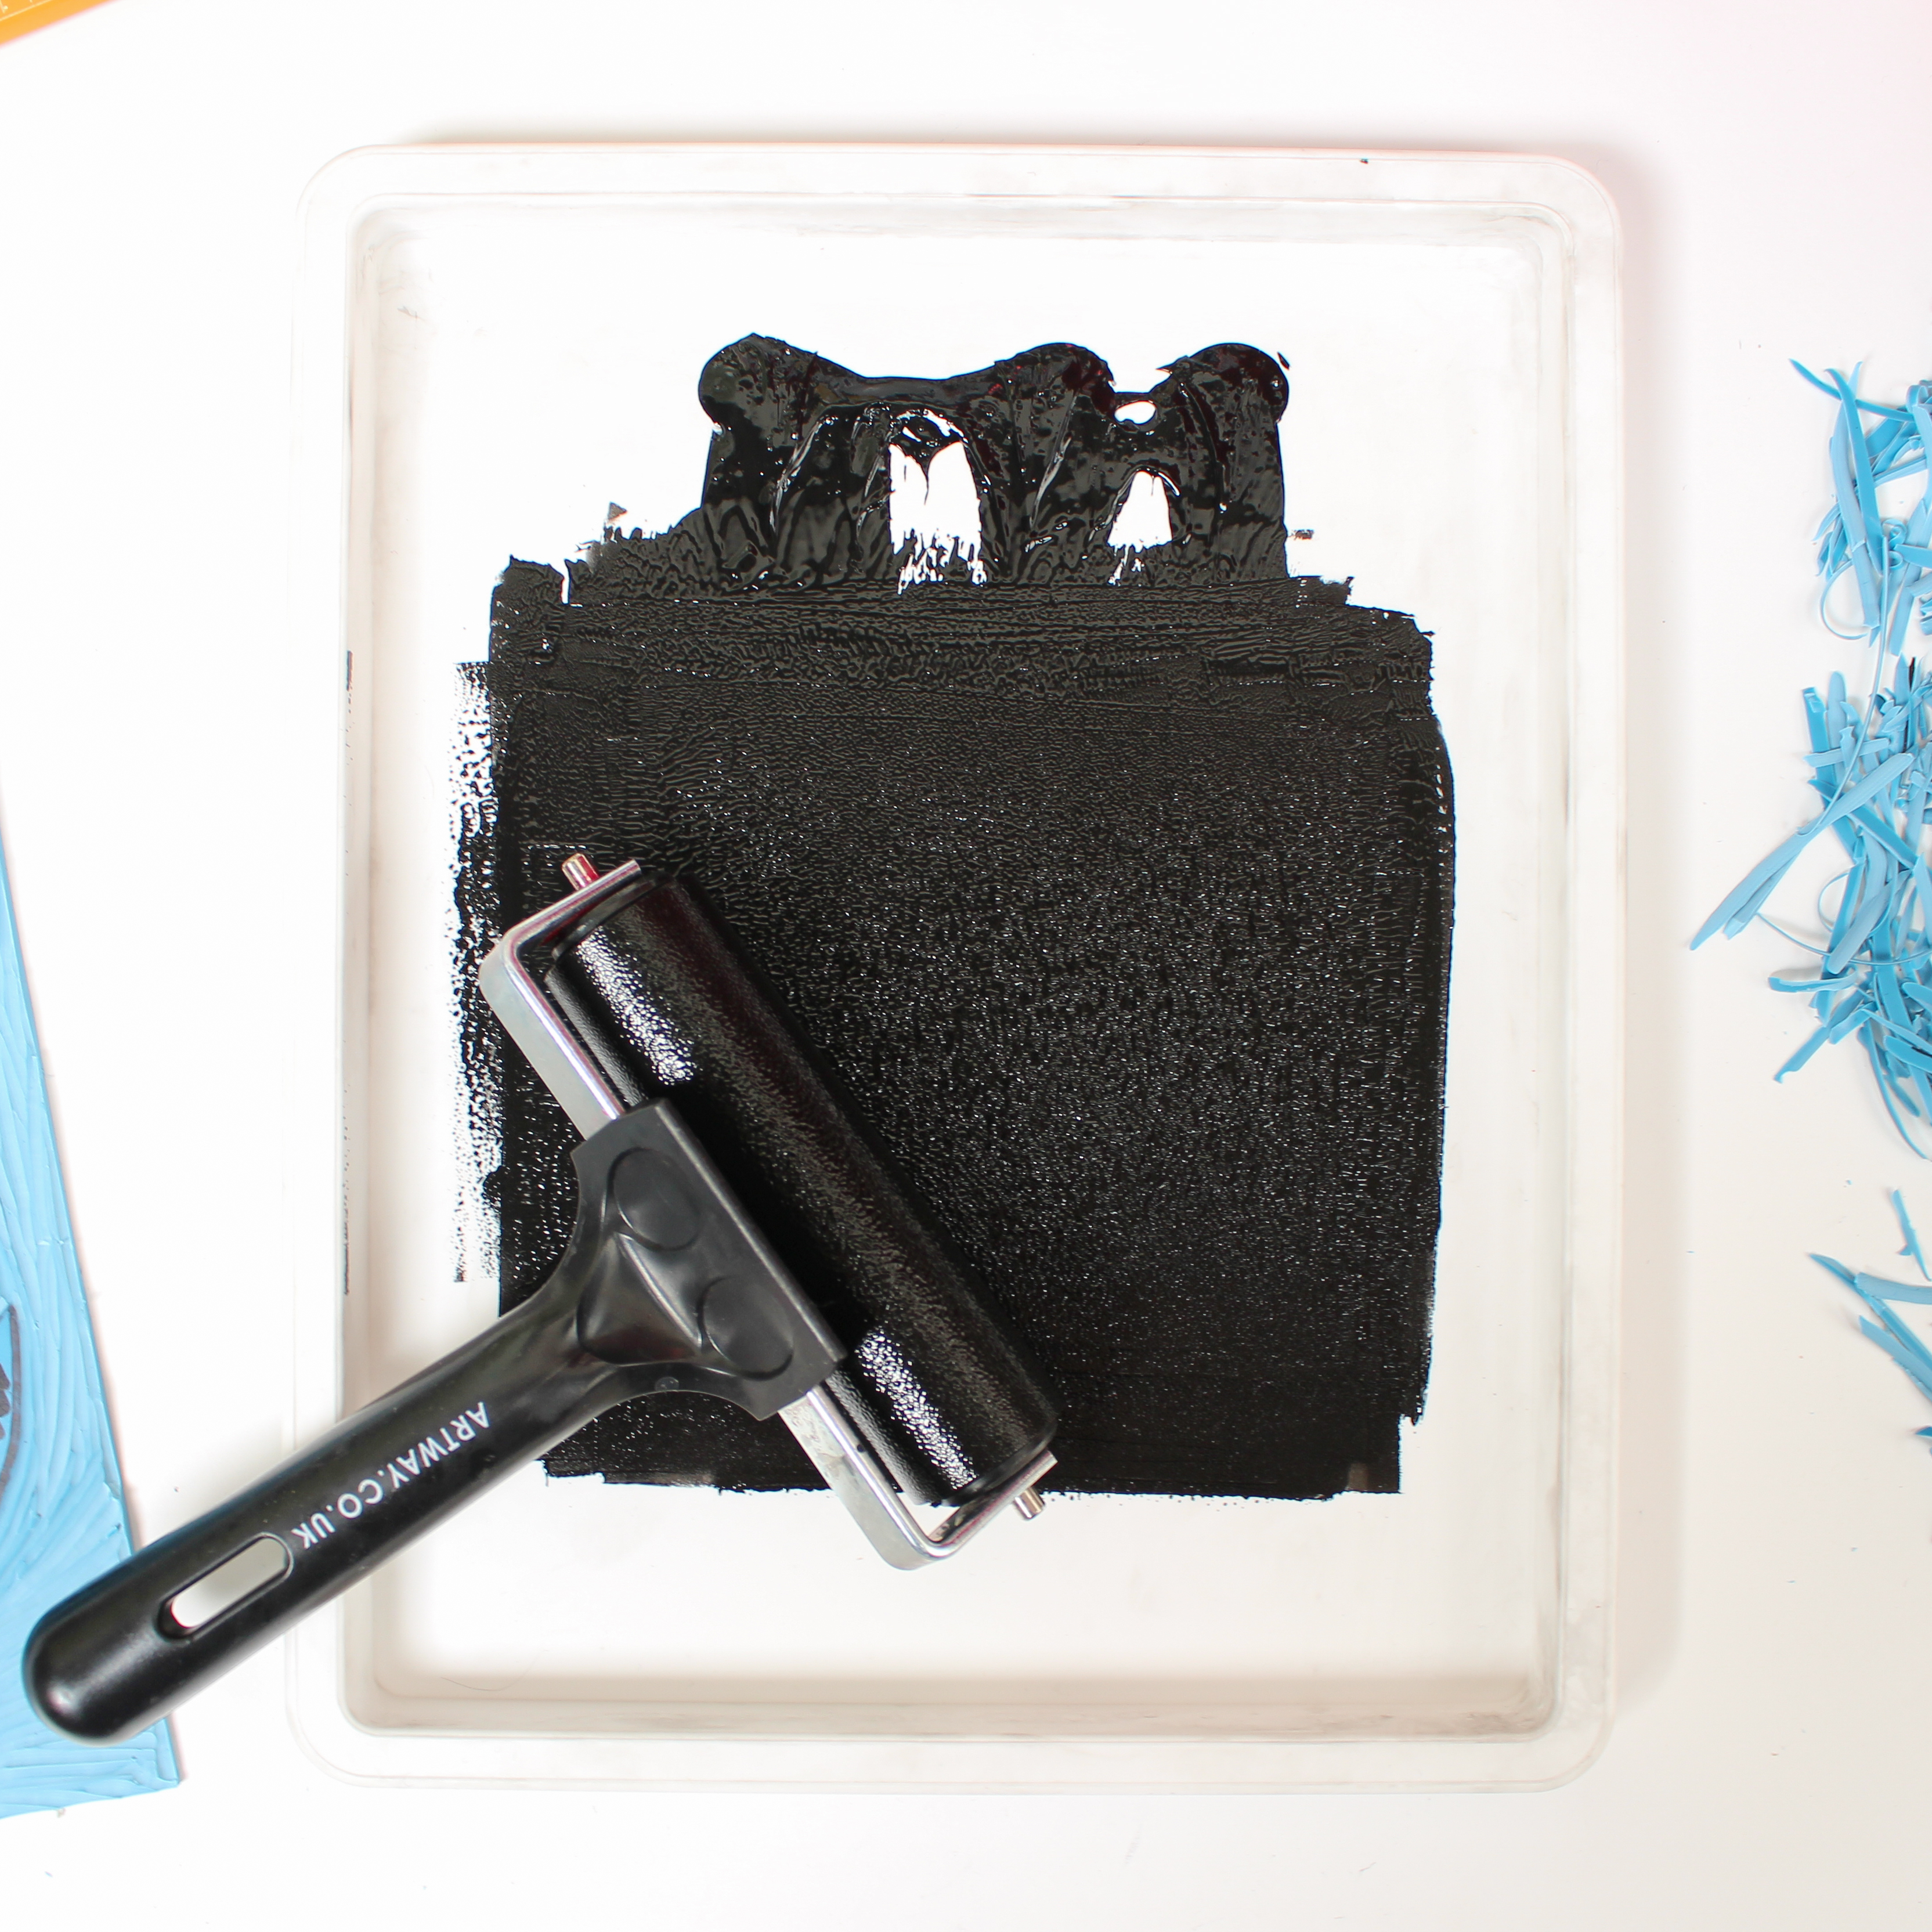
- Ink the lino/polymer sheet - roll a thin and even layer of ink across your lino/polymer sheet, applying it across the whole surface area in smooth even strokes
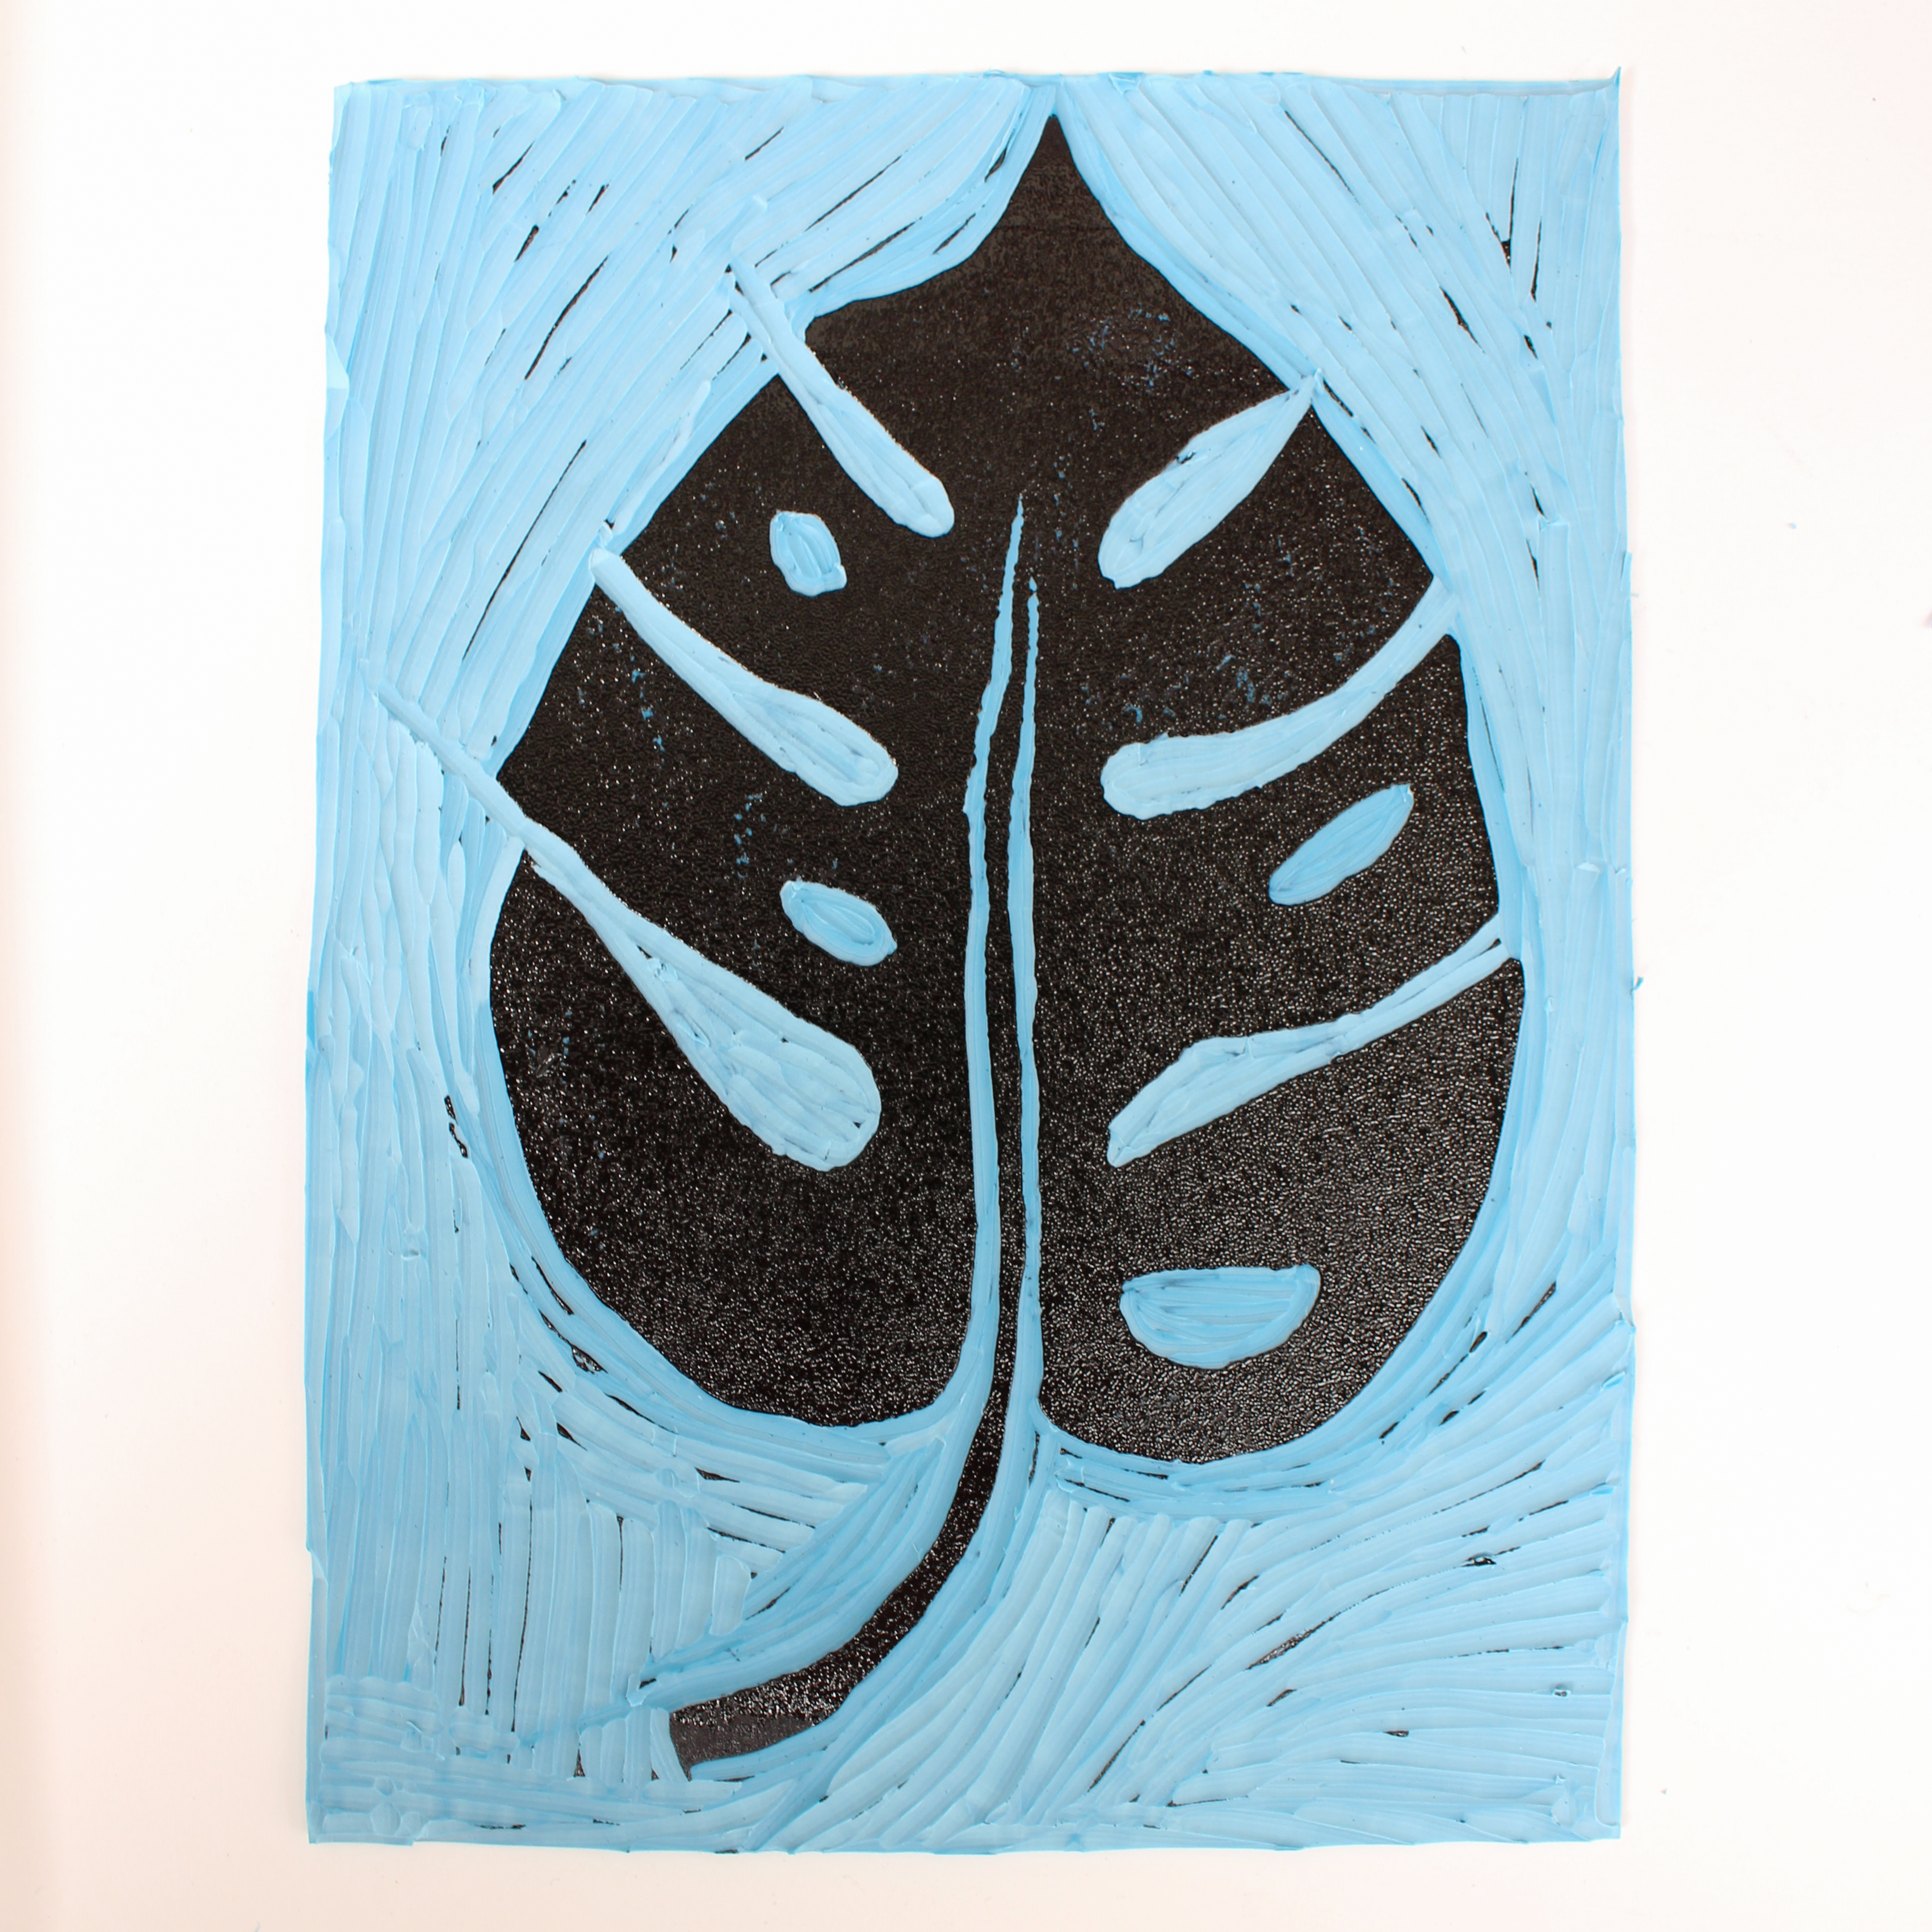
- Make a print - gently and carefully place a sheet of paper over the inked design. Upon placing the paper DON’T be tempted to move it as this will result in ink off-set and smudged results
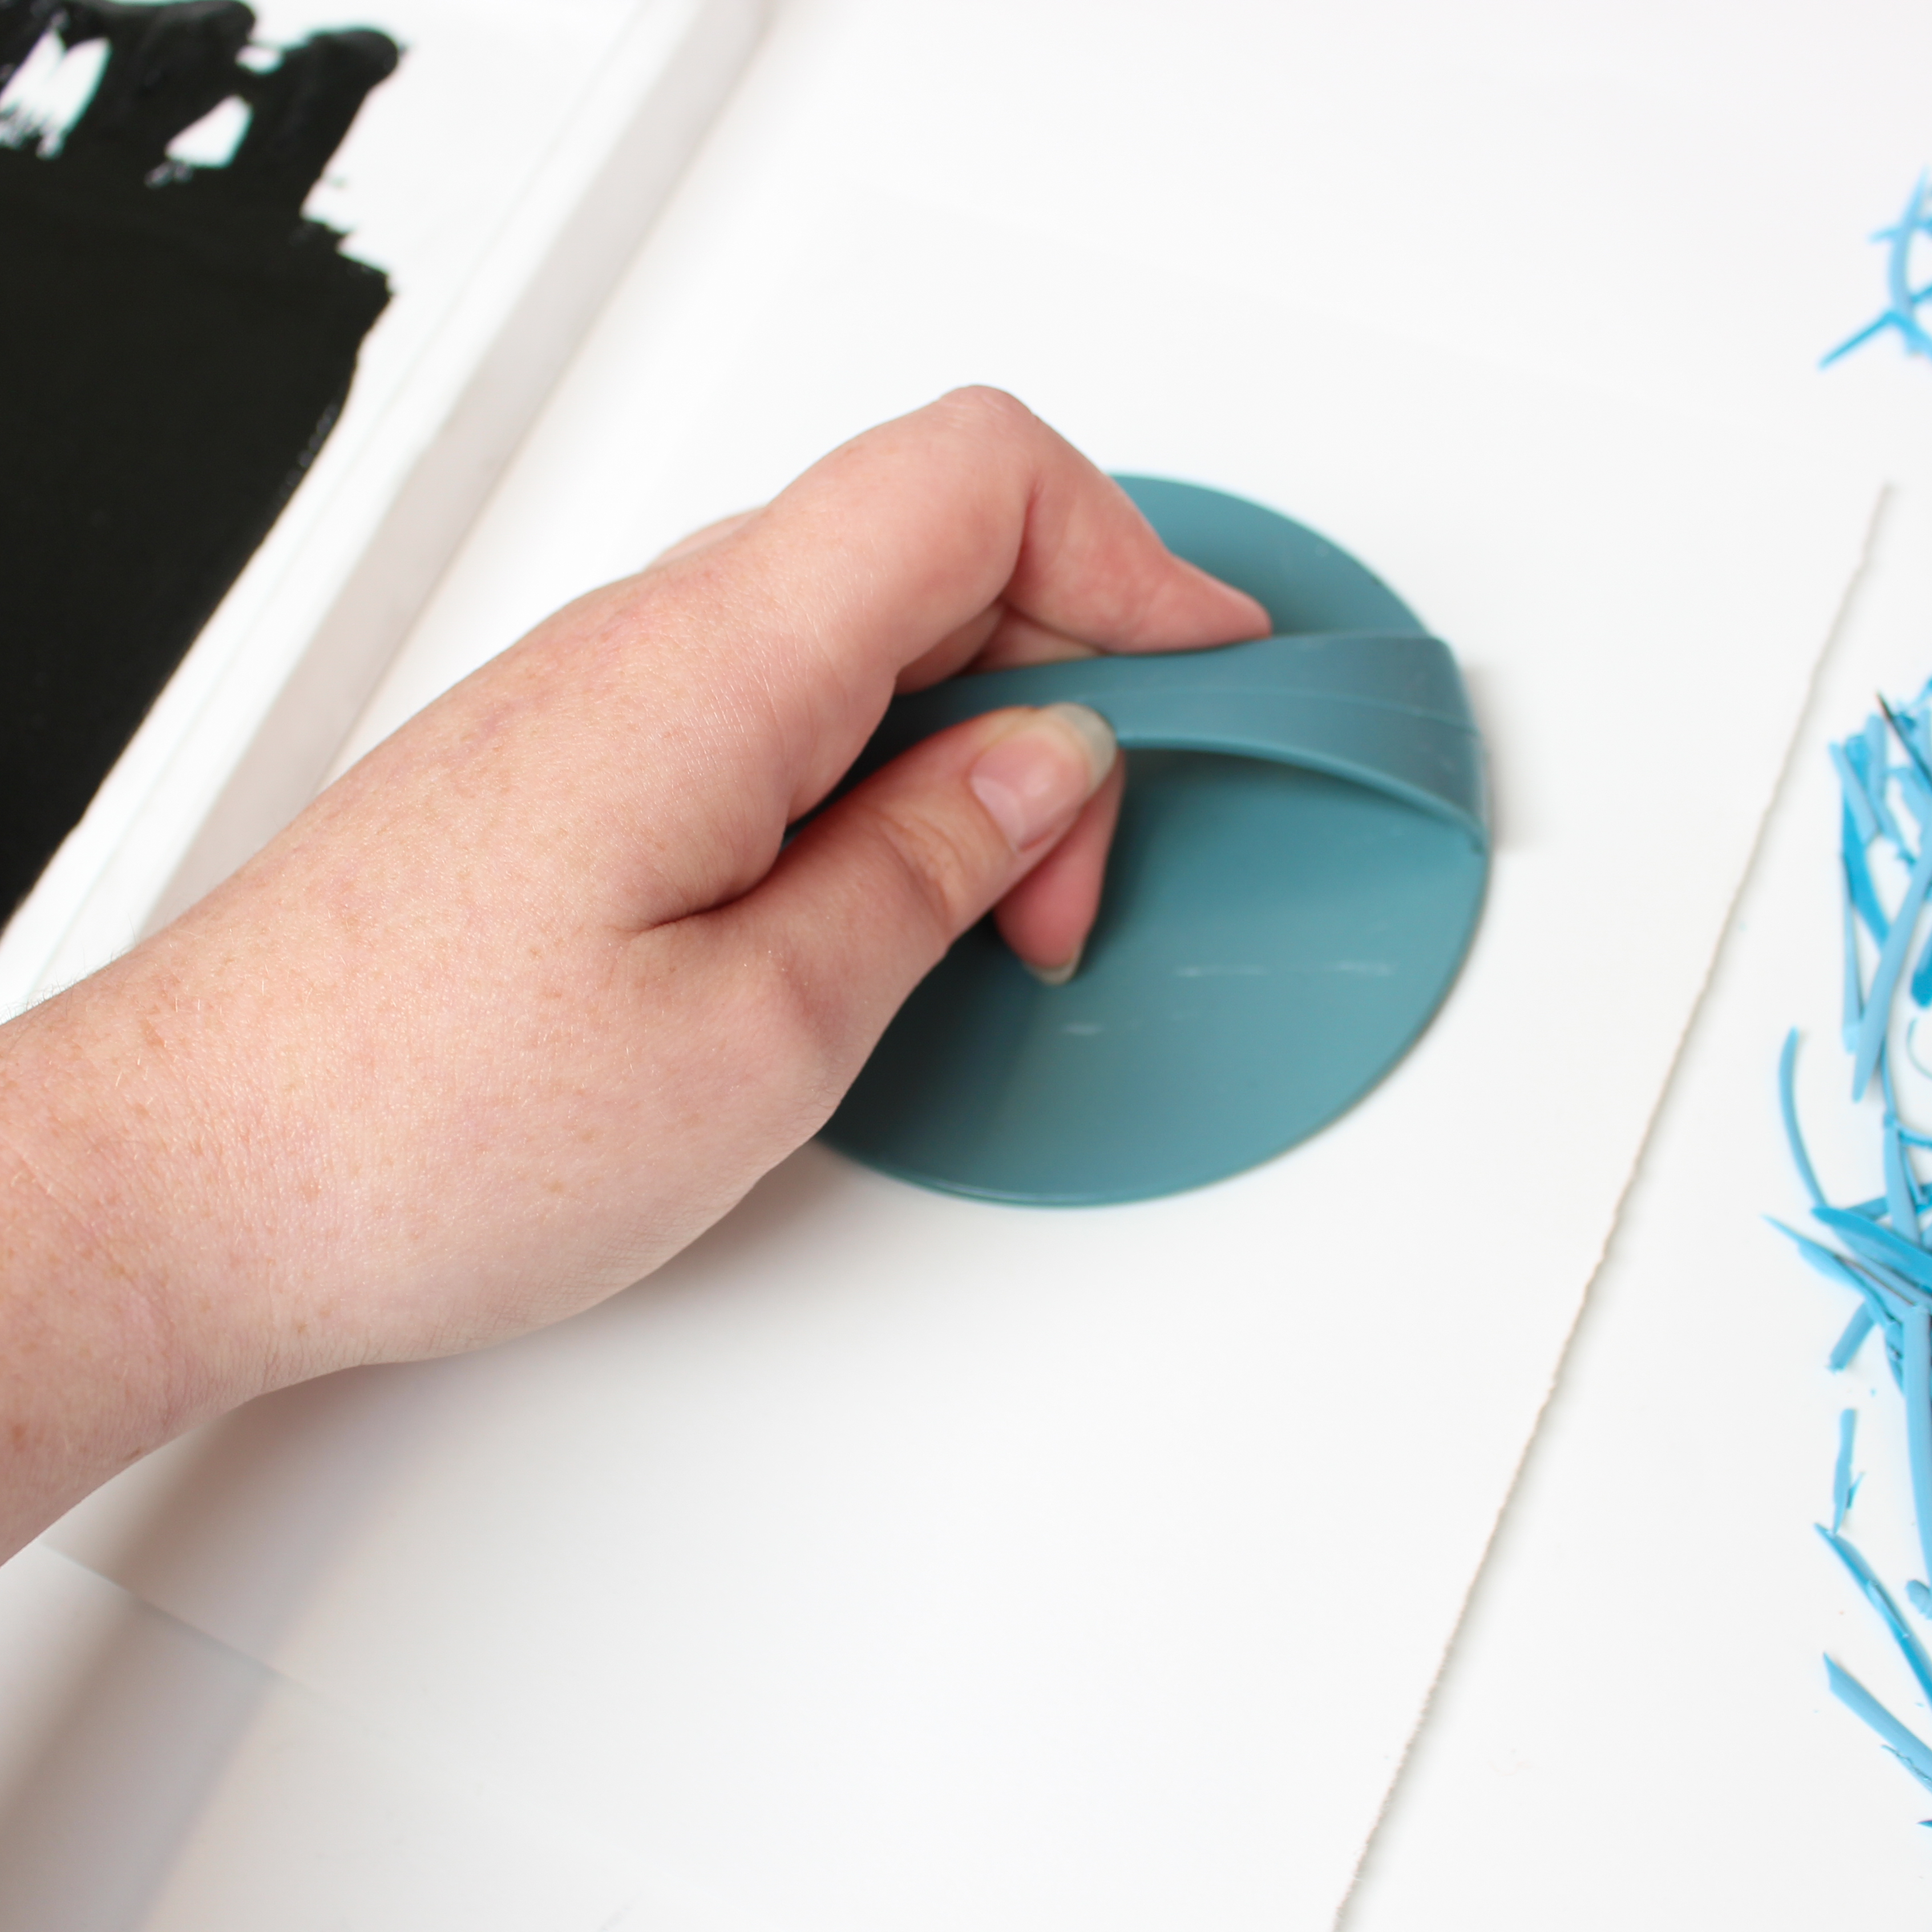
- Transfer the design - using the baren apply pressure to the back of the paper working from the middle outwards in a circular motion
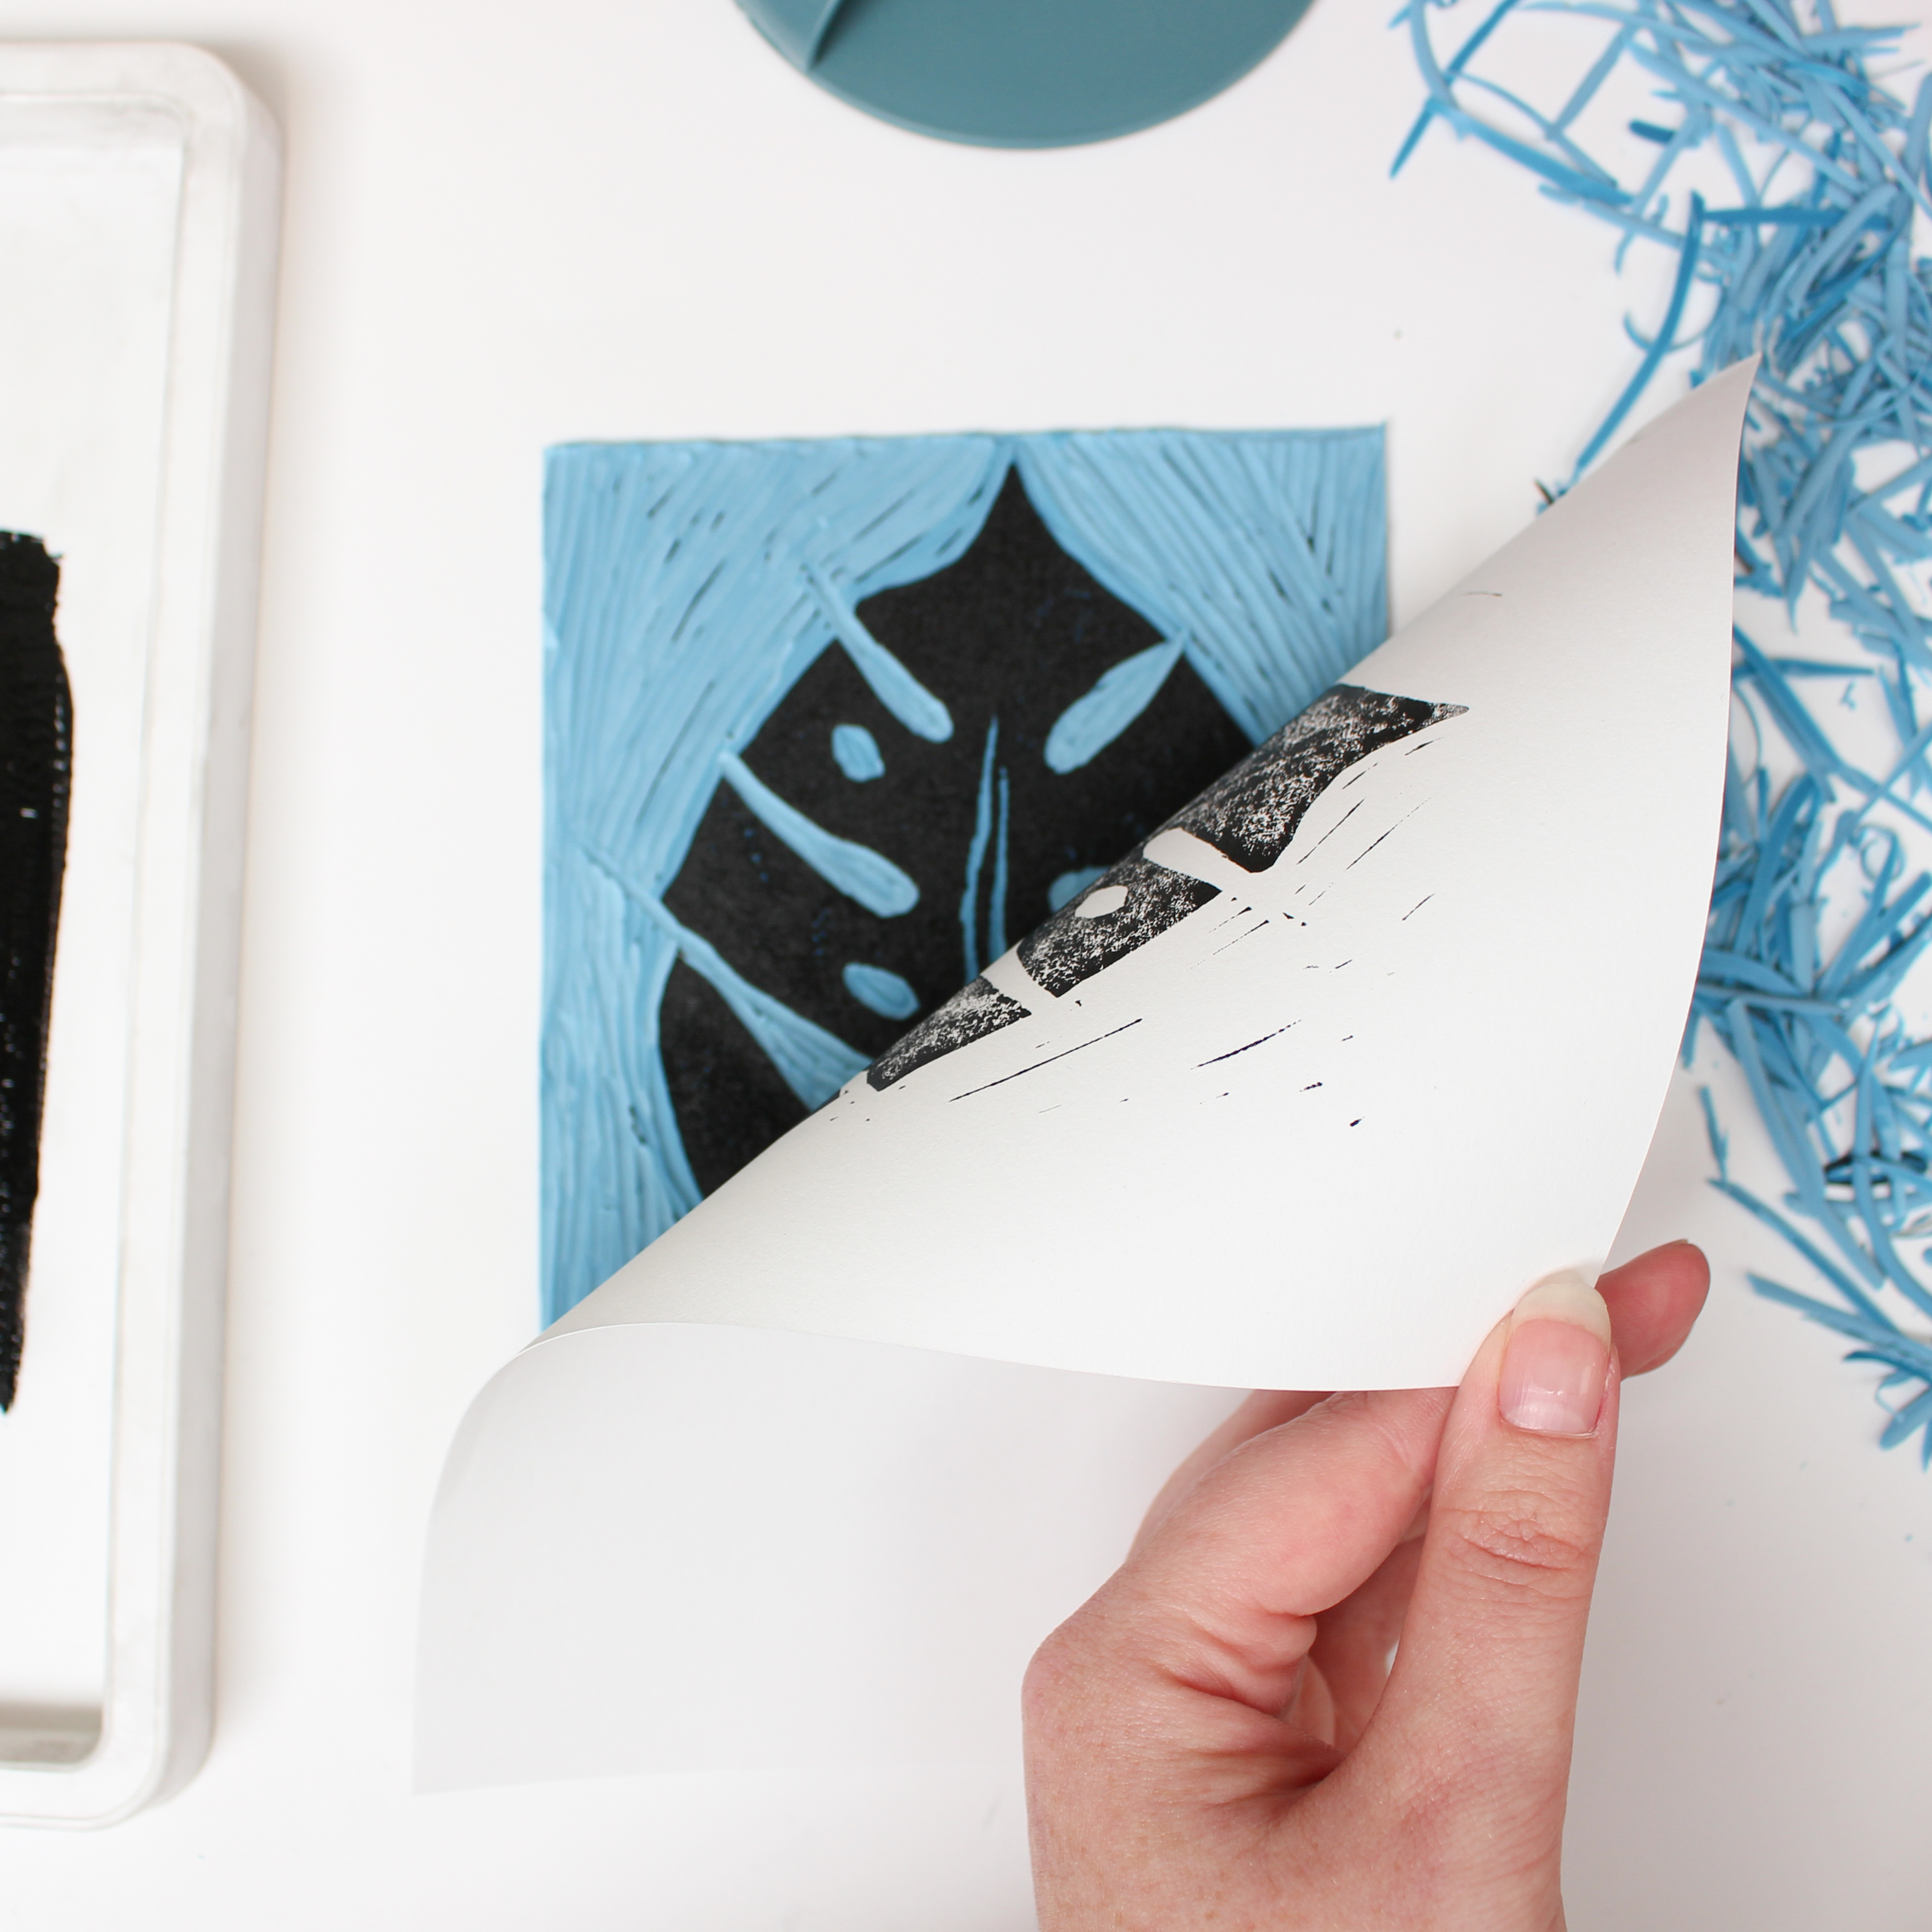
- Peel away the paper - pick up a corner of the paper and in one smooth motion peel away from the design taking care not to smudge or drag it as you go
- Leave to dry - place face up somewhere safe and flat
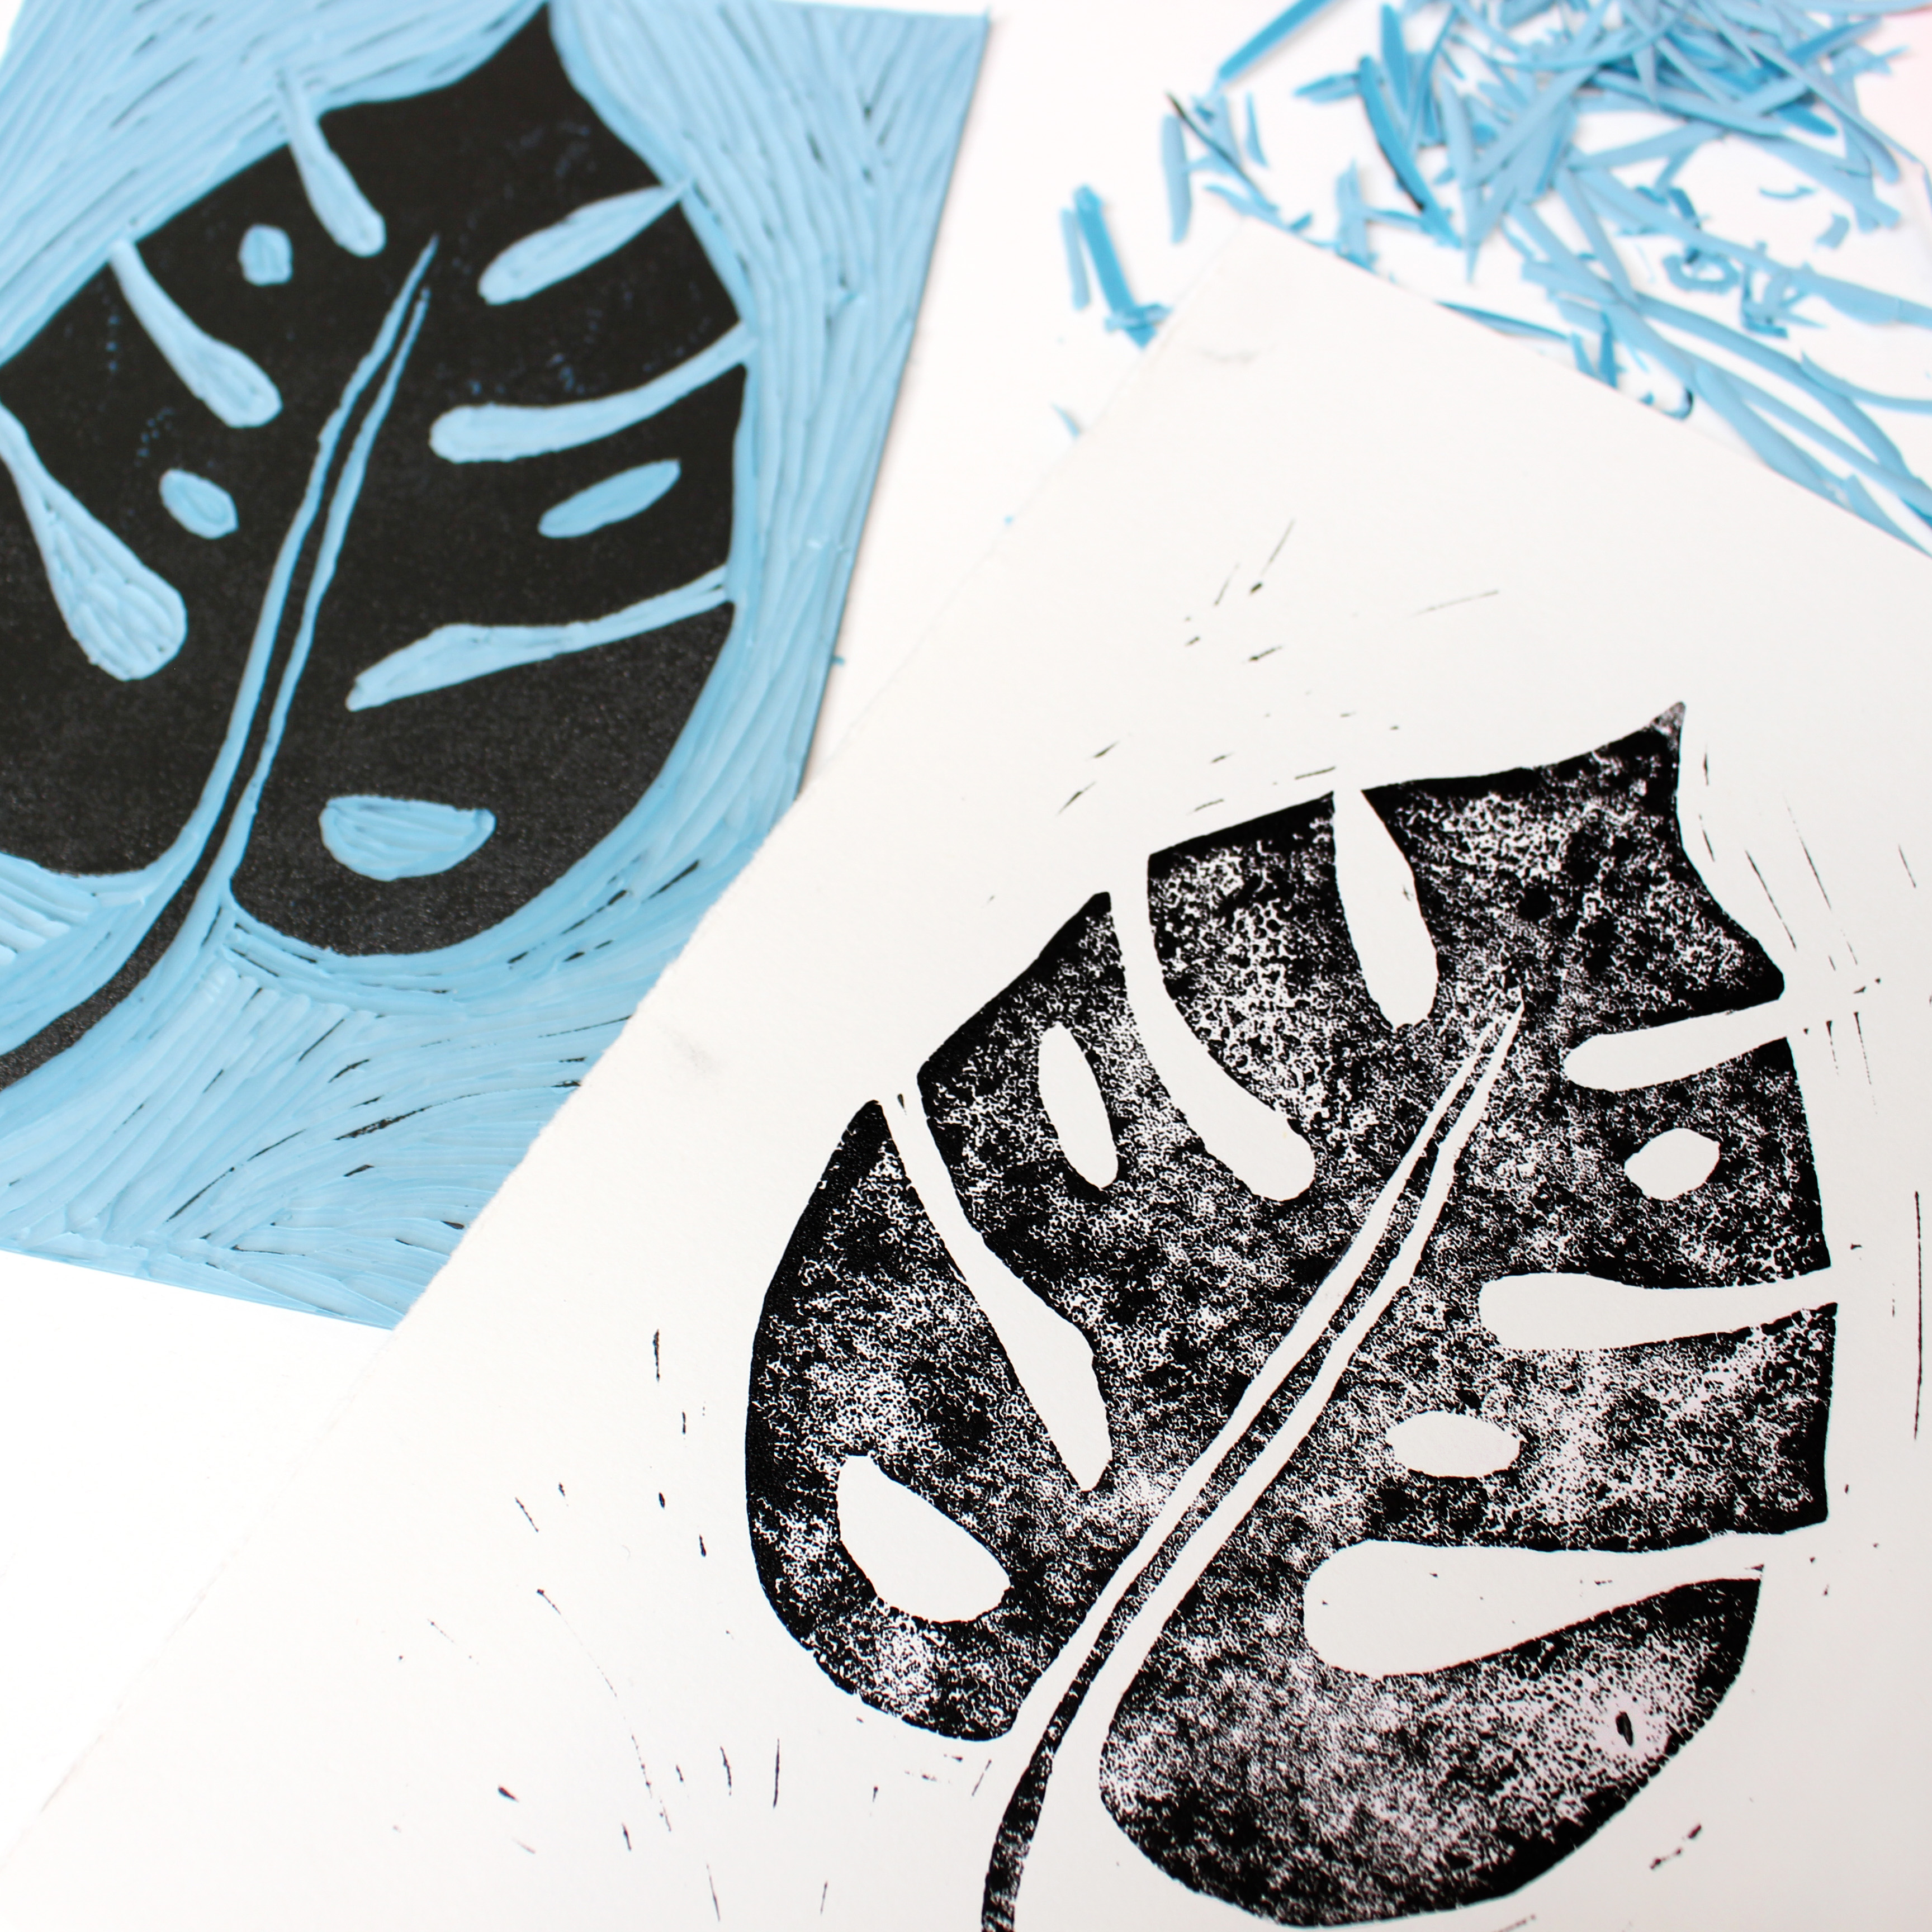
- Re-ink and repeat
TIP - experimentation is the name of the game - how much ink to apply, how much to roll out, the amount of pressure required, ink drying times etc. these all come with experience. With this in mind use scrap/test sheets to gauge results before using the paper you want to finally print on. (such as the ARTWAY 240gsm Mixed Media paper supplied)
Most importantly have fun!
Mastered lino printing, why don't you try out other relief printing techniques. You can follow along with our instructions on monoprinting or how to make a collagraph.
Check out our full range of Lino Printing Supplies.
