Collagraph Printing: A Guide for Beginners
31st Jan 2025
Collagraph Printing: A Guide for Beginners
What is collagraph printing?
Collagraph is an experimental printmaking technique compared to lino printing. A flexible process lets you create a textured collage. You can use papers, fabrics, and natural materials like leaves to make a design.
You can print using either a relief or intaglio technique. In this beginner's guide, we will be collagraph relief printing. This method allows us to take a print from the raised surface.
What you need for Collagraph Relief Printmaking
- Grey Board - Foundation support to create collagraph. Absorbency and flexibility can make it hard to create consistent copies of the same image. Every print will possess its unique personality!
- Artway Inking Tray - to roll ink out
- Artway Brayer Roller - for applying ink to the surface
- Printing Ink
- Artway PVA glue - to apply materials with and to seal the collagraph surface
- Brush - for applying PVA and ink to the collagraph
- Paper - we suggest using a heavyweight mixed media paper
The Artway Lino Printing kit includes the essentials needed for this tutorial and additional printing techniques!
Additionally, check out our blog post about this kit. (featuring this tutorial amongst other printmaking techniques)
Process
- Get ready to experiment - gather a range of flat surfaces and textures to apply to your greyboard as a collage - these might include random paper samples; natural items such as leaves for shape and texture; cloths; net curtain strips; fine string/cotton; bubblewrap etc. … whatever might be lying around!
- Additional tools and materials - a sharp tool to mark and scrape away the greyboard surface; tapes (masking/gummed/clear…) to add texture/edges and help bind materials; spray glue might be useful for more delicate items
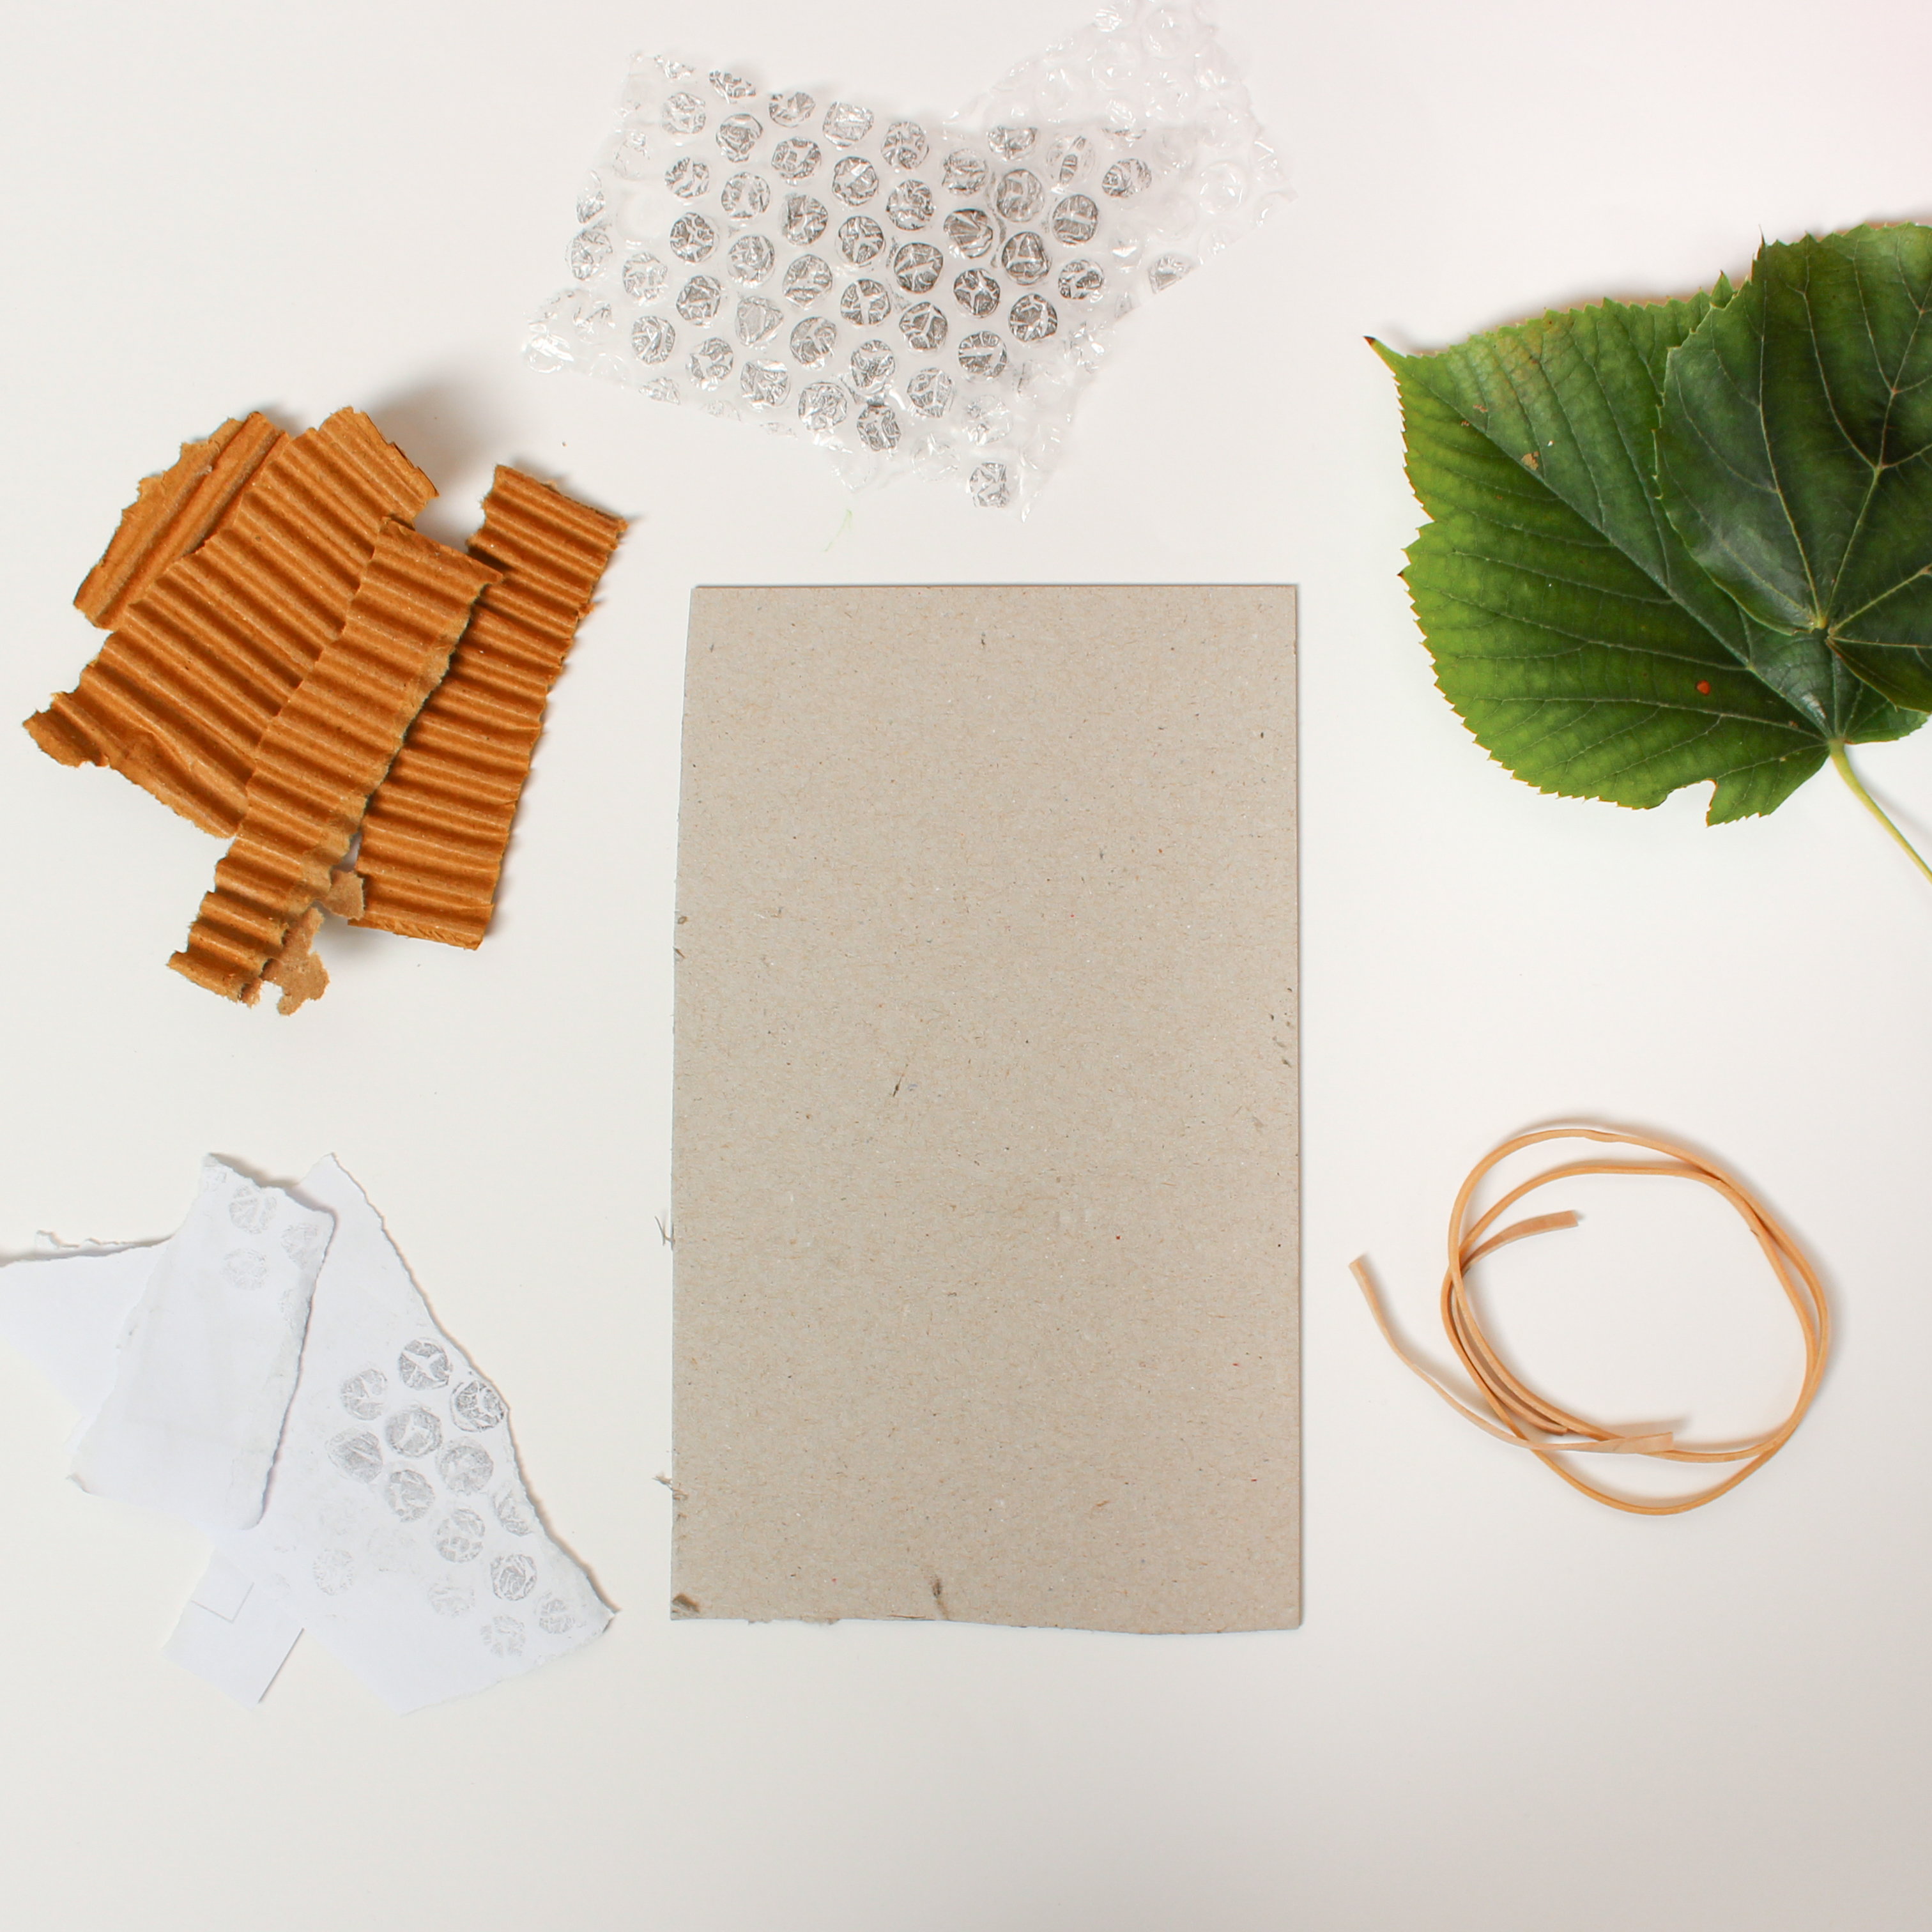
- Start - it’s not necessary to have an end design in mind at this stage - experiment first - this knowledge can be refined with subsequent prints. Randomly mark and gouge the card surface together with sticking some of your collected items to the greyboard building up a range of surface shapes, marks and textures
TIP - Initially keep the surface quite simple with a shallow depth - if surfaces are too pronounced this will affect the ability of the ink to adhere to your final printed sheet
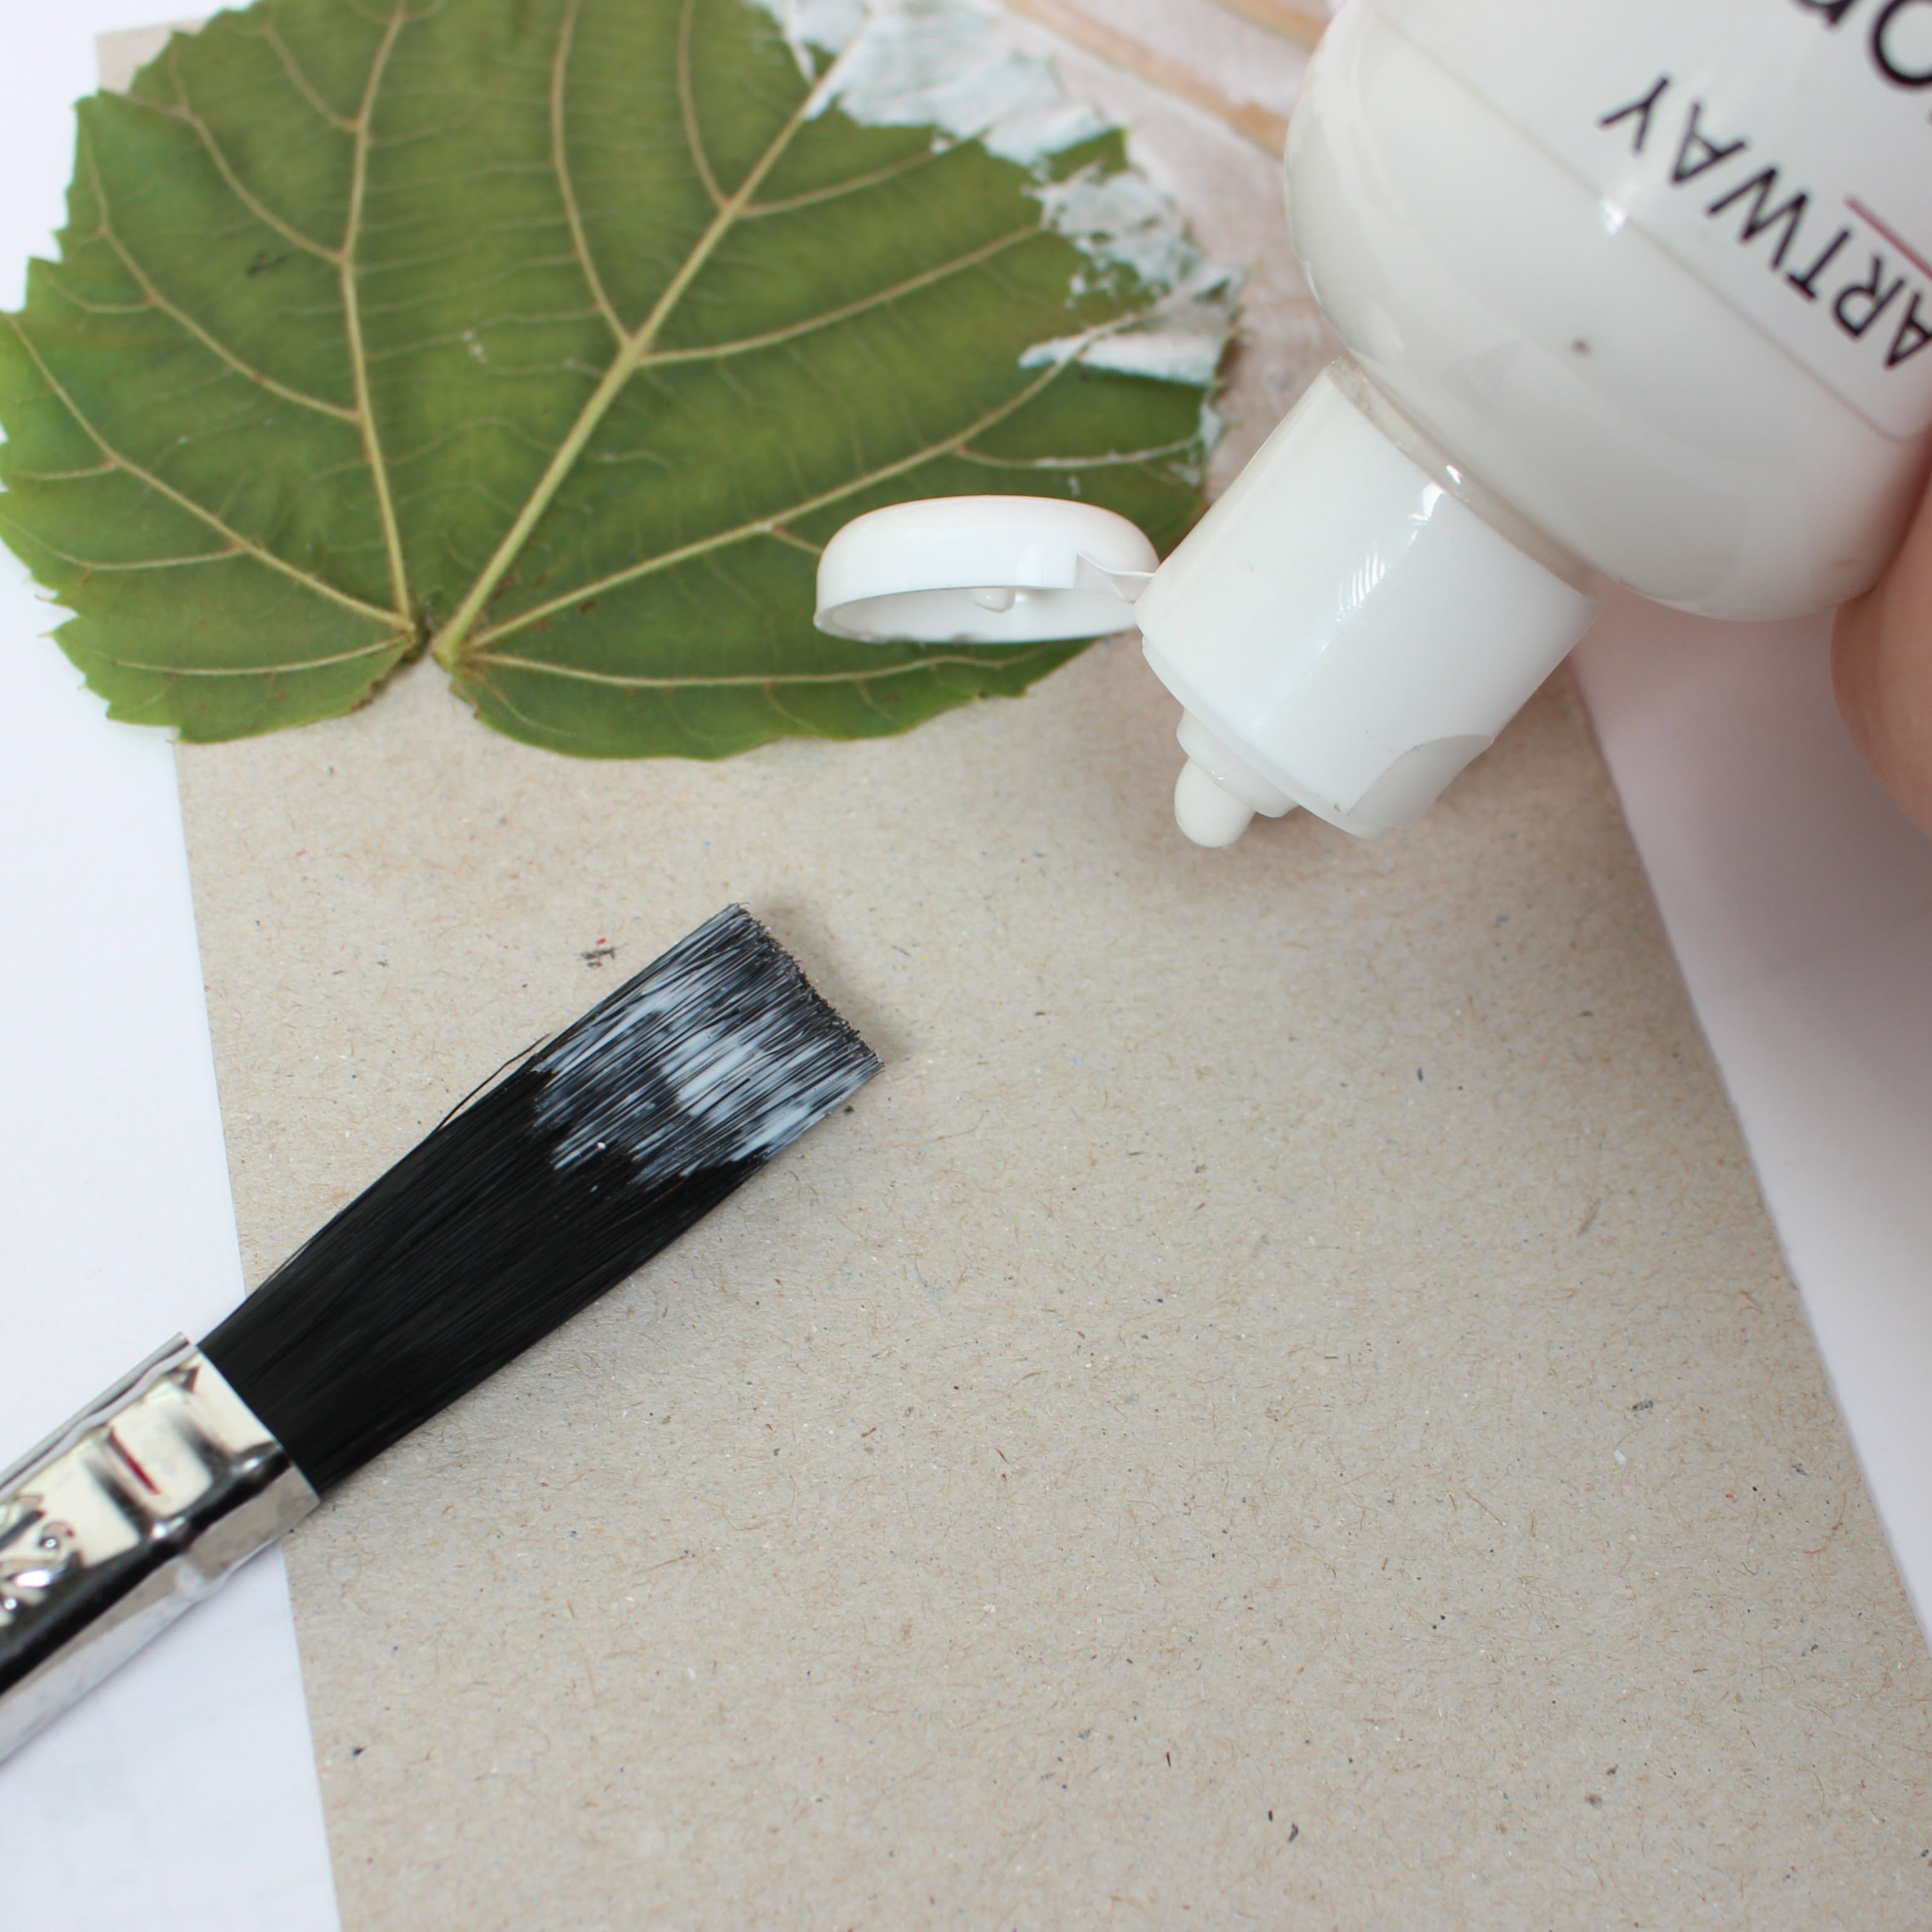
- Seal the surface - apply PVA glue to seal and bind the surface as you go - make sure gaps are covered and the surface is dry before adding further layers. When happy with your range of surfaces add a final seal and allow to dry thoroughly (overnight)
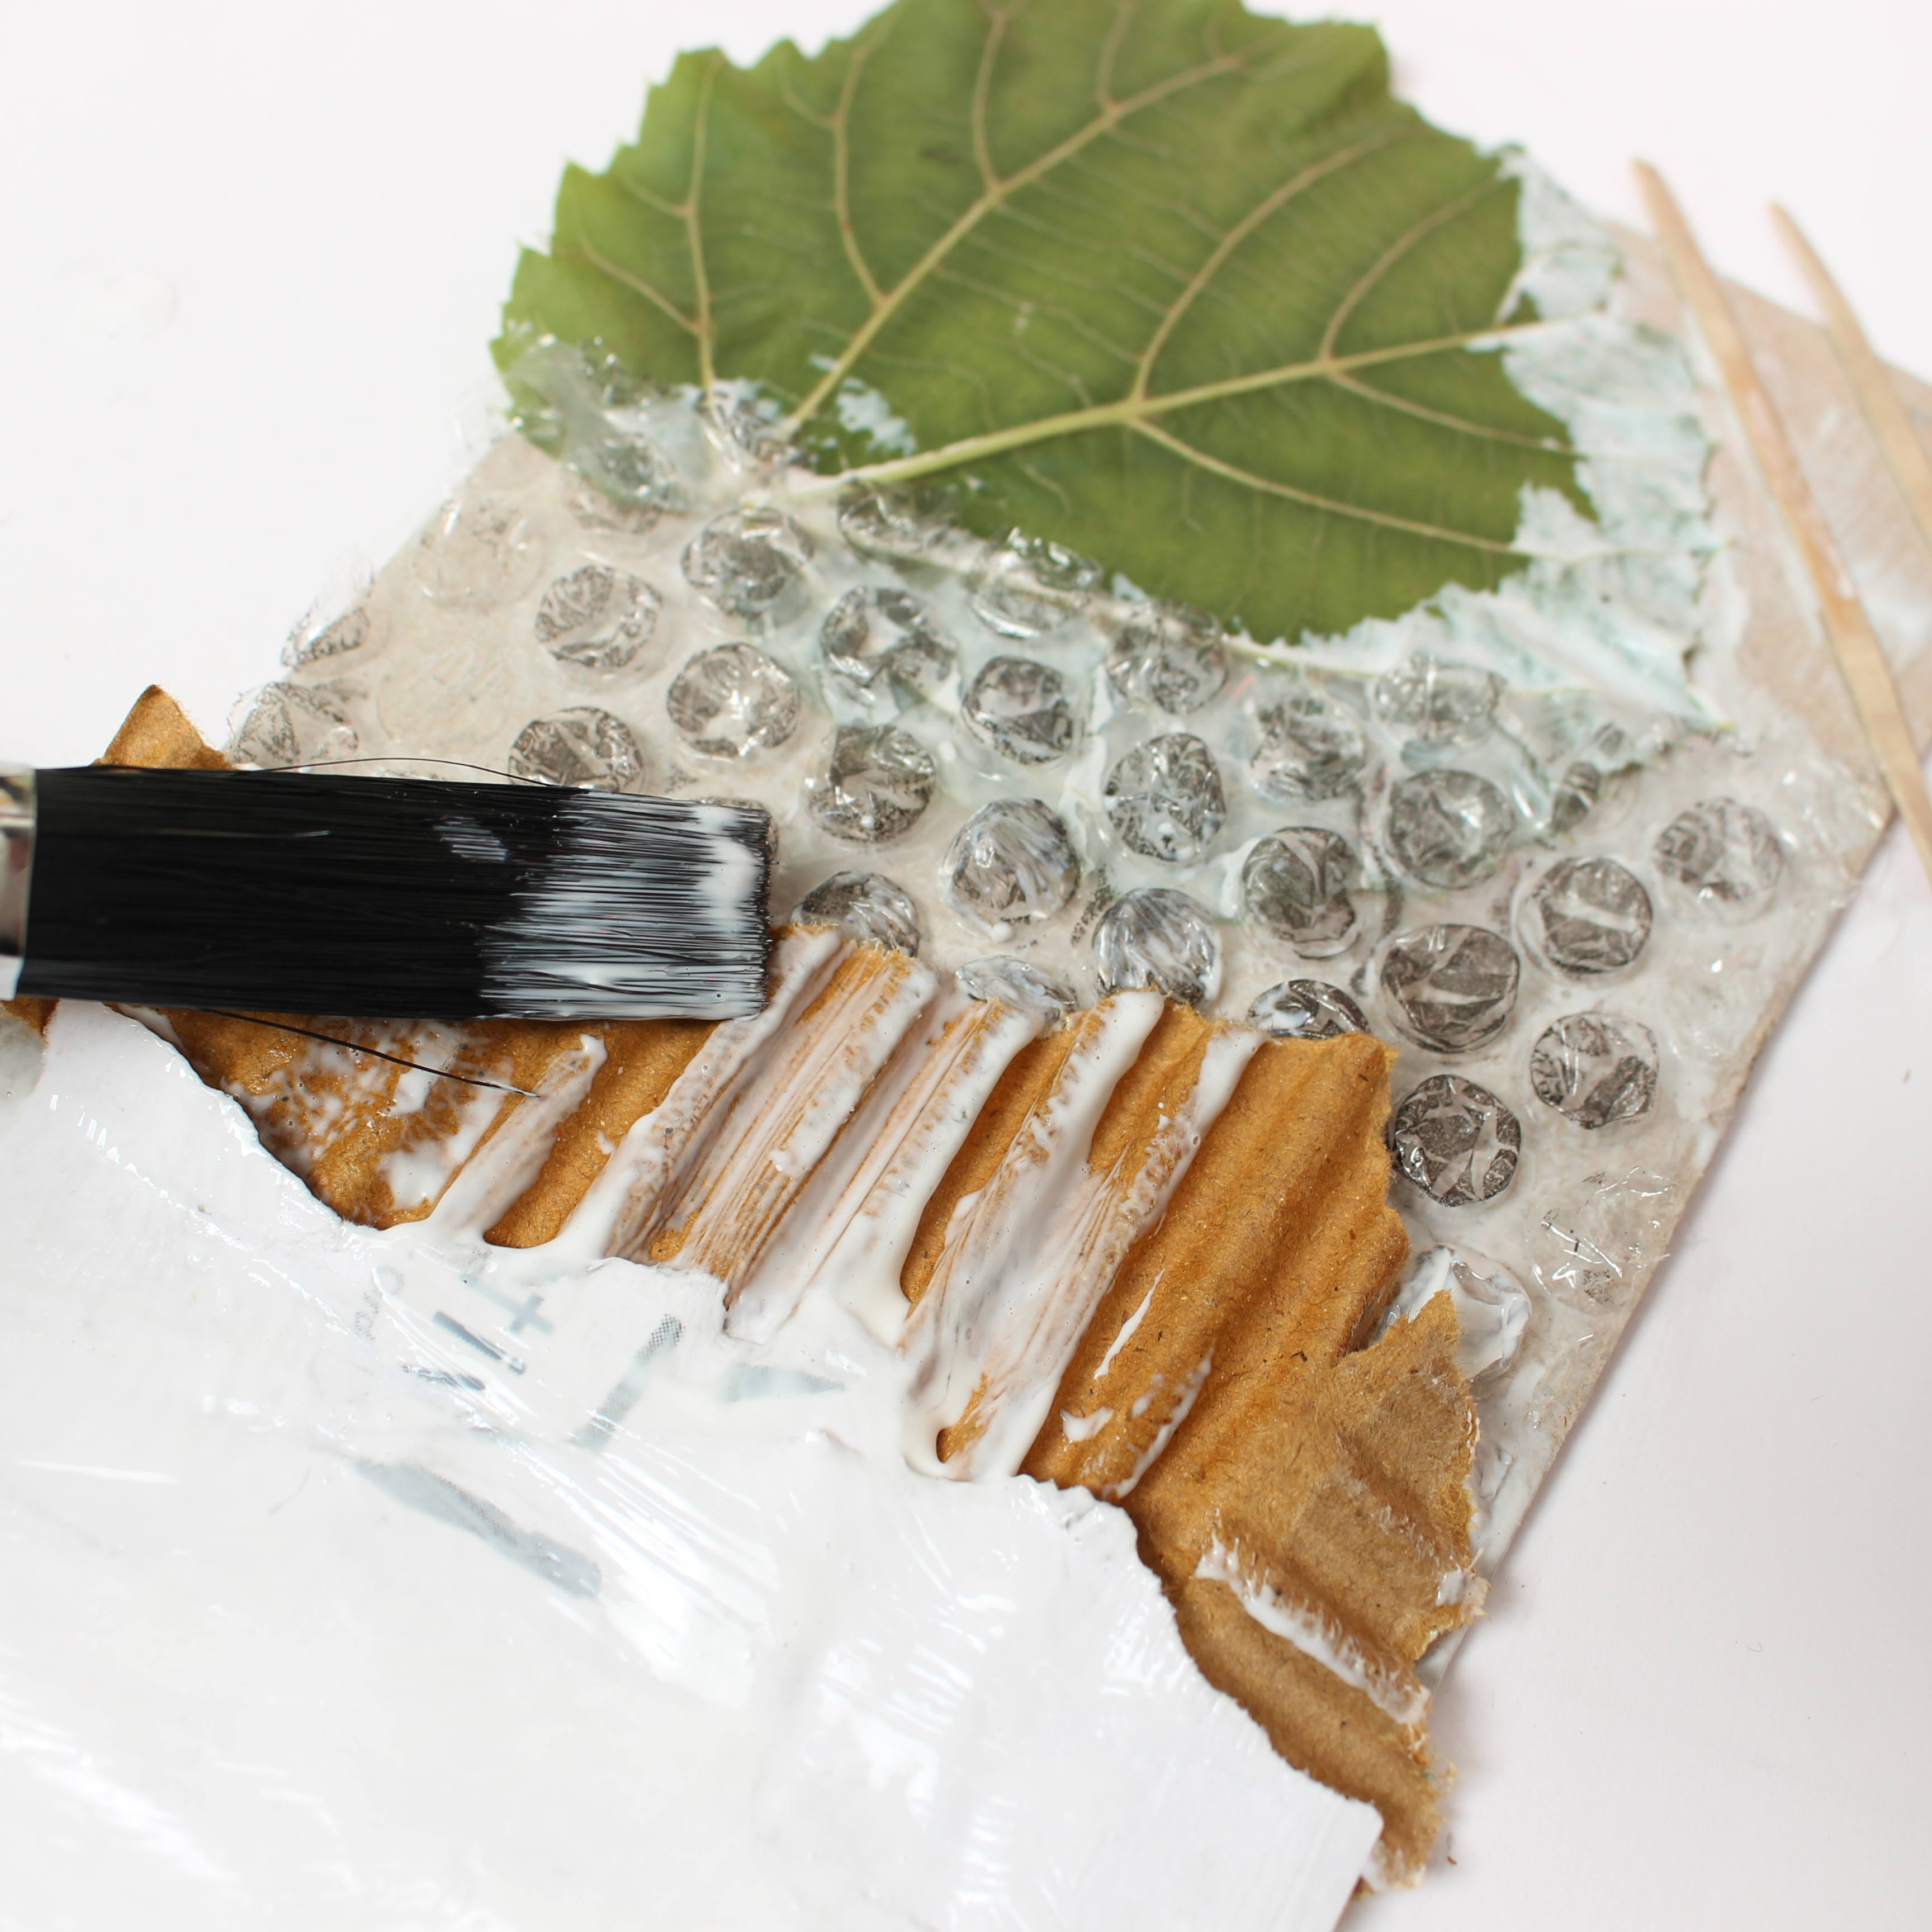
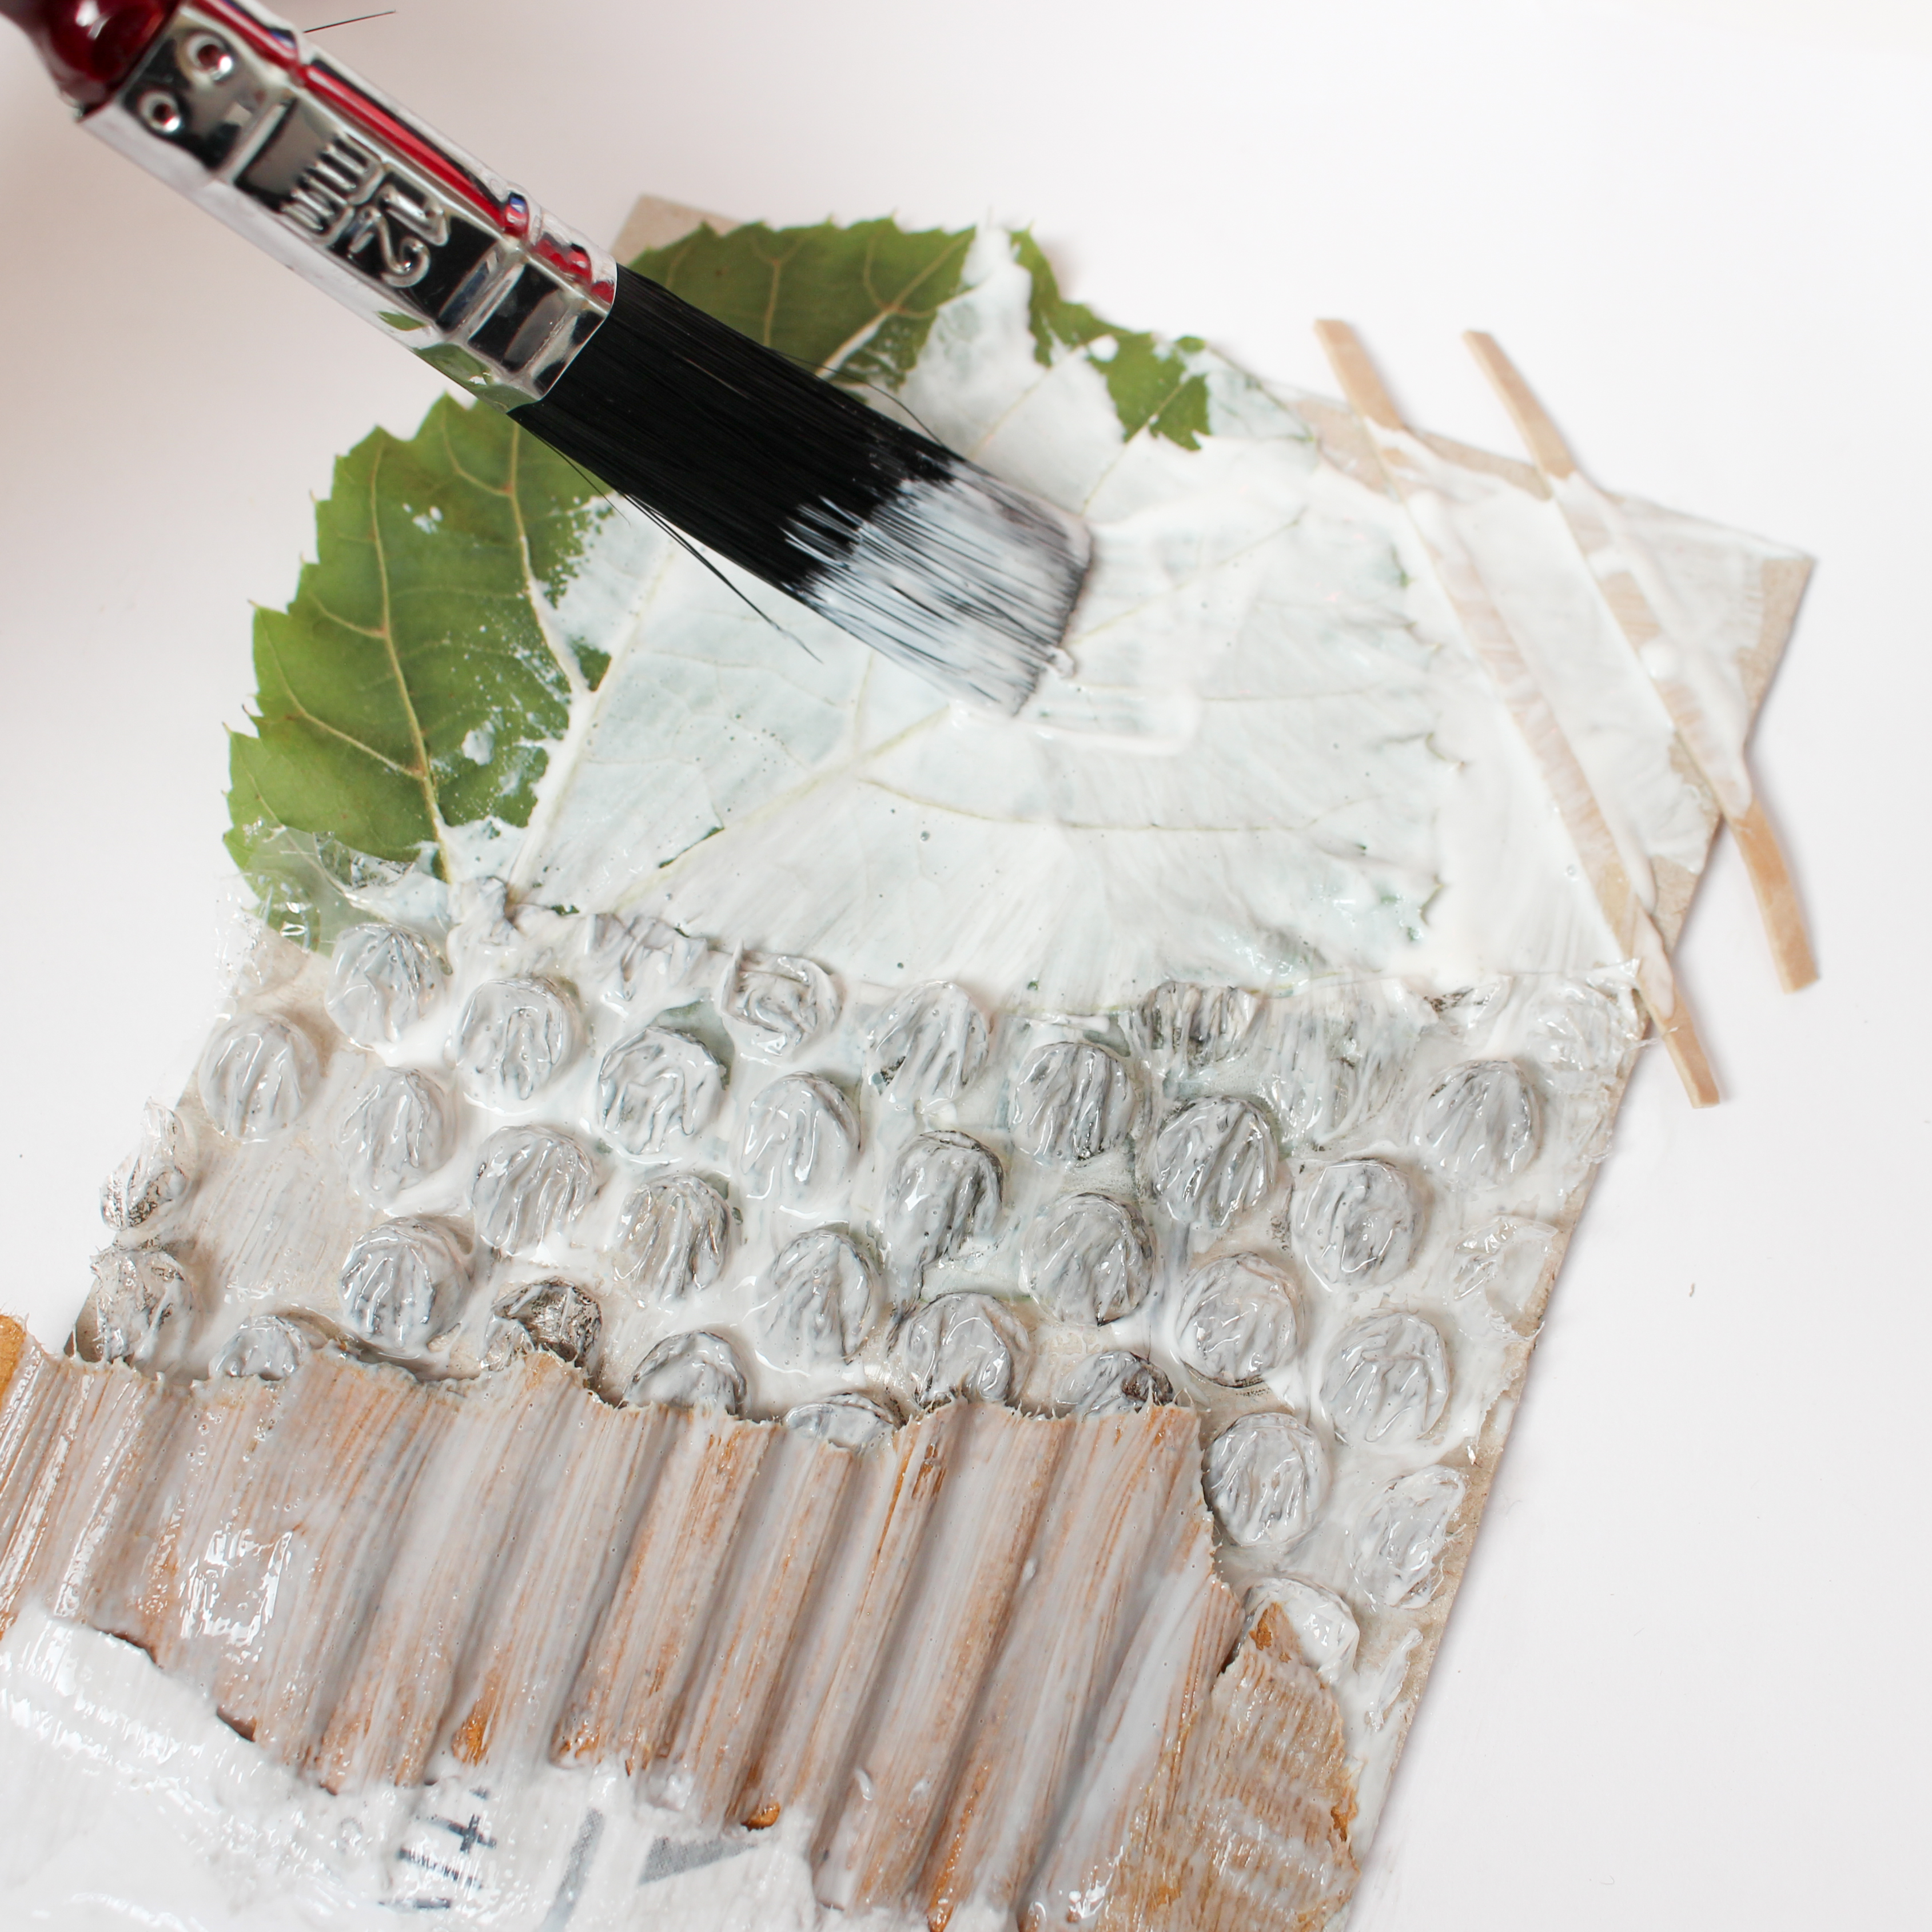
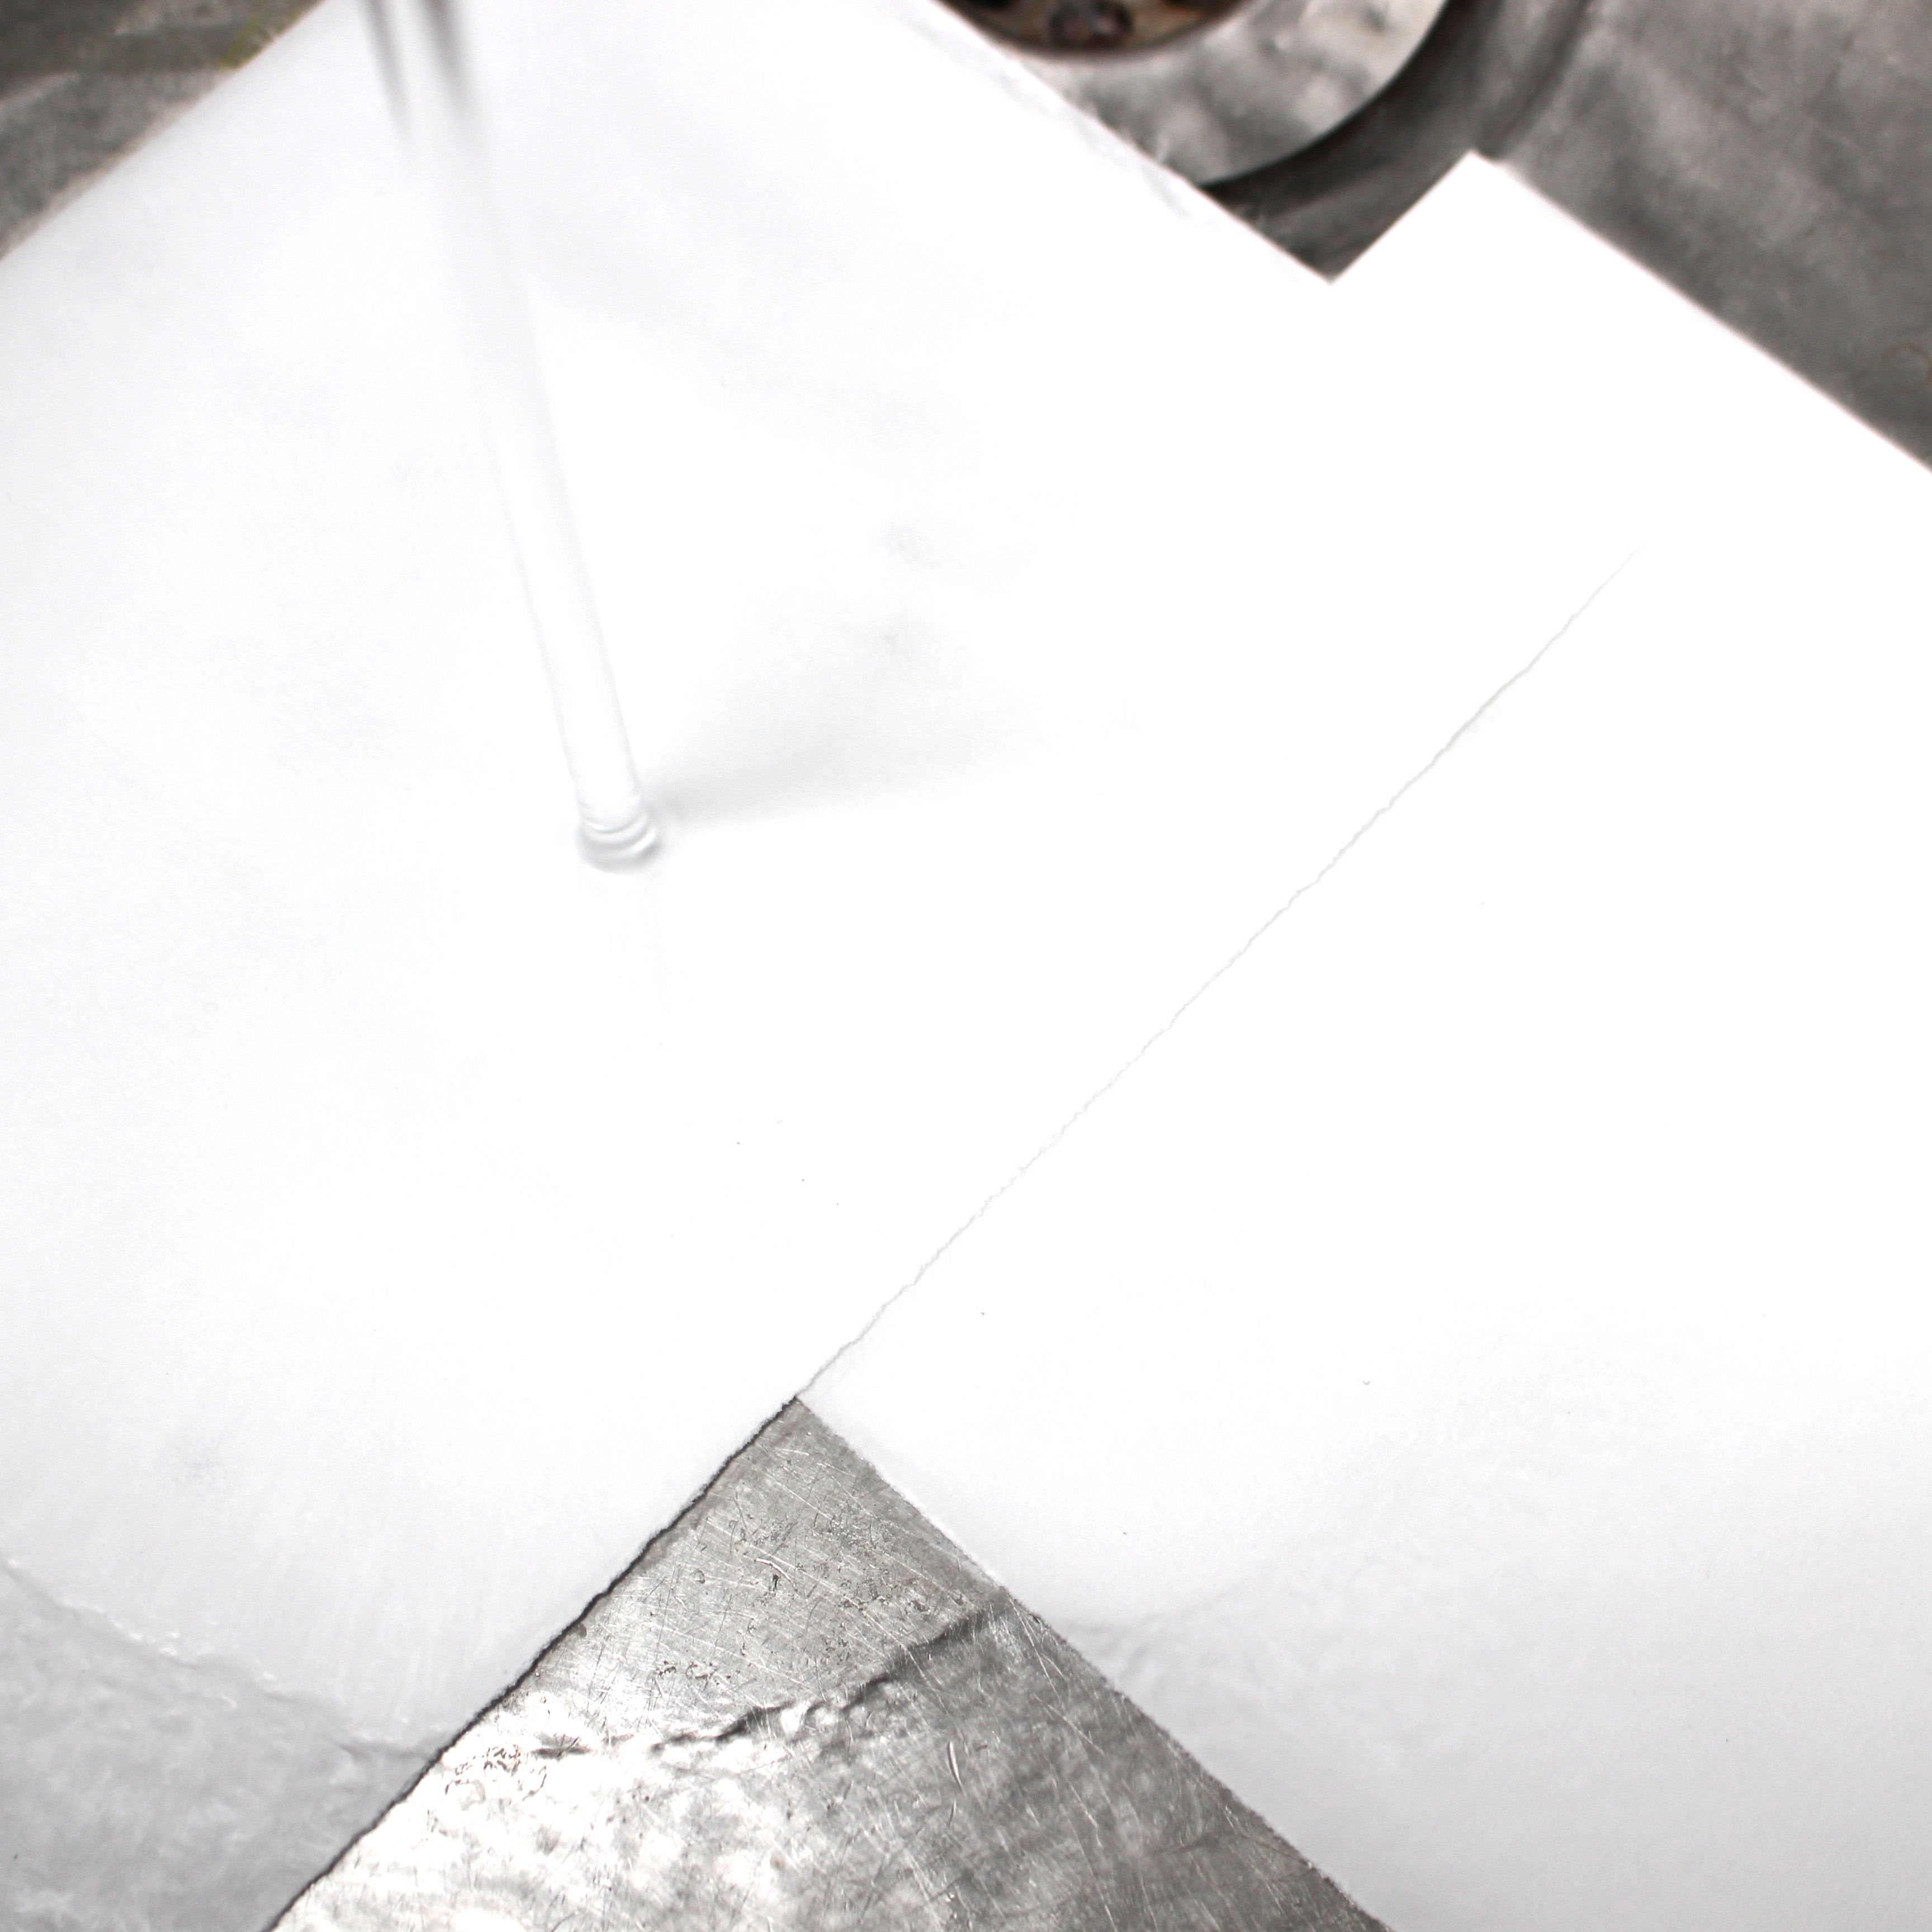
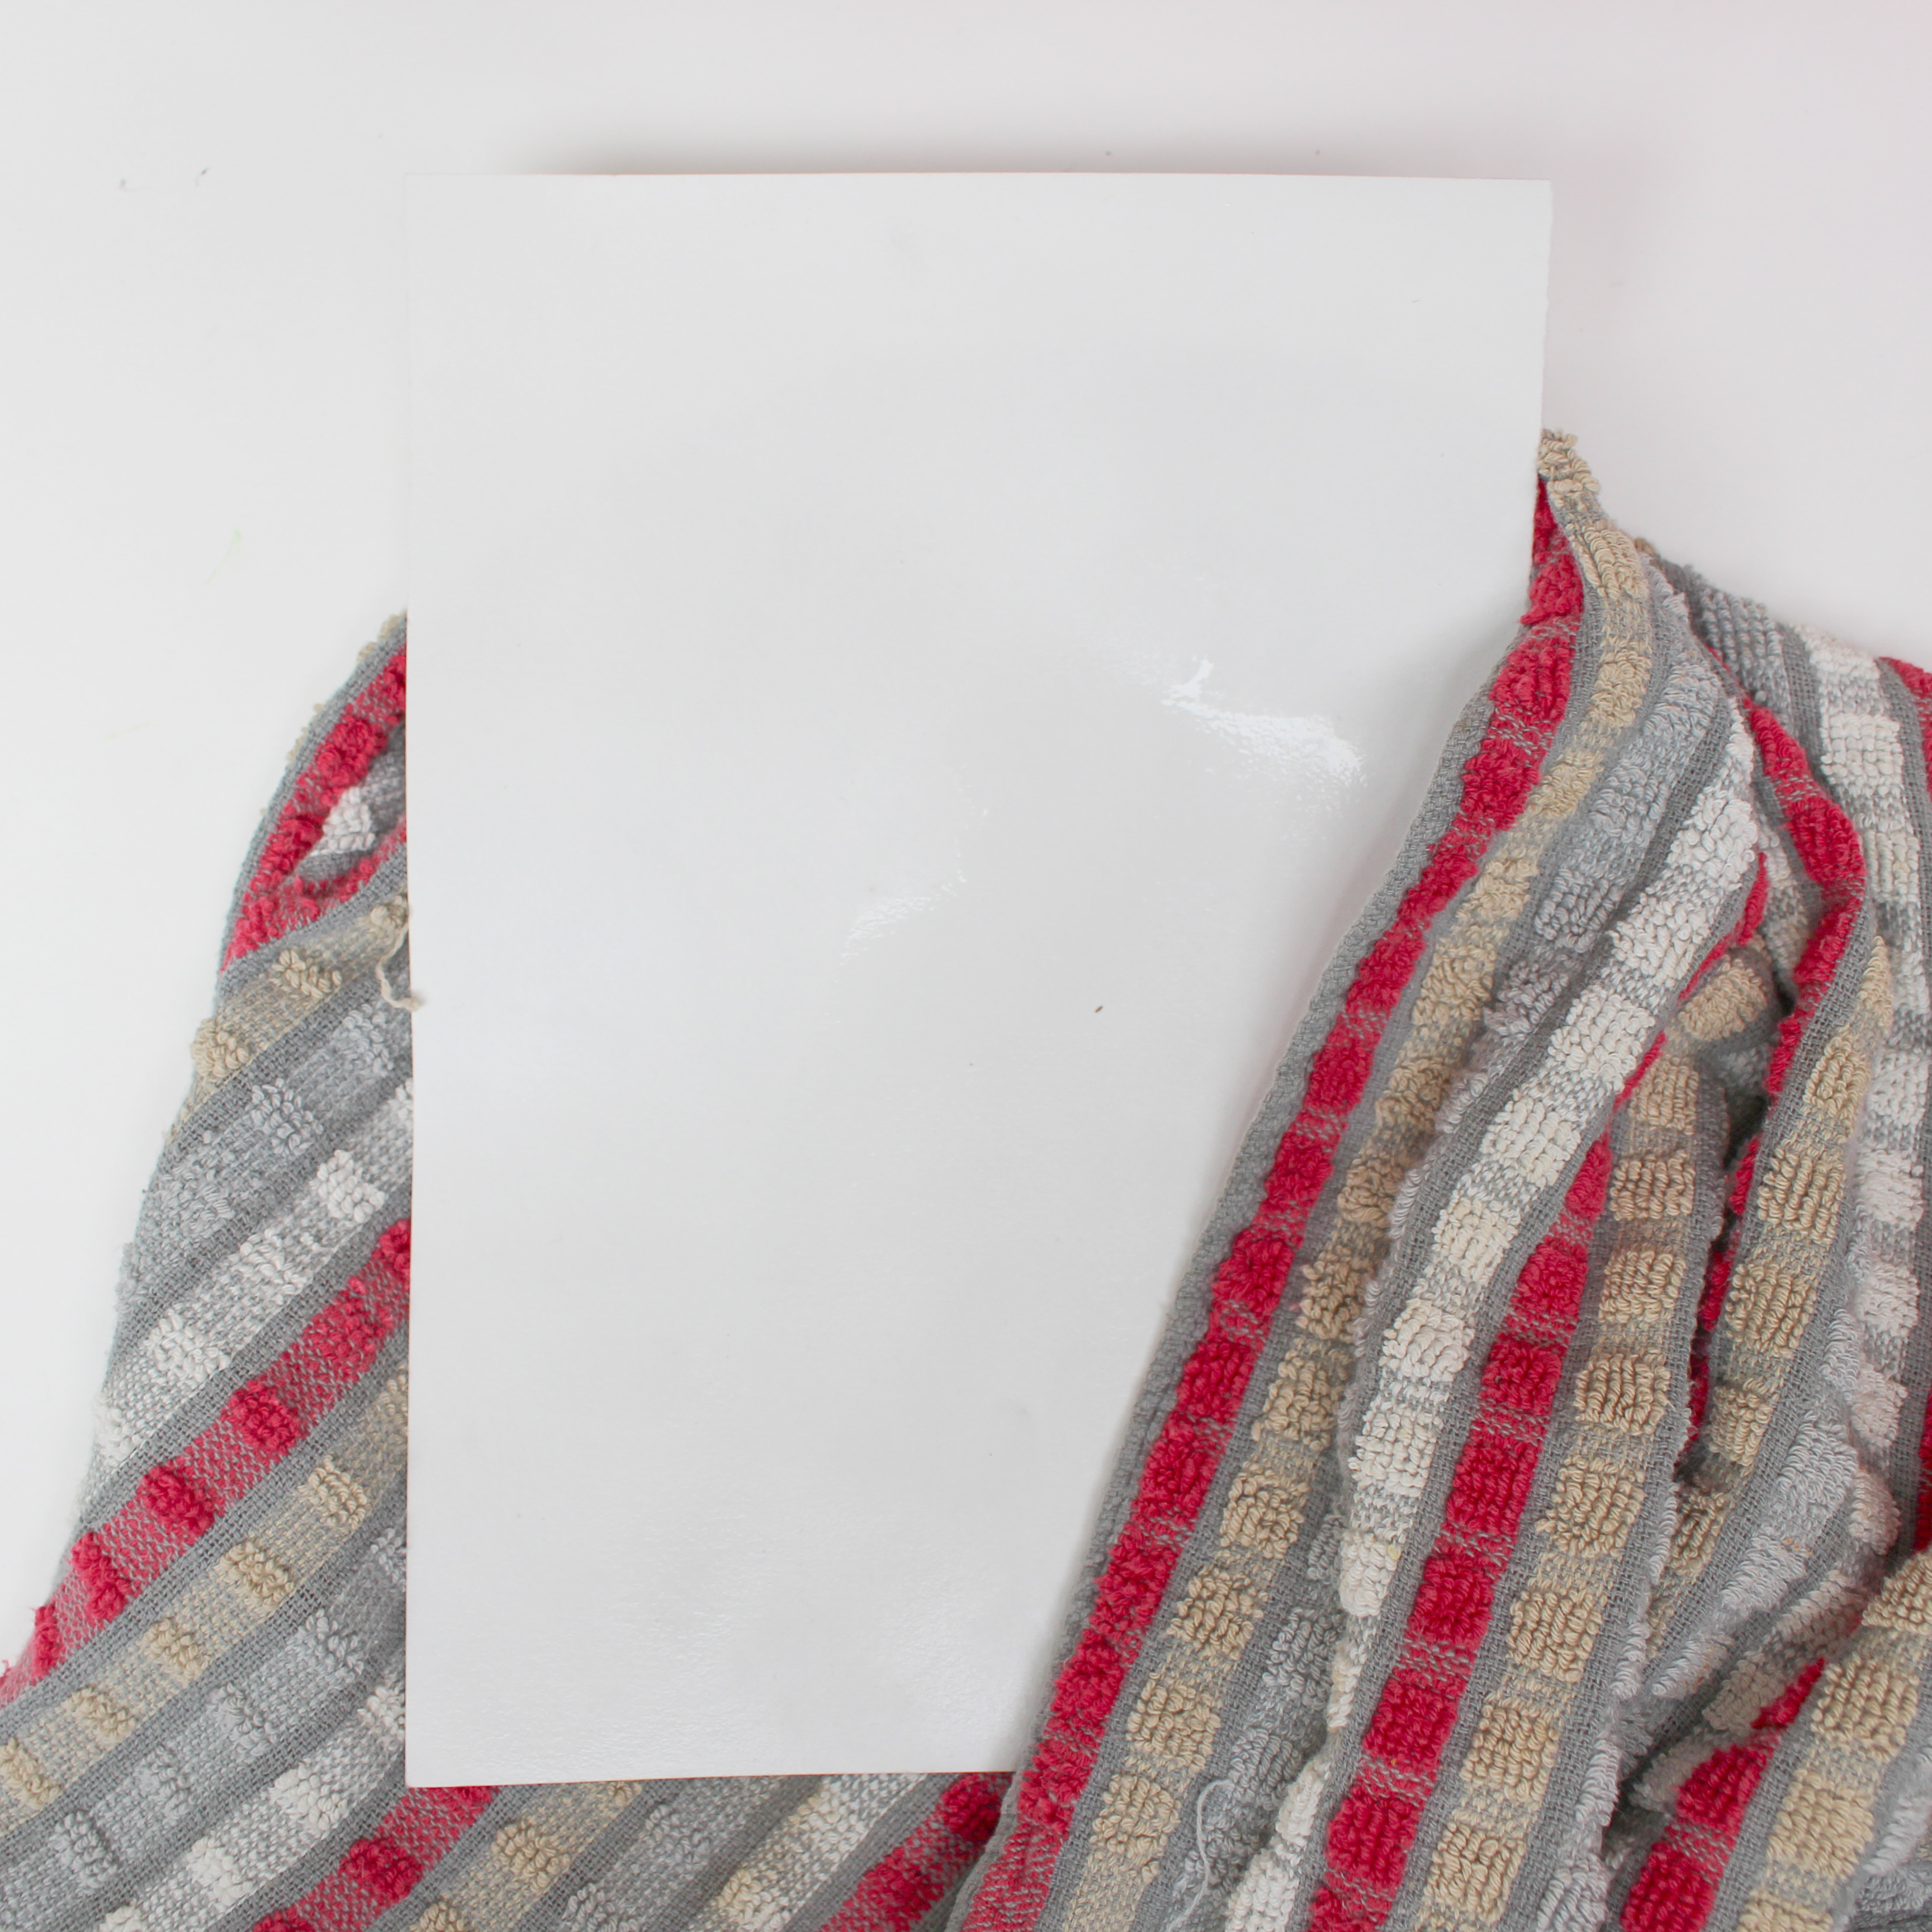
- Prepare your paper - immerse your paper for printing in water for a short period before removing and blotting (with a tea towel) to remove any surplus water - the paper should be damp but not wet
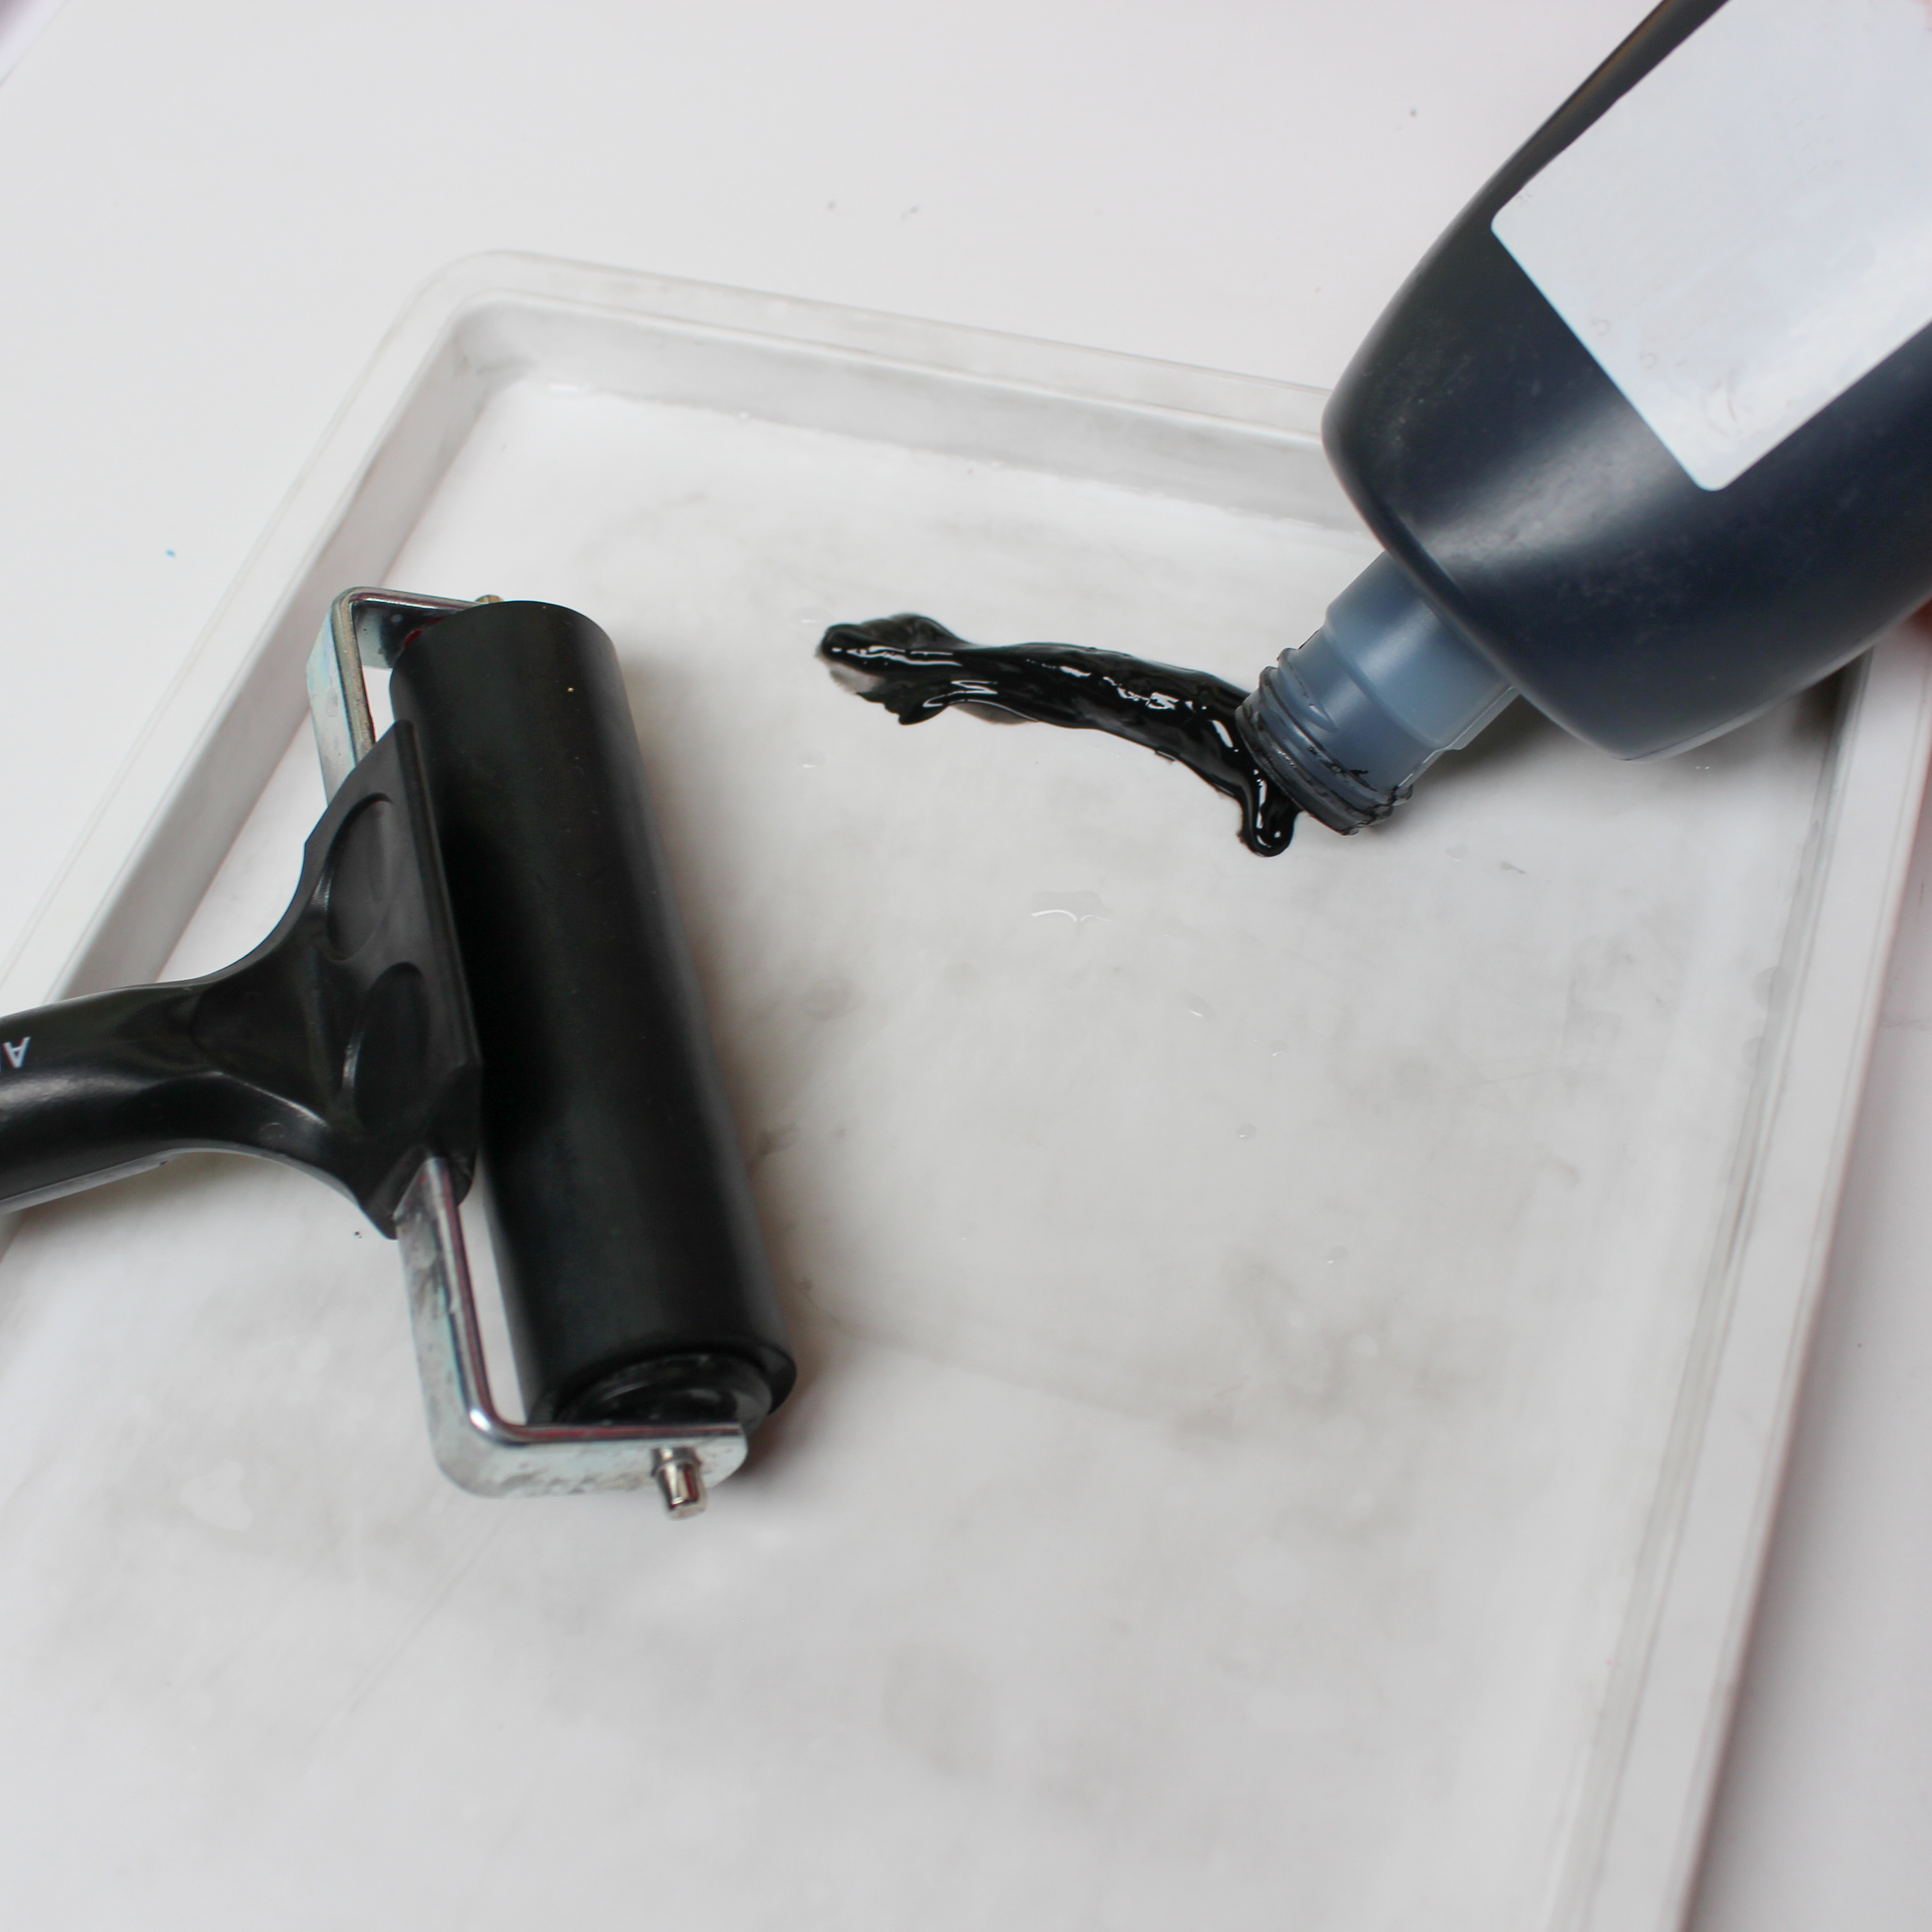
- Ink the Collagraph - add some ink to the inking tray and, with a roller or brush, cover the board with a layer of ink - add some ink to the inking tray and, with a roller or brush, cover the board with a layer of ink
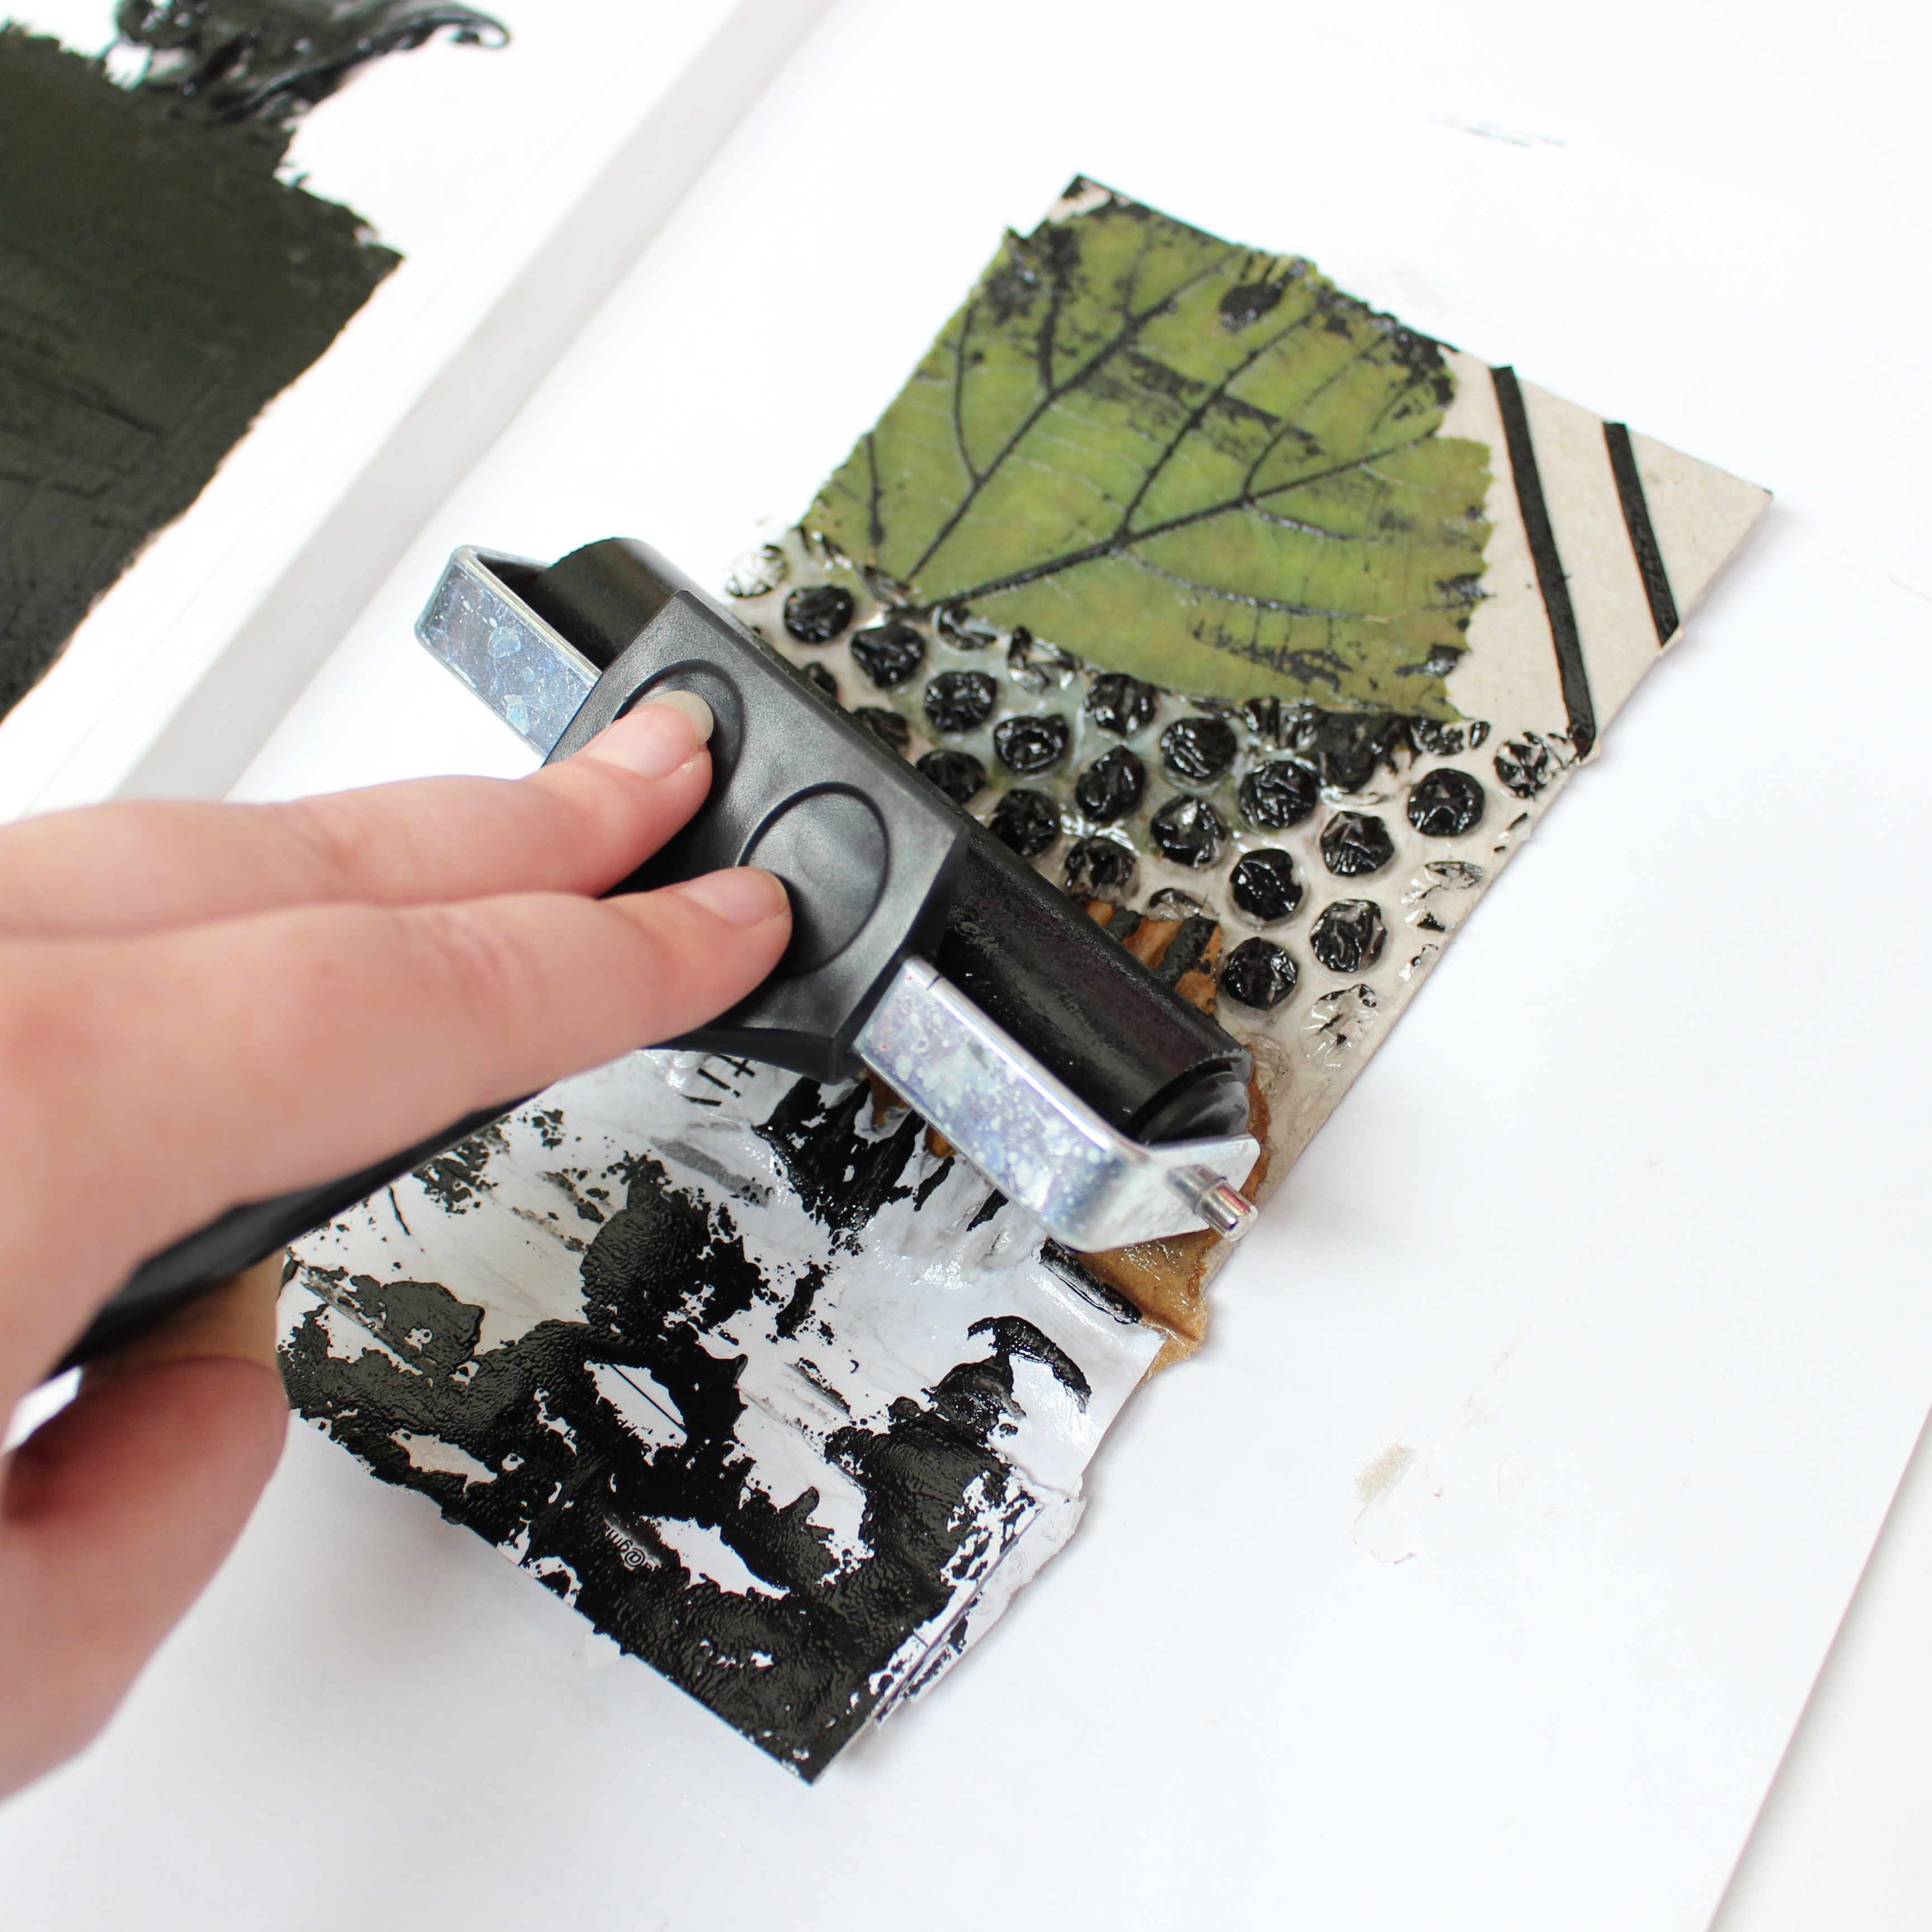
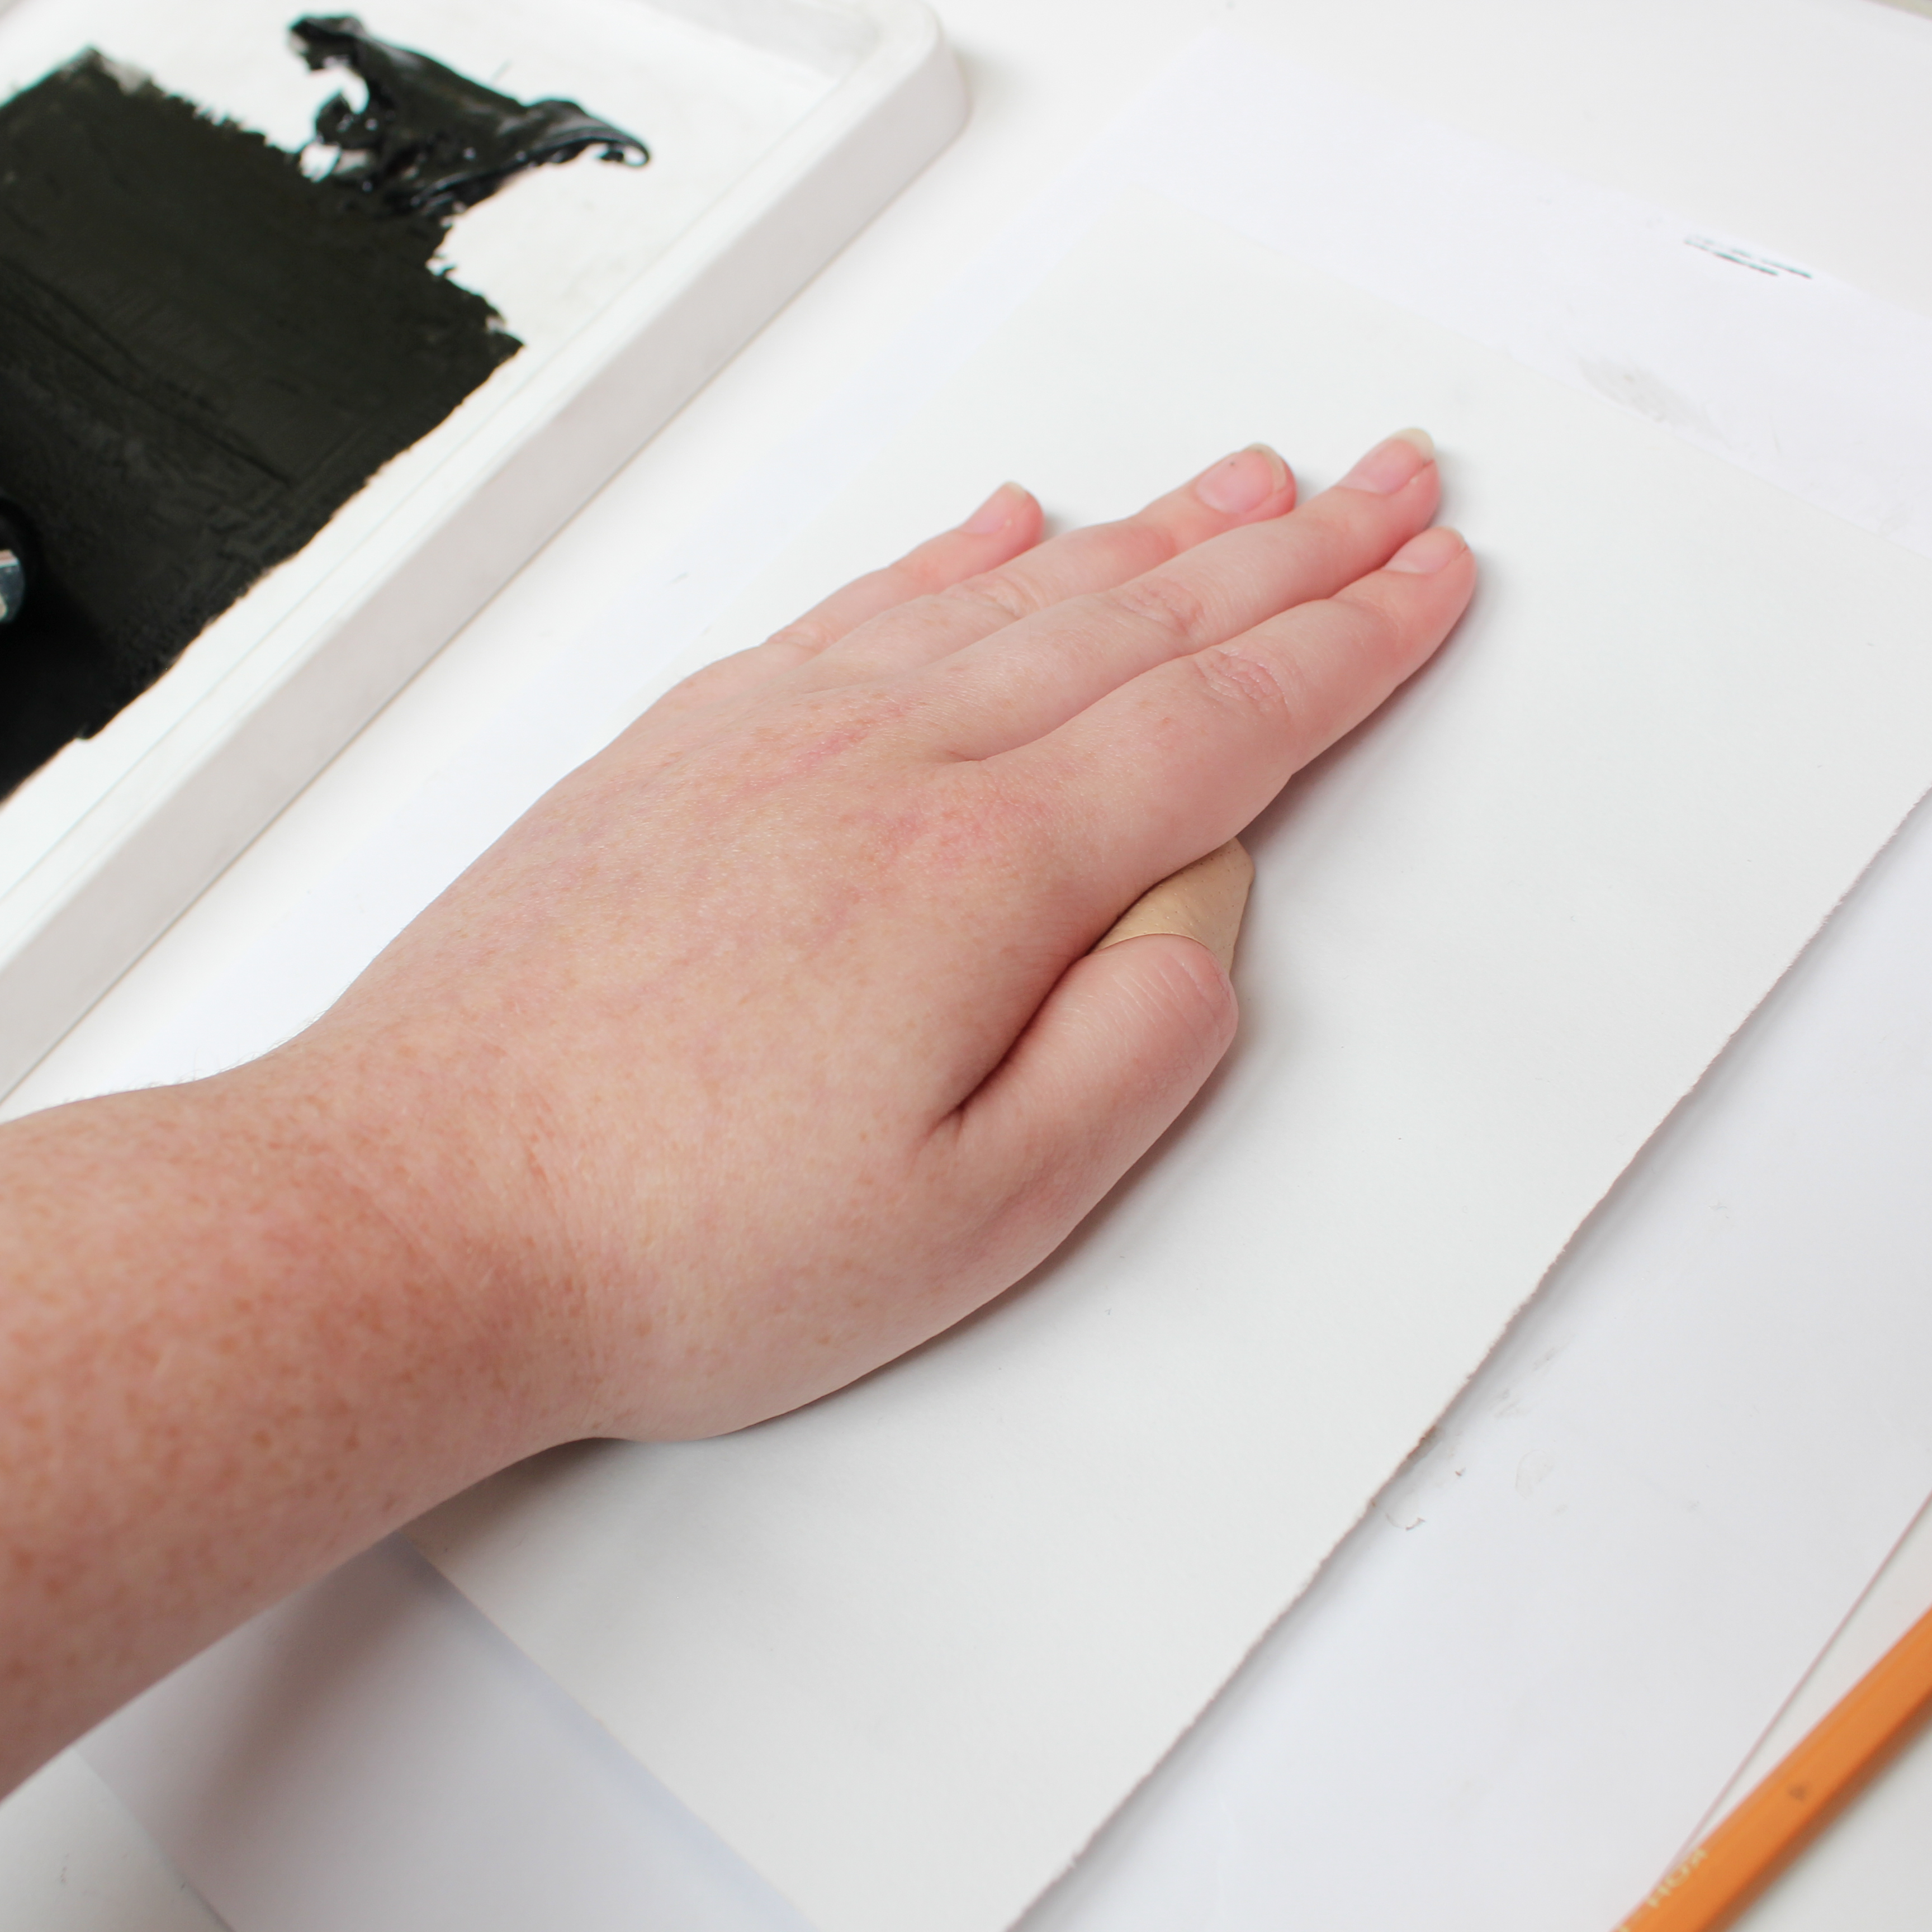
- Take a print - working on a flat base gently place your prepared sheet of paper over the collagraph board. For best results press down on the back of the paper with your hand applying even pressure across all areas
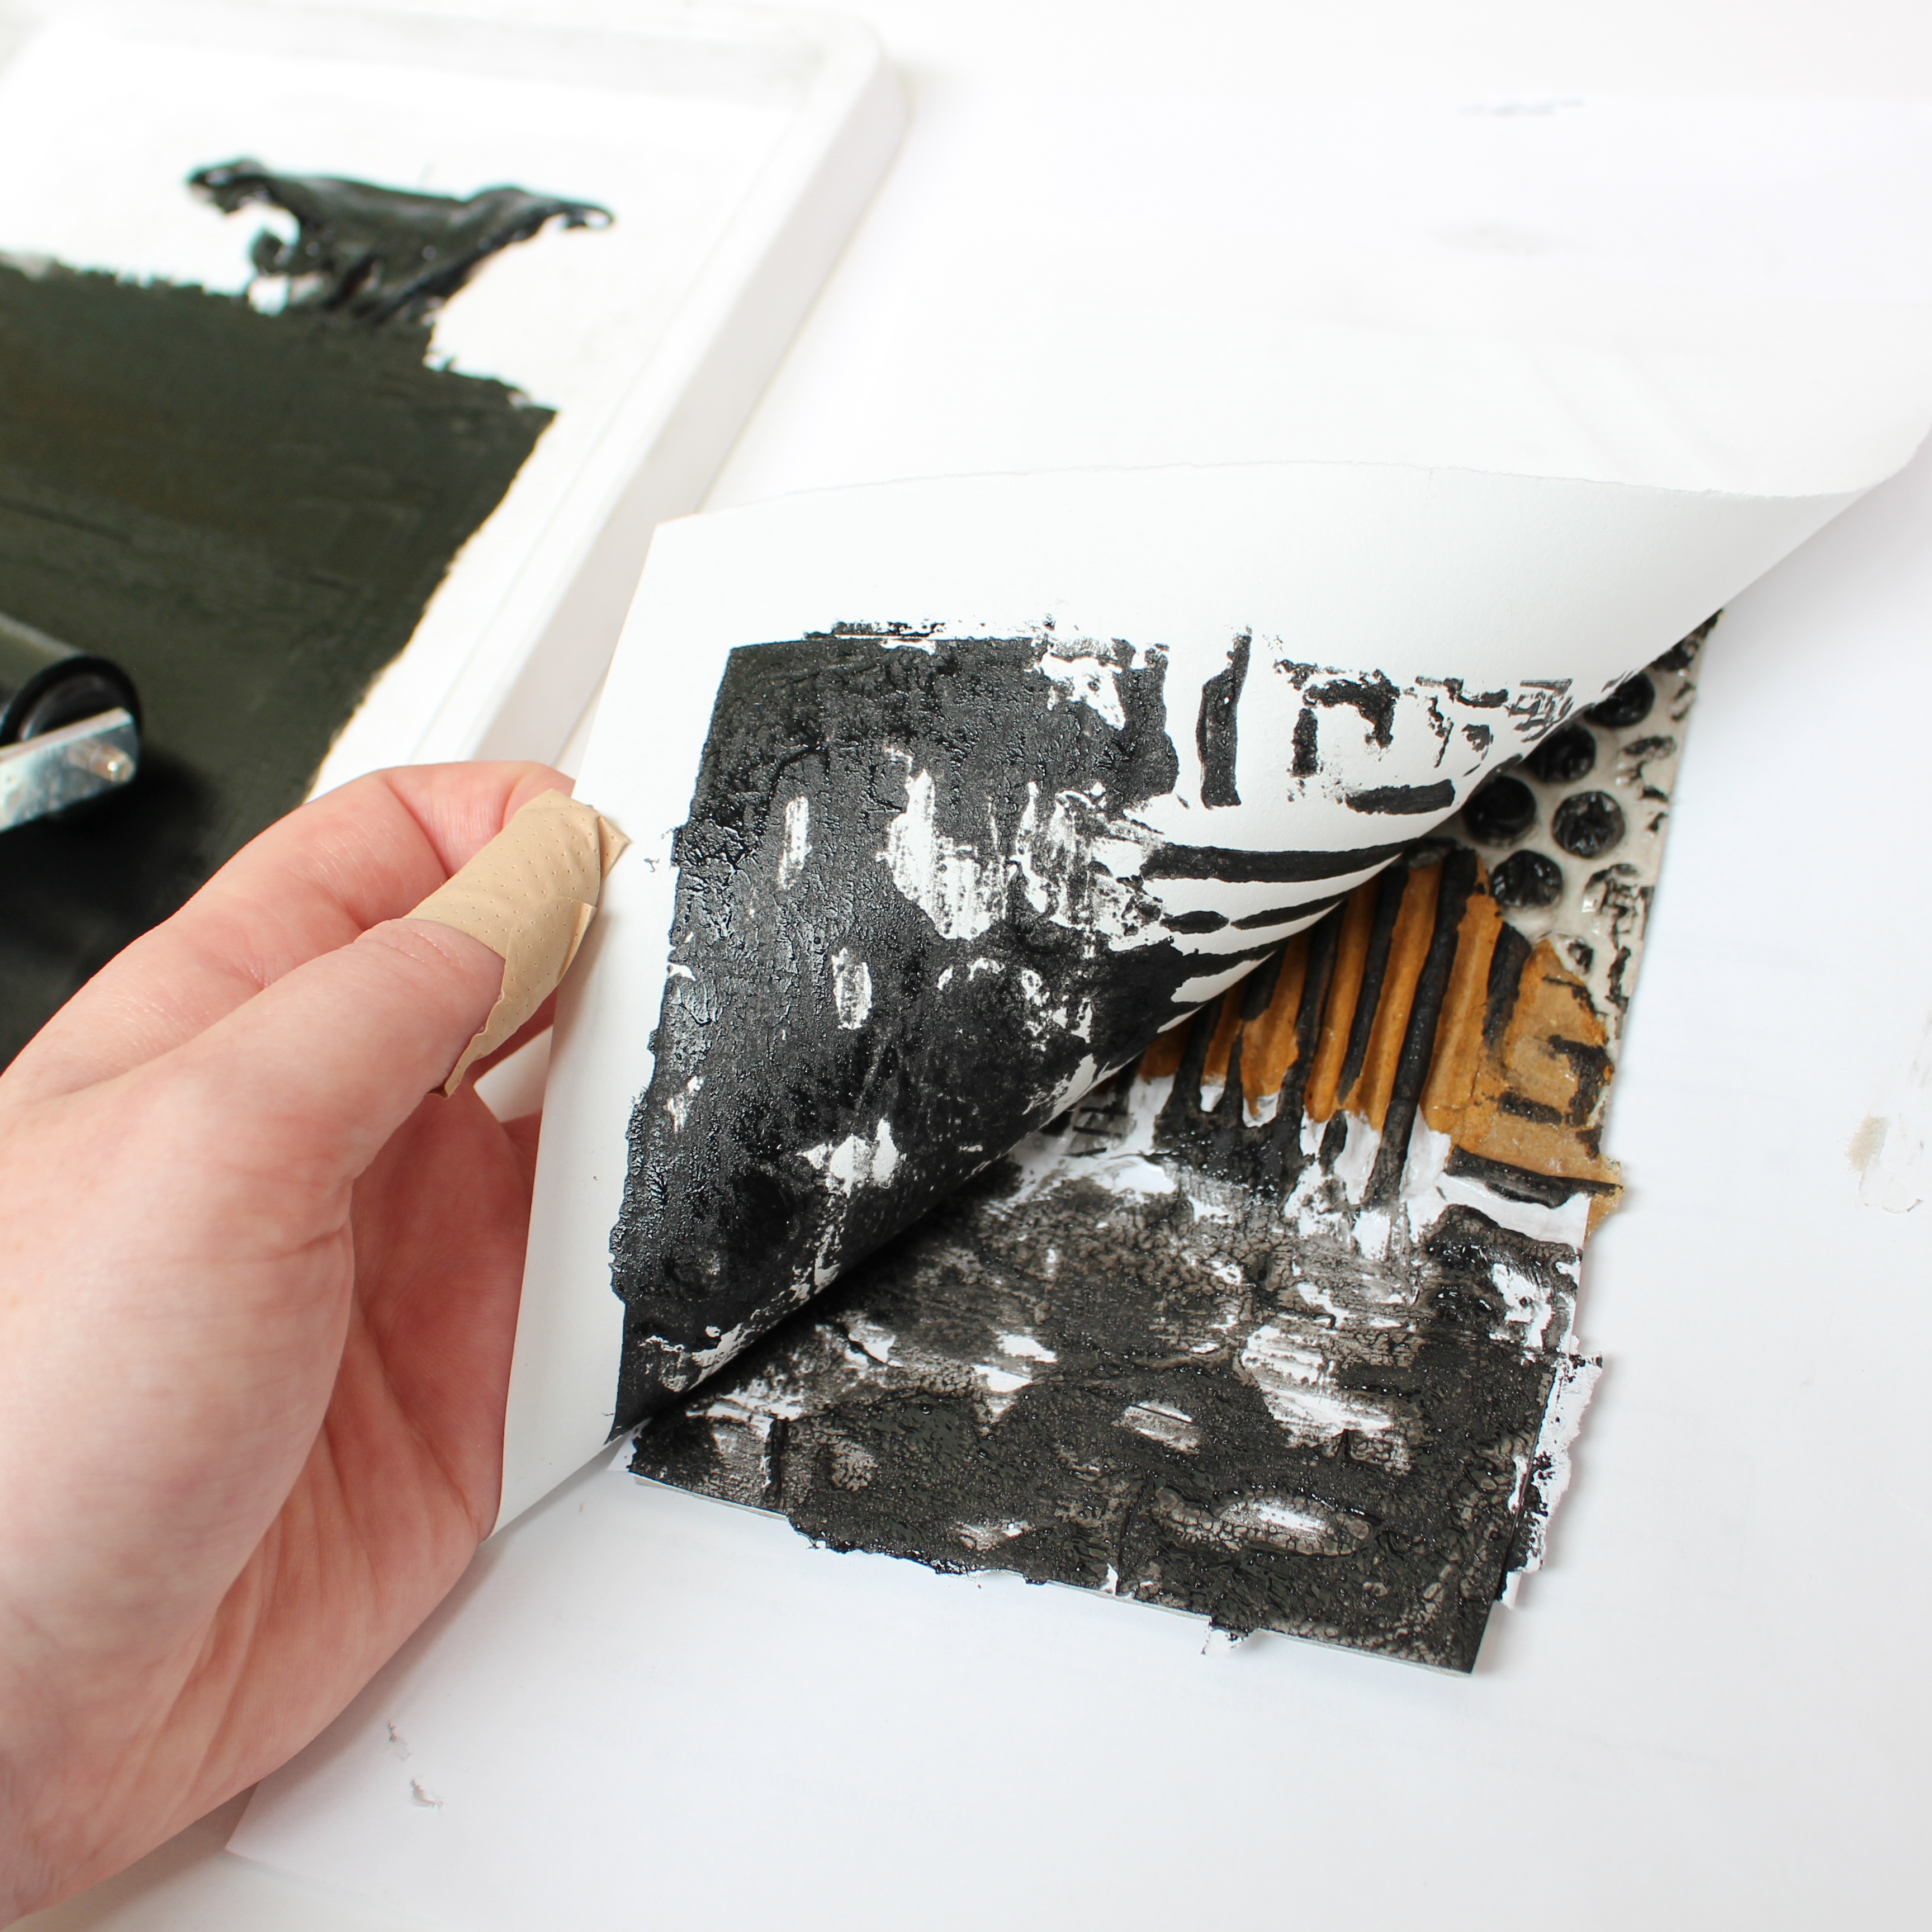
- Peel away the paper - pick up a corner of the paper and in one smooth motion peel away from the design taking care not to smudge or drag it as you go. Allow to dry
- Have some fun - if you like the image repeat the process for a fainter production or add/remove surfaces as desired before inking once more. Scoring back into the surface with a sharp tool for additional marks/textures is also a possibility
- Lifespan - greyboard is considerably less resilient than lino/polymer which ultimately reduces the life span of the collagraphy

We hope you have enjoyed our tutorial on collagraphs
A gentle reminder to have fun with collagraph printing, it's all trial and error!
Now that you have mastered monotype printing, why don't you try out other relief printing techniques. You can follow along with our instructions on mono printing or how to make a lino print.
