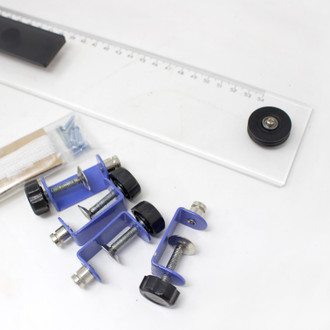
How to assemble the Artway Parallel Motion Bar
4th Jun 2019
How to Assemble the Artway Parallel Motion Bar
Below we have a set by step process of how to put together the Artway Parallel Motion Bar using the provided clamps and cord. This type of assembly is not fixed so you will be able to remove the bar from drawing board or surface.

Instructions on how to assemble the Artway Parallel Motion Bar
- Start by attaching all 4 clamps to your chosen work surface (thumb screw underneath). Make sure the clamps are parallel with each other and in line with the pulley wheels on the Parallel Ruler
- Fasten the end of the cord around the head of the bottom left clamp and knot to secure*
- Keeping tension in the cord take it up to the bottom groove of the left-hand pulley wheel on the Parallel Bar
- Wrap around the groove in a clockwise direction and then across the bar to the opposite (right) pulley wheel
- Once again place the cord on the bottom groove of the pulley wheel but this time wrap around in an anti-clockwise direction
- Now take the cord up towards the top right clamp. Remember to keep tension in the cord
- Loop the cord twice around the top left-hand clamp before doing the same on the opposite top right-hand clamp
- Take the cord back down to the left-hand pulley wheel on the Parallel Bar
- Wrap the cord around the top groove in an anti-clockwise direction and thread across to the opposite (right) pulley wheel
- Wrap the cord around the top groove on the right-hand pulley in a clockwise direction before pulling it down to the last clamp
- Maintain the tension on the cord before tying it off on the final bottom right clamp
- The Parallel Bar is now ready to operate smoothly on a vertical axis for technical drawing
*If you prefer to start from the bottom right clamp then the directional path of the cord should be threaded in reverse
